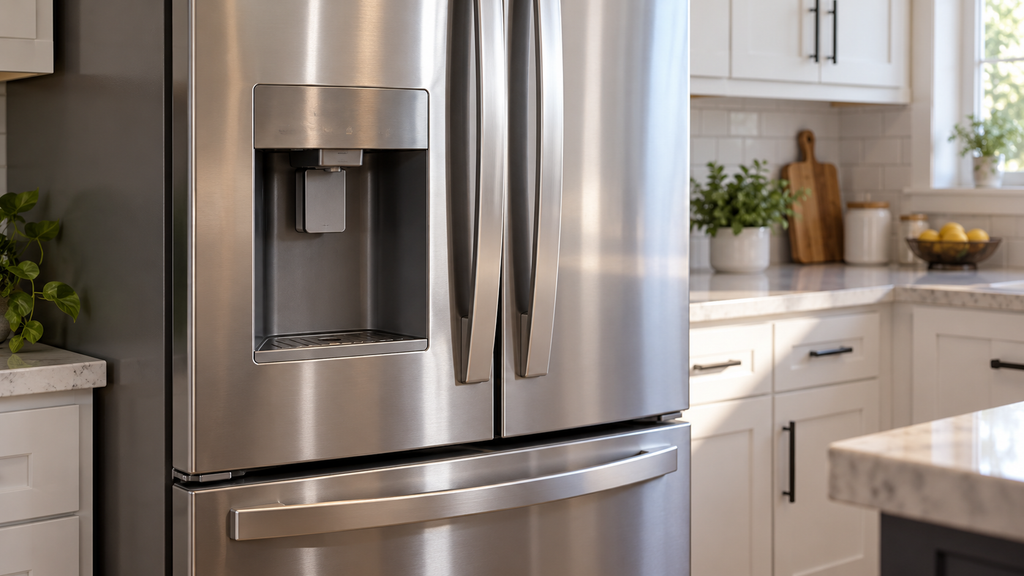
When a Whirlpool refrigerator will not dispense ice or water, the problem can involve the dispenser input rather than the part that delivers the selected product. The useful distinction is whether the control recognizes a press. Replacing a pad makes sense only when the evidence points to that input assembly on the correct model.
What This Symptom or Part Can and Cannot Prove
- No delivery is the complaint, not a diagnosis of the pad.
- A recognized press shows that the input was detected during the test.
- A delivery problem can remain after the input is recognized.
Record whether the complaint affects the selection being tested. Do not describe every dispenser symptom as the same failure. The Whirlpool dispenser input diagnostic uses a particular test 9 sequence, so the appliance controls must match before it is used.
Verify Your Model First
Find the Refrigerator model tag before ordering. Record the full model number, including its suffix, because parts with the same name can use different connectors, dimensions, ratings or mounting points across models.
Look for the model label inside the refrigerator and use the manual’s illustration when its position is unclear. The dispenser trim is not a dependable model identifier. Check the service information before deciding which control buttons correspond to the documented sequence.
The full appliance model number must come from the identification label on the appliance, rather than the front badge or an old order receipt. A clear photo makes a useful record when the refrigerator is difficult to reach. The serial number can help identify a production change, but it does not replace the model number.
Safety Before Testing
- Disconnect power before removing dispenser trim or disconnecting wiring.
- Perform the enclosed diagnostic with the dispenser fully assembled.
- Keep the floor and electrical work area dry.
- Protect hands from sharp trim edges.
- Photograph wiring before disconnection.
- Do not leave covers removed during normal operation.
Causes to Check Before Buying a Part
| Cause | Evidence | Safe check | What the result means |
| Input is not detected | Matching test shows no press response | Use the enclosed input test | Investigate the pad or switch path |
| Input is detected | Display responds but nothing is delivered | Record the response and delivery complaint | Do not assume the pad is defective |
| Wrong control procedure | Button layout differs | Check the model documentation | Stop before improvising service mode |
Once the test identifies the failed part, confirm the exact replacement with the full model number. Use that category only when the diagnosis identifies a failed dispenser pad; a different finding needs its own matching part.
Safe Testing and Repair Order
Rule Out Access, Power, Airflow, Water-Flow or Obstruction Causes as Applicable
Describe the input separately from the output. A person pressing the dispenser and a control detecting the press are not the same observation. The diagnostic asks about the second event. Keep that distinction in the notes so a normal input does not become an unnecessary pad replacement.
Check the Dispenser Input on the Covered Controls
- Hold the two left buttons.
- Wait for the countdown and flashing 01.
- Use the fifth button to scroll.
- Select test 9; its display is blank.
- Use the fourth button to go back if needed.
- Press the affected dispenser pad.
- Read 1 for ice, 2 for water, or 3 for both or a single pad.
- No response requires pad or switch diagnosis.
- Hold the two left buttons to exit.
- Disconnect power if needed to end the mode.
A confirmed dispenser pad replacement involves design-specific trim and fasteners. The input check above does not establish the access method for a differently built dispenser. Disconnect power before repair work, and stop when the mounting arrangement is uncertain.
Interpret the Result
A response means the control saw the requested input during this check. It does not verify every stage of delivery. No response is reason to investigate the input assembly, with model-specific confirmation before ordering. The conditional pad link below applies after the pad has been identified as the failed component.
Test result confirmed the failure? Find the exact dispenser pad for this model number. This purchase step applies only after the stated evidence is present.
How to Identify the Correct Replacement for This Model
Check whether the model uses separate pads or a combined input. Compare the service diagram’s pad assembly with the supplier listing and its connector. The face of a dispenser may look similar across models while the part behind it differs.
Match the full model to the manufacturer’s parts diagram before selecting a replacement part. A part name identifies the component type, while the diagram and compatible service number establish which version belongs in this appliance. A similar-looking photo can help with orientation, but it cannot confirm fit by itself.
Keep these records together:
- The full model number and suffix.
- The diagram position and current replacement part number.
- The observation or test result that led to the repair.
- A photo of the original part and its connections, where safely accessible.
Do not place an order while an unresolved model difference changes the repair method. Ask the supplier to check a superseded number against the actual appliance. The correct order should describe both the compatible part and the evidence for replacing it.
When to Stop and Call a Professional
- The diagnostic sequence does not match the appliance.
- A panel must be removed to complete the diagnosis.
- Water is near wiring or a connector.
- The input is recognized but delivery still fails.
Give the repairer a clear sentence describing the test result and a separate sentence describing what failed to dispense. That separation makes the next diagnosis more useful. Ask which observation confirms the pad rather than accepting the absence of delivery as the entire explanation.
FAQ
What should be checked first when ice or water will not dispense?
Verify the exact refrigerator and describe the affected selection. The matching input test can then establish whether the control sees the press.
How can a pad fault be distinguished from a delivery fault?
A recognized press supports a working input at that time. Continued lack of delivery needs another diagnosis. An unrecognized press directs attention to the input path rather than confirming every component in it.
What result confirms that a pad should be ordered?
Order after the model-specific investigation identifies the pad as defective. A blank response alone may need further circuit confirmation before the exact assembly is selected.
Where is the model number, and why does its suffix matter?
Read the refrigerator identification label. The full suffix can change the dispenser assembly and its compatible replacement even when the exterior trim looks familiar.
When should a professional take over?
Stop at exposed electrical work or uncertain trim removal. A working input paired with failed delivery also needs a different diagnostic path before any pad purchase.
After the diagnosis is settled, find the correct dispenser pad for your model. Keep the model record with the order so the repair starts with a verified match.
In Summary
A dispenser input check can prevent an unnecessary pad order. Record what the control recognizes, then diagnose the remaining complaint. Purchase the pad only when it is the supported repair for the full refrigerator model.
When the test points to the part, shop refrigerator parts for your model and confirm the fit with the full model number before ordering.