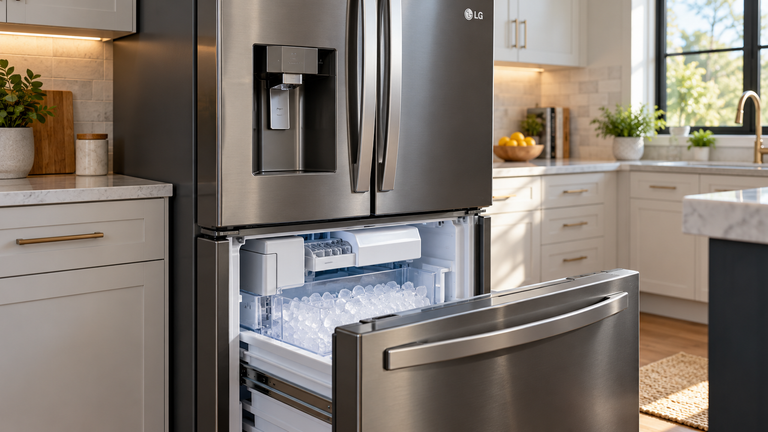
A dispenser that does not release ice can have a switch problem, but the symptom alone does not prove that switch 241689106 has failed. The useful evidence is whether the isolated switch changes state when pressed. That test should come before a parts order.
To test the dispenser switch on a Frigidaire refrigerator using part 241689106, the appliance and procedure must match. The assigned test describes model FRS6LF7FS4. Other refrigerators may use different access arrangements, so a similar-looking dispenser does not establish that the same removal method applies.
What This Symptom or Part Can and Cannot Prove
These distinctions prevent a shopping decision from outrunning the diagnosis.
- A dispenser symptom identifies a problem with the function, not a particular failed component.
- A clicking sound does not replace an electrical test.
- A correct switch response supports keeping the diagnosis open.
- A failed switch test does not identify the correct replacement by appearance.
- The refrigerator’s model number and the switch part number serve different purposes.
The test answers a narrow question about the switch’s electrical response. It does not certify every part of the dispenser. That limited conclusion is still useful because it can prevent an unnecessary replacement.
The repair record should name the tested component rather than simply say “the dispenser was tested.” That makes the evidence easier to understand if another repairer later investigates the remaining problem.
Verify Your Model First
Find the refrigerator model tag before ordering. Record the full model number, including its suffix, because parts with the same name can use different connectors, dimensions, ratings or mounting points across models.
Possible tag locations include the following areas.
- An inside compartment side wall.
- The refrigerator face frame.
- Behind the lower crisper drawer.
- Behind the lower toe plate.
The model-number locator illustrates possible locations. Record the serial number separately. The number 241689106 identifies the part being discussed; it should not be entered as the refrigerator model during a compatibility inquiry.
Before using the access sequence below, confirm that the dispenser matches the assigned model’s arrangement. A mismatch in construction calls for a different instruction set, even if the replacement switch eventually proves compatible.
Safety Before Testing
- Disconnect and verify power before access.
- Wear insulated gloves.
- Work slowly.
- Use good lighting.
- Follow the manual.
- Handle parts gently.
- Use eye protection around debris.
- Let hot parts cool.
- Record connections before disconnection.
- Avoid exposed terminals.
- Follow local electrical codes.
- Leave household wiring to an electrician.
Causes to Check Before Buying a Part
This table connects the observation to the decision it can support.
| Cause | Evidence | Safe Check | What the Result Means |
|---|---|---|---|
| Failed switch | No continuity when pressed | The isolated-switch sequence below | Replacement is supported for the tested switch |
| Switch passes | Open at rest and continuous when pressed | The same source-backed test | Continue diagnosis rather than assuming switch failure |
| Incorrect access procedure | Different dispenser construction | Compare the model with the assigned procedure | Use the correct model-specific instructions |
| Incorrect replacement | No documented model match | The parts listing | Confirm compatibility before ordering |
Once the test identifies the failed part, confirm the exact replacement with the full model number. Compare refrigerator dispenser switches using the model-specific listing.
Safe Testing and Repair Order
Rule Out a Model or Access Mismatch
This procedure applies to the assigned FRS6LF7FS4 arrangement. It is a continuity test with power disconnected, rather than a live-voltage test. The listed tools are as follows.
- Multimeter
- Phillips screwdriver
How to Test the Dispenser Switch on a Frigidaire Refrigerator
- Remove the tray and its three front screws.
- Lift off the dispenser cover.
- Remove four housing screws; slide the housing out to access the central switch.
- Unplug the cover-to-board harness.
- Select continuity.
- Disconnect the brown and gray switch wires.
- Probe both switch terminals; expect no continuity.
- Press the button. Continuity indicates operation; no continuity indicates failure.
- Replace a failed switch.
- Reconnect the board harness.
- Refit the housing with four screws.
- Reconnect switch wiring.
- Refit the cover.
- Reinstall the tray’s three screws.
- Restore power.
The sequence follows the assigned dispenser-switch testing procedure. It preserves the source’s order. The exact replacement fitting details still need the model’s installation instructions before a failed switch is removed.
Interpret the Result
A passing switch test is a useful result even when dispensing remains faulty. It prevents the same symptom from being used repeatedly to justify the same unconfirmed purchase. The next diagnostic question belongs to the remaining dispenser problem.
A failed result should be recorded with the condition under which it occurred. A specific observation is more useful than “probably bad.” It explains the basis for the replacement decision without implying that every part of the dispenser was evaluated.
Test result confirmed the failure? Find the exact dispenser switch for this model number.
How to Identify the Correct Replacement for This Model
The 241689106 product page lists the manufacturer number and replacement references. A retailer’s inventory number may differ from that manufacturer number.
Useful order information includes the following details.
- The complete refrigerator model.
- The tested switch’s location.
- Manufacturer number 241689106, when the model listing confirms it.
- Any documented superseding number.
- The appropriate installation instructions.
Use the model-specific listing to resolve a disagreement between a photograph and a part number. A visually similar switch should not displace the documented match. Keep the continuity result with the compatibility information so the order remains tied to the diagnosed fault.
When to Stop and Call a Professional
Stop for help in these situations.
- The dispenser differs from the described arrangement.
- Connections cannot be identified confidently.
- The meter result is unclear.
- Wiring appears damaged.
- Further diagnosis requires powered electrical measurements.
The test should clarify the repair decision. An uncertain measurement should remain uncertain until it can be checked properly. Treating it as confirmation can lead to an unnecessary part and a dispenser that still does not work.
FAQ
What should be checked first before replacing the dispenser switch?
Confirm the complete model and the applicable access instructions. Then use the supported isolated-switch test rather than relying on the dispensing symptom.
How can a bad switch be distinguished from another dispenser problem?
The electrical response matters. A passing switch result leaves the cause open rather than proving that the entire dispenser works.
What safe test result confirms switch failure?
The failed result is defined in step 8 of the isolated-switch procedure. The measurement needs to follow that procedure’s conditions before it can support the parts decision.
Where is the model number, and why does the suffix matter?
An inside side-wall label is a possible location. The complete suffix helps distinguish versions when checking parts compatibility.
When should troubleshooting stop?
Stop when access differs or the measurement is unclear. A powered diagnostic test belongs with a qualified repairer.
In Summary
The switch test gives the parts decision a specific basis. A passing result can prevent an unnecessary replacement, while a confirmed failure supports checking the exact model match.
After failure is confirmed, find the correct dispenser switch for your model to compare compatible replacements before ordering.