
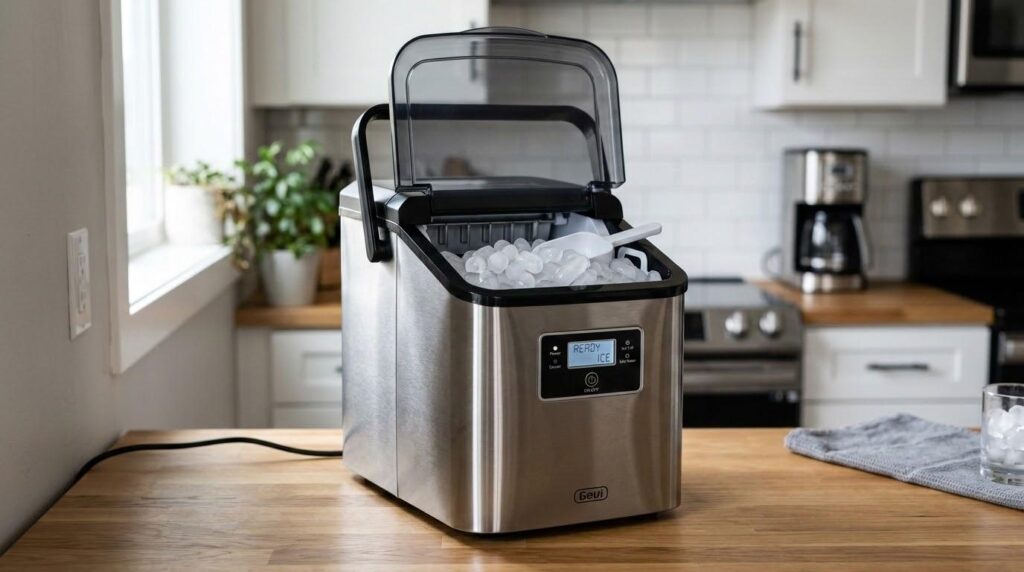
Have your ice cubes started to smell bad lately? Maybe they taste strange or leave black specks floating in your drink. If so, mold inside the ice maker water line may be the problem.
Many homeowners clean the ice bin and wipe down the dispenser, but hidden mold can still grow deep inside the tubing. That hidden buildup often comes back fast if the water line is never cleaned properly.
Learning how to remove mold from ice maker systems is important for keeping your ice clean and safe. The good news is that you can often clean the water line yourself with a few simple tools and a little time.
In this guide, you will learn:
- What causes mold inside ice maker tubing
- How to clean hidden slime and buildup
- The best way to sanitize the water line
- How to stop mold from returning
Let’s get started.
What Causes Mold Inside an Ice Maker Water Line?
Mold loves dark, damp places. Unfortunately, refrigerator water lines create the perfect environment for it.
Inside the tubing, water sits for long periods. Small amounts of moisture collect along the walls of the line. Over time, this can lead to mold and slime buildup.
Several things make the problem worse.
Standing Water
Does your household use the ice maker every day? If not, water may sit inside the line too long. Still water gives mold more time to grow.
Vacation homes and spare refrigerators often develop this problem faster because they are not used often.
Dirty Water Filters
Old refrigerator water filters can trap dirt and bacteria. Once the filter becomes clogged, it may start spreading contamination instead of stopping it.
A dirty filter can also reduce water flow, which allows moisture to stay trapped longer.
Slime in Water Tube
You may hear people talk about “slime” inside the tubing. This slimy layer is called biofilm. It forms when bacteria and mold stick to wet surfaces.
Once biofilm grows inside the water tube, simple wiping will not remove it.
Poor Freezer Cleaning
Mold can spread from other parts of the refrigerator too. Dirty ice bins, wet seals, and sticky dispensers may all help mold travel into the water system.
Signs You May Have Refrigerator Water Line Mold
Not sure if mold is the issue? Several warning signs can point to hidden contamination.
Bad Smell From Ice
Do your ice cubes smell musty or sour? Mold inside the tubing often changes the smell of the water before you ever see visible mold.
Strange-Tasting Ice
Ice should taste clean and fresh. If it tastes stale or dirty, mold or bacteria may be growing in the water line.
Black Specks or Green Residue
Tiny black dots in your ice are never a good sign. These particles may be mold pieces breaking loose from the tubing.
Slow Ice Production
A clogged or dirty water line can slow water flow into the ice maker. If your refrigerator suddenly makes less ice, buildup inside the tubing could be the reason.
Visible Mold Near the Dispenser
If you already see mold around the dispenser area, there is a good chance hidden mold exists deeper inside the system too.
Is Mold in an Ice Maker Dangerous?
Small amounts of mold may not cause serious illness for healthy people, but it is still something you should remove quickly.
Mold exposure can cause:
- Bad smells and tastes
- Allergies or irritation
- Upset stomach symptoms for sensitive people
Would you want mold floating in every cold drink? Probably not.
The bigger problem is that mold spreads easily once it starts growing inside the tubing. Cleaning only the outside parts often leaves hidden mold behind.
That is why deep cleaning matters.
Tools and Supplies You Will Need
Before starting, gather your cleaning supplies.
Basic Supplies
- White vinegar
- Warm water
- Bucket or towels
- Small funnel or syringe
- Soft cleaning brush
- Dish soap
- Clean cloths
Optional Supplies
- Replacement water filter
- Replacement water tubing
- Food-safe sanitizer
- Pipe-cleaning brush
Having everything ready first makes the job easier.
How to Remove Mold From Ice Maker Water Line Step by Step
Now let’s walk through the cleaning process.
Step 1: Unplug the Refrigerator
Safety comes first. Unplug the refrigerator before working near electrical parts or water lines.
Step 2: Shut Off the Water Supply
Find the water shut-off valve behind the refrigerator or under the sink. Turn it off completely before disconnecting the tubing.
Step 3: Empty the Ice Bin
Throw away all existing ice. Mold particles may already be inside the cubes.
Wash the ice bin with warm, soapy water and dry it fully.
Step 4: Disconnect the Water Line
Carefully remove the water tubing from the refrigerator connection. Place a towel underneath because some water may spill out.
If you are unsure how the tubing connects, check your refrigerator manual.
Step 5: Flush the Line With Vinegar Solution
This is the most important part of ice maker water line cleaning.
Mix:
- 1 cup white vinegar
- 1 cup warm water
Use a funnel or syringe to push the solution through the tubing.
Why vinegar? It helps break down mold, slime, and buildup naturally without leaving dangerous chemical residue.
Let the solution sit inside the tubing for about 10 to 15 minutes.
Step 6: Scrub Accessible Areas
Use a small brush to clean:
- Tube openings
- Connectors
- Fittings
- Water ports
Even small amounts of visible buildup can spread mold back into the line later.
Step 7: Sanitize Ice Maker Tubing
After cleaning the mold, sanitize the tubing to help kill leftover bacteria.
You can use:
- Food-safe sanitizer
- Refrigerator-safe cleaning tablets
- Weak vinegar rinse
Avoid using too much bleach. Strong chemical residue may stay inside the water system.
Step 8: Rinse Thoroughly
Flush the tubing several times with clean water.
This step matters more than many people realize. Leftover cleaner inside the line can affect the taste of your ice.
Step 9: Replace the Water Filter
If the filter is old, replace it now.
Many mold problems return because homeowners clean the line but forget the filter. The dirty filter can spread contamination right back into the tubing.
Step 10: Run and Discard Several Batches of Ice
Reconnect everything and turn the water back on.
Let the refrigerator make a few batches of ice, then throw them away. This helps flush out any remaining cleaner or loosened particles.
After that, your ice should smell and taste fresh again.
How to Clean Hidden Mold From Refrigerator Water Lines
Some mold hides in places you cannot easily see.
That is why mold often comes back after surface cleaning.
Check Behind the Refrigerator
Pull the refrigerator away from the wall carefully. Inspect the tubing behind the appliance for:
- Discoloration
- Slime
- Dark spots
- Cracks
Older plastic tubing may trap more buildup over time.
Inspect Hard-to-Reach Areas
Some refrigerators have internal tubing hidden behind panels. If mold problems keep returning, these hidden sections may need cleaning too.
Replace the Water Line if Needed
Sometimes replacement is easier than repeated cleaning.
You may want to replace the tubing if:
- Mold returns quickly
- The line smells bad after cleaning
- The tubing looks stained
- The tubing is old or cracked
New tubing is often inexpensive and easier to maintain.
Best Cleaning Solutions for Refrigerator Water Line Mold
Not every cleaner works well for refrigerator systems.
Vinegar
White vinegar is one of the safest options for homeowners.
Benefits include:
- Natural cleaning power
- Low cost
- Food-safe use
- Good odor removal
Food-Safe Ice Maker Cleaners
Some products are designed specifically for refrigerator water systems. These cleaners may work well for heavy buildup.
Always follow the label instructions carefully.
Avoid Harsh Chemicals
Strong chemicals can leave residue inside the tubing. That residue may affect your drinking water and ice.
If you use bleach, use only a very small amount and rinse extremely well afterward.
How to Prevent Mold From Coming Back
Once the system is clean, regular maintenance helps stop future mold growth.
Replace Water Filters Regularly
Most refrigerator filters need replacement every 6 months, though some homes may need more frequent changes.
Use the Ice Maker Often
Moving water helps prevent standing moisture inside the tubing. If you rarely use ice, run the dispenser from time to time anyway.
Clean the Ice Bin Monthly
Wash the ice container regularly with warm, soapy water. Even clean water lines can become contaminated by a dirty ice bin.
Keep the Freezer Cold Enough
A freezer that is too warm may allow more moisture buildup. Check your refrigerator settings if you notice frequent condensation.
Inspect the Tubing Every Few Months
Take a quick look behind the refrigerator now and then. Catching refrigerator water line mold early makes cleaning much easier.
How Often Should You Clean an Ice Maker Water Line?
For most homes, cleaning every 6 months works well.
You may need more frequent cleaning if:
- You live in a humid climate
- The refrigerator is rarely used
- Your home has hard water
- You notice odors often
Regular maintenance takes far less time than dealing with heavy mold buildup later.
Conclusion
Hidden mold inside refrigerator tubing is more common than many people think. The problem often starts slowly with bad smells, strange-tasting ice, or black specks in your drink.
Learning how to remove mold from ice maker systems properly means cleaning more than just the ice bin. Deep cleaning the water line, replacing old filters, and following a simple maintenance schedule can help stop mold from returning.
The best part? Most homeowners can handle the job themselves with simple supplies and a little patience.
Clean tubing, fresh water, and regular care can keep your ice tasting clean all year long.