Quick answer
Unplug the blender before removing parts or handling blades. Wash the jar, lid, and user-removable parts using the method allowed for that model, then rinse and dry them. A warm-water blending rinse is suitable only for designs that permit it. Wipe the motor base with a damp cloth and never submerge it.
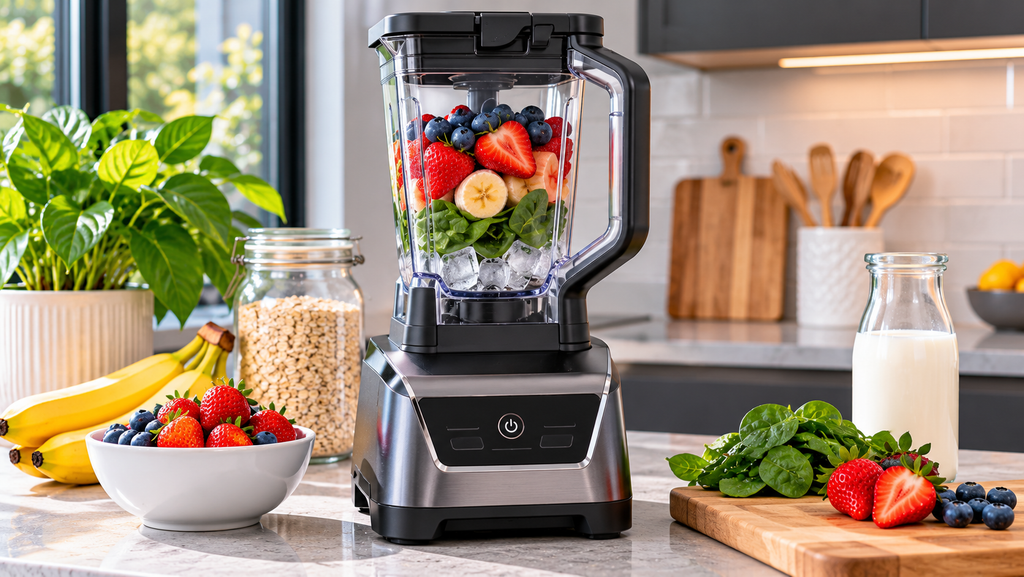
Smoothie residue dries quickly around a blender lid and blade. Can you clean it without reaching near a sharp edge? The safest approach to how to clean Ninja blender parts depends on the design. A removable stacked blade and a cup with a different blade base should not be handled as identical parts.
A quick rinse helps, but it does not reach every lid groove or seal. This guide covers daily cleanup, careful blade handling, and the places that need a closer look. You will also learn when a soapy blending cycle is suitable and why the base always needs a separate, gentle wipe.
Quick Facts
Sharp blades require care even when the blender has no power.
- Difficulty: Not specified; blade arrangements vary
- Time: Not specified
- Tools: Mild dish soap, warm water, long-handled soft brush, cloths
- Part cost: Not specified
- Skill level: Basic cleaning with careful blade handling
Order the part with confidence
- Guaranteed to fit when you search by model number
- Same-day shipping on in-stock parts
- 365-day returns on any part
- Free tech support before and after you buy
What You Need to Clean Your Ninja Blender
Use mild dish soap, warm water, and a soft brush that lets you keep your fingers away from blade edges. A cloth works well on the outside of the jar and the motor base. Keep a clear drying area ready before you start so a wet blade assembly does not get left in a sink.
Gather these items:
- Mild dish soap
- Warm water
- Long-handled soft brush
- Soft cloths
- Clean drying rack or towel
Check which parts are dishwasher safe before loading them. “Dishwasher safe” may apply to a jar or lid but not every attachment. Heat limits and rack placement can vary. Never put the motor base in a dishwasher or a basin of water.
A rubber gasket is a seal that helps keep liquid where it belongs. Some seals are removable for care, while others should remain in place. Do not pry one out just because you can see its edge.
What Makes the Ninja Design Different
A stacked blade can lift out of some Ninja jars. It remains sharp when it is sitting on the counter, and it may move if the jar is tipped. Other designs use a blade lid attached to a single-serve cup. Those differences change how you empty, carry, and wash the parts.
Keep loose blade assemblies visible. Never leave one under cloudy dishwater, among utensils, or hidden inside a towel. Hold only the safe handle or grip area provided by the design. Do not hold a blade edge to stop it from moving.
Why does the lid need attention too? Food can collect around the pouring spout, hinges, and locking surfaces. Residue in those areas can dry even when the main jar looks clear. Clean accessible grooves gently instead of forcing a pointed tool under a seal.
How to Clean Your Ninja Blender Step by Step
Follow these steps to clean the parts designed for regular removal.
Empty and Separate the Parts
- Turn off and unplug the blender before handling the jar or blade assembly.
- Empty the food while controlling any removable blade as directed for that jar.
- Remove the lid and only the parts designed for routine cleaning.
- Rinse loose food from washable surfaces without reaching between sharp edges.
Wash the Container and Blade Parts
- Wash the jar and lid with warm soapy water and a soft brush.
- Clean the blade assembly carefully while keeping your hands away from its cutting edges.
- Brush accessible gasket and lid grooves without stretching seals.
- Rinse each washable part until no food or soap remains.
Wipe the Base and Dry Everything
- Wipe the unplugged motor base with a lightly damp cloth.
- Keep water out of switches, vents, and the drive connection.
- Dry the washed parts fully in a safe, visible place.
- Reassemble the dry blender as directed for its design.
For a model that permits a blending rinse, warm water with a drop of dish soap can loosen fresh residue. Keep within the permitted fill level, secure the lid, and use the allowed cleaning cycle. Unplug before the final rinse or any blade handling. Do not treat that rinse as a substitute for cleaning trapped food.
Didn't fix it? Ask a technician on the AppliancePartsPros forum.
Post your model number, the symptom, and what you've already tried. Appliance techs and experienced DIYers answer for free, usually the same day.
Ask the forum →80,000+ solved repair threads · no account needed to readHow Often to Clean Your Ninja Blender
Clean food-contact parts after every use. Fresh smoothie, sauce, or batter is easier to remove than a dried coating. A quick cleanup also gives you a chance to spot food caught near the lid or seal.
Check accessible gasket areas and lid grooves regularly, including during a weekly deeper clean if you use the blender often. The right interval depends on what you blend and how completely you clean it each time.
Think about how to clean Ninja blender parts after thick recipes in particular. Nut butter, dough-like mixtures, and oily sauces can leave residue around the blade hub. Take time to inspect those areas instead of relying on clear rinse water alone.
What Not to Use on Your Ninja Blender
Keep the following away from routine cleanup:
- Bare fingers near blades: Use a suitable brush for hard-to-reach food.
- A submerged motor base: Wipe it instead of washing it in a sink.
- Metal scouring pads: They can scratch jars and damage finishes.
- Unapproved hot liquids: Cleaning water must stay within the model’s limits.
- Mixed chemicals: Use a suitable single cleaner rather than improvised combinations.
Cloudiness is not always loose food. A scratched jar may stay cloudy after washing. Do not try to polish deep scratches with abrasive powder. Replace damaged food-contact parts when they cannot be cleaned properly or used safely.
How to Keep Your Ninja Blender Cleaner for Longer
Keep these habits in mind during routine use.
- Rinse washable parts promptly, but still give them a proper wash.
- Store the blender dry so moisture is not trapped under a closed lid.
- Keep the base free of drips before they run into openings.
What if you find mold? Stop using the affected part. Clean only as permitted and replace porous, damaged, or inaccessible parts that cannot be cleaned fully. A quick soapy blend is not a reliable answer to hidden growth under a seal.
Check the model number before choosing a jar gasket, blade assembly, lid, or drive socket. Similar-looking Ninja containers are not automatically interchangeable.
Frequently Asked Questions
How do you clean your Ninja blender?
Unplug it, separate the user-removable parts, wash and rinse them carefully, and dry them fully. The answer to how to clean Ninja blender parts changes with the blade and jar design, so keep model limits in mind.
How often should you clean your Ninja blender?
Wash food-contact parts after each use. Inspect seals, spouts, and grooves during regular deeper cleaning, especially after thick or oily recipes.
What should you not use when you clean your Ninja blender?
Avoid metal scouring pads, strong unapproved chemicals, and water around the motor. Never reach between sharp blades with your fingers.
Can you clean your Ninja blender without taking it apart?
A permitted rinse cycle can loosen fresh food, but removable lids, blades, and seals may still need separate care. Do not open the motor housing or remove parts that are not intended for routine cleaning.
Final Thoughts: Keep It Simple and Consistent
You can make how to clean Ninja blender parts a straightforward routine. Clean after use, keep sharp parts visible, and dry everything before storage. Careful handling matters as much as a clean jar.
For model-compatible jar gaskets, blade assemblies, lids, and drive sockets, shop blender maintenance parts to keep your next cleanup manageable.
Still stuck after this guide?
Two free options: post your model number and symptom on the forum, or search the model number in the shop to see every part that fits.