
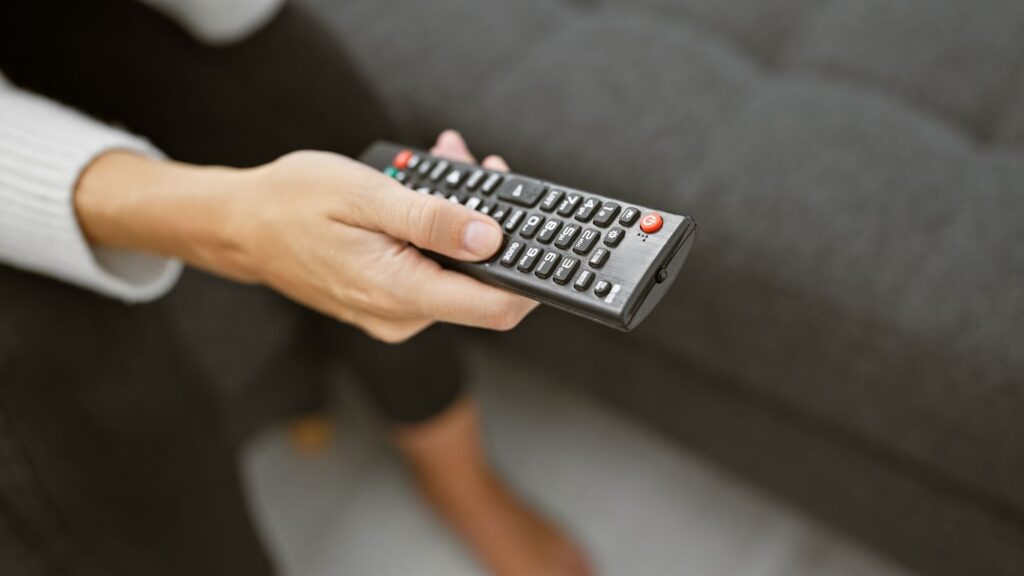
Is your remote control giving you grief? Do the buttons stick or not respond when you press them? Don’t trash it just yet! With a few simple tools and techniques, you can often fix sticky button issues and restore your remote’s functionality.
Repairing remote control buttons is an easy, cost-effective DIY project that anyone can tackle. In this comprehensive guide, you’ll learn what causes sticky button problems in the first place and step-by-step instructions for opening up your remote, cleaning the buttons and contacts, restoring responsiveness, and testing your repair.
What Causes Remote Control Button Issues
Before we dig into the repair process, let’s look at why remote buttons fail in the first place. The most common culprits include:
- Dirt, dust, grime buildup – Remotes are handled frequently and not often cleaned. Over time, skin oils, dirt, dust, and other grime can coat the internal parts.
- Sticky liquid spills – If you’ve ever spilled a sugary drink or other liquid on the remote, it can leave residue behind after it dries.
- Wear and tear – Constant pressing on the rubber buttons can cause them to warp or the contacts underneath to degrade.
All of these issues can result in buttons that stick when pressed or don’t register input properly. The good news is that with some cleaning and light restoration, you can often get your remote working like new again.
Supplies Needed
Repairing remote control buttons doesn’t require much in the way of specialized tools or supplies. Here’s what you’ll need:
- Small Philips head screwdriver
- Rubbing alcohol
- Q-tips
- Cotton balls
- Compressed air (optional)
- Extra fine grit sandpaper (optional)
The screwdriver is for taking apart the remote control to access the buttons and contacts. Rubbing alcohol is great for breaking down and cleaning away dirt, dust, oils, and other grime.
Q-tips and cotton balls apply the rubbing alcohol and help scrub away residue. Compressed air blows away any remaining debris, and sandpaper can be used to smooth and restore button contacts.
Okay, on to the repair! We’ll break this down into a few key stages:
- Opening the remote
- Cleaning the board and buttons
- Restoring responsiveness
- Reassembling
Let’s get to it!
Stage 1: Opening the Remote
- Locate the seam lines – Remotes are put together like clamshells, often with a fine seam running along the outside edges. Locate these, as you’ll need to pry them open.
- Identify case screws – Many remotes have small Philips head screws holding the two halves together. Identify where these are located.
- Carefully pry open the case – Take your screwdriver and gently insert it into the seam gaps to pry open the case. Go slowly to avoid breaking plastic tabs.
- Remove case screws (if needed) – If your remote has screws, carefully remove them and set aside. There are often several very small screws.
- Separate case front and back – After unscrewing or unlocking tabs, the two case halves should come apart to reveal the buttons and circuit board inside.
Pro Tip: Take pictures with your phone as you disassemble. This way, you have reference for how things go back together later.
Stage 2: Cleaning the Internal Components
With the remote case open, you’ll have access to the rubber button pads and the contacts they press on the circuit board.
- Wipe down contacts with alcohol – Dip a Q-tip or cotton ball in rubbing alcohol and wipe clean the metal contacts under each button. Scrub away any grime buildup.
- Spray compressed air – Use short bursts of air to dislodge any loose particles. Don’t tilt the can while spraying, as this can propel liquid.
- Remove rubber button pads – The rubber pads should pull straight up off the thin posts underneath. Remove these and clean them underneath with alcohol.
- Scrub buttons clean – Dip a fresh Q-tip in alcohol and scrub the undersides of each rubber button, especially around the conductive pill that completes the contact.
Removing the button pads gives you better access to clean grime that builds up from pressing. Be sure to get under any rubber domes or conductive pills attached to the buttons.
Pay special attention to the contacts on the printed circuit under commonly used buttons like volume and channel changers. These attract more dirt and oil residue from repeated pressing.
Stage 3: Restoring Button Responsiveness
If cleaning alone doesn’t restore sticky button function, the contacts themselves may be damaged or worn down. Here are some button restoration tips:
- Re-bend contacts – Use a small pin or needle to gently reposition contacts that may have lost their shape or angle.
- Lightly sand – Rub a bit of high-grit sandpaper (1000+ grit) over corroded-looking contacts to remove oxidation or degradation.
- Add conductivity – In some cases, you can use a graphite pencil lead to fill a damaged contact, helping restore connectivity.
Don’t press too hard or scrape vigorously with sandpaper, or you may damage copper traces. The key is gentle improvement of contact areas.
Test button response periodically by reassembling case halves temporarily while you work on restoring each one. Just a slight re-positioning or added graphite can sometimes bring a button back from the dead!
Stage 4: Reassembling the Case
Once all buttons are cleaned, conducting properly, and responding to presses – it’s time to button up the case (pun intended)!
- Check alignment – Before fully closing, test button alignment by pressing together the case halves. Ensure buttons still reach contacts.
- Replace case screws – If your remote originally had screws holding the halves together, carefully replace these now and tighten them down. Don’t over-tighten.
- Snap halves together – Go around the edges and press the two sides back together till tabs click into place. Check that seams are tight all around.
- Test button response – Give each button several test presses to ensure free movement and that they are activating commands properly.
- Reattach battery cover – Replace any removable battery covers that were taken off during disassembly.
Check all your work – Any gaps, misalignments, loose screws, or missing rubber pads will keep your remote from functioning correctly. Take your time and examine the repair thoroughly.
Testing Your Repaired Remote
The true test of success comes when you try out your newly revived remote.
- Change channels, volume, power on/off – Test all commonly used buttons multiple times to verify consistent response.
- Check specialty buttons – Input selection, menu navigation, and less often used buttons should also be checked over.
- Verify range – Walk a normal distance away from device and test buttons that now should have improved connectivity.
- Retest problem buttons – Even if cleaning restored function, recheck any buttons that weren’t working properly before repair.
Any buttons not responding properly should get additional cleaning focus and contact restoration work. Some degraded contacts may require more effort to get conducted again.
With luck, though, that’s it – you’ll have a working remote again without needing replacement! Even if not every button works perfectly, you’ve likely extended the usable life at no added cost.
Read More: The Future Is Now: Exploring The Benefits Of Smart Appliances
Troubleshooting Guide
Here are some tips if your repaired remote still has issues:
- Try removing and reseating the battery properly. An improper battery connection can prevent button input.
- Check for any gaps or misalignments in case halves cause physical button obstruction.
- Ensure rubber button pads are aligned properly over contacts and conductive pills touch when pressed.
- Refocus cleaning/restoration efforts on non-responsive buttons. They may need more work.
- Hard reset your device if it doesn’t seem to respond to initial remote use post-repair.
- As a last resort, you may need component-level repair or replacement if physical degradation is too great.
Be methodical in your troubleshooting, rechecking everything in the signal chain. With some persistence, you can likely get your remote working well again without replacement.
Conclusion
While modern gadgets may seem like sealed black boxes designed for the trash heap, many malfunctions come down to worn contacts and dirty components that can be fixed.
Taking the time to methodically clean and restore your remote can pay off in extended use and save money. With only basic tools and supplies needed, the project is very approachable for novice tinkerers.
We hope this guide gives you the confidence to tackle sticky button issues and get your faulty remote working like new again. Just be slow and gentle during disassembly and cleaning, restore any degraded contacts, and carefully reassemble the case halves.
With some perseverance, there’s an excellent chance you can save that dead remote control from the landfill and keep it controlling your devices. So grab a screwdriver and breathe new life into those sticky buttons!