

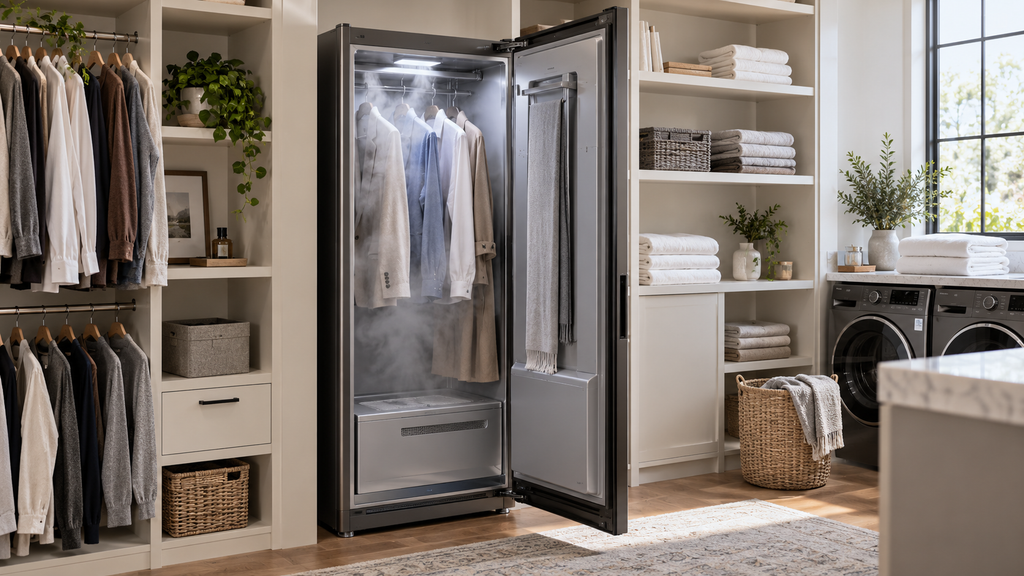
A bent rack, cracked hanger, or loose mounting point can keep garments from hanging freely during a steam cycle. Laundry steam closet clothes rack replacement restores stable spacing so air and steam can reach each item without fabric bunching against the cabinet walls.
The rack and hangers are simple parts, but careful alignment matters. Good laundry steam closet results depend on open space around each garment and firm support during cabinet movement.
Steam closet hanger replacement is appropriate when a hanger has cracks, sharp edges, or a shape that no longer supports clothing securely. A washable surface mark alone may need cleaning instead of a new part.
A loose steam closet rack should be unloaded promptly. Continued use can enlarge a mounting hole, damage a clip, or let garments touch the cabinet, so the attachment points need inspection before the replacement is installed.
Before work begins, the repair area should be photographed in its undisturbed state. That record can show the original position of a connector, fastener, hose, bracket, or cover when reassembly reaches a point that looks uncertain.
The final test should answer the complaint that led to laundry steam closet clothes rack replacement. A short, controlled test limits strain on the serviced appliance and gives the repair area time to reveal looseness, leakage, noise, heat, or poor movement before normal use resumes.
When the Rack or Hangers Need Attention
Visible damage and poor garment movement provide useful clues before parts are ordered.
- A rack that sags in the center can crowd garments and place extra force on its mounting points.
- Loose fasteners can let the rack shake or strike the cabinet during a cycle.
- Cracked hangers can snag fabric or drop clothing onto the cabinet floor.
- Warped hangers may hold sleeves and shoulders too close together for even steam exposure.
- Rust, sharp edges, or flaking finishes call for replacement instead of cosmetic cleaning.
Tools and Parts
Gather the following items before the cabinet or housing is opened.
- Phillips screwdriver
- Flathead screwdriver
- Soft cloth
- Mild cleaner
- Replacement rack or hangers
Safety
- Turn the appliance off and unplug it before touching the rack mounting points.
- Allow the interior to cool after a recent steam cycle.
- Remove every garment and accessory from the cabinet before starting.
- Wear gloves when the old rack has a sharp bend, crack, or damaged finish.
- Support the rack while its final screw or clip is released.
- Use only parts approved for the exact model and cabinet width.
How to replace a laundry steam closet clothes rack
Follow these steps for laundry steam closet clothes rack replacement while keeping every removed fastener and connection organized.
Remove the Old Rack
- Turn off the steam closet, unplug it, and wait until the cabinet is cool enough to touch safely.
- Take out all clothes and hangers so the rack and its full mounting area are visible.
- Locate the rack mounting points at the cabinet sides or top and identify whether the rack uses screws, clips, or both.
- Support the rack while removing its screws or releasing its clips. Lower the rack carefully and set it outside the cabinet.
- Wipe the exposed mounting area with a soft cloth and mild cleaner, then dry it fully before the new part is fitted.
Install the New Rack and Hangers
- Align the new rack with the original mounting points. Engage the clips or install the screws, then check that the rack sits level and does not wobble.
- Remove each damaged hanger from the old rack or storage area and set it aside so it will not be returned by mistake.
- Clean the usable rack surface to remove lint, residue, or moisture that could transfer to the new hangers.
- Place the new hangers on the rack with even spacing. Confirm that every hanger moves freely and remains supported when a garment is added.
Confirm Rack and Hanger Compatibility
Small design differences can affect fit even when two parts look nearly identical.
- Use the complete model number from the cabinet label when choosing the replacement part.
- Compare rack length, end shape, mounting-hole position, and clip style with the original.
- Check that replacement hangers have the correct hook width and garment support shape.
- Measure available clearance when the steam closet sits beneath shelving or beside fixed cabinetry.
- Reject a new part with bent ends, rough edges, cracked plastic, or a damaged coating.
Prevent Fabric Damage
A final surface check protects clothing during the first cycle after the repair.
- Run a clean cloth along every rack edge to find burrs or rough coating.
- Confirm that screw heads sit flush and cannot catch a sleeve or shoulder seam.
- Keep hangers evenly spaced so damp fabric does not press tightly against another garment.
- Place delicate items only on hangers with smooth shoulders and intact clips.
- Remove lint from the steam closet area so loose fibers cannot settle on freshly treated clothing.
- Test the rack with one ordinary garment before loading delicate or valuable fabric.
Post-Installation Checks
The first short cycle should confirm stability, clearance, and clean garment movement.
- Listen for tapping or rattling that could point to a loose rack fastener.
- Check that the rack remains level after the cabinet begins operating.
- Confirm that hangers stay inside their intended travel area and do not strike the door.
- Follow loading limits because common steam closet include crowding too many garments into the cabinet.
- Keep the steam closet filled and maintained as directed so a rack test also confirms normal steam output.
- Tighten a loose mounting screw only after power is disconnected and the cabinet has cooled.
Final Thoughts
A firm, level rack gives clothing the space it needs for a useful steam cycle. Smooth surfaces, correct fasteners, and evenly placed hangers also protect fabric from snags and unwanted contact.
A short test with one garment can confirm the work before the cabinet is loaded again. Once the rack stays quiet and steady, regular use can resume with confidence.