
A refrigerator that no longer cools properly can be frustrating, especially when your food starts to spoil. One common cause of this problem is a faulty cold control kit. This part helps regulate the internal temperature of your GE refrigerator.
Replacing it is a simple task that most people can handle at home with just a few tools. Use the guide below to help you complete the repair safely and correctly.
What the Cold Control Does and Why It Might Need Replacing
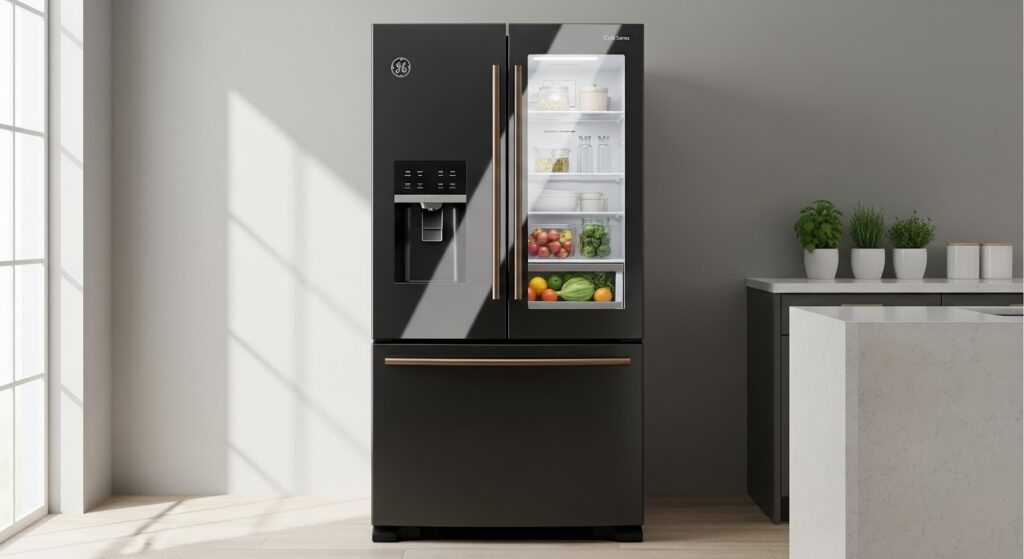
The cold control, or thermostat, is located in the fresh food section of your refrigerator, usually near the top. It manages the internal temperature by controlling how often the compressor turns on and off.
You may need to replace this part if:
- The temperature in the fridge fluctuates and does not stay consistent
- Food is spoiling or freezing unexpectedly
- The compressor cycles on and off more often than usual
- The unit feels too warm even after adjusting the settings
When the thermostat malfunctions, it can send incorrect signals to the cooling system. This affects overall performance and increases energy use.
How the Cold Control Affects Cooling Performance
The cold control directly influences how well your refrigerator keeps a stable temperature. When working properly, it:
- Monitors the internal temperature and activates the compressor as needed
- Allows users to adjust cooling levels manually using the control knob
- Helps the fridge maintain energy efficiency by limiting unnecessary compressor cycles
- Works with other components to support an even distribution of cold air
- Prevents overcooling that can lead to frozen items in the fridge section
Tools and Materials You’ll Need
- GE cold control kit WR49X26875 (make sure it fits your specific refrigerator model)
- Phillips screwdriver
- Flathead screwdriver
Safety Reminders Before You Start
Before beginning the repair, follow these safety tips:
- Unplug the refrigerator or switch off the circuit breaker
- Let the unit cool down if it was recently running
- Turn off the water supply connected to the fridge
- Keep towels nearby to catch any leftover water in the system
- Avoid working with wet hands or in a damp area
- Clear the area around the fridge to prevent accidents
- Keep children and pets away from your workspace
- Wear insulated gloves to protect your hands from sharp parts
- Use insulated tools and avoid direct contact with wire terminals
- Take photos of wire connections before disconnecting them
- Use safety glasses or a dust mask if you expect dust or debris
- Check your refrigerator’s user manual for model-specific tips
How to Replace the Cold Control in a GE Refrigerator
Here are the steps to remove the faulty cold control and install a new WR49X26875 cold control kit inside your GE refrigerator.
Power Down and Prepare
- Unplug the refrigerator from the power outlet
- Turn off the water supply going to the refrigerator
Remove the Control Panel
- Open the fresh food compartment door
- Locate the control panel at the top of the compartment
- Use a Phillips screwdriver to remove the two screws on each side of the control panel
- Press the release clips on both sides and lower the control panel
Disconnect and Remove Old Cold Control
- Disconnect the wiring plug by pressing the locking tabs and pulling it apart
- Use a flathead screwdriver to gently pry off the cold control knob
- Turn the control panel over to access the back
- Use the flathead screwdriver to detach the sensor tube and wiring from the cold control
- Slide the protective tube off of the sensor bulb
- Remove the old cold control from the panel
Install the New Cold Control
- Take the new cold control from the kit
- Straighten the sensor bulb and slide the protective tube over it
- Insert the cold control into the two mounting brackets
- Slightly bend the sensor tube if needed for proper placement
- Reconnect the wires to the terminals on the new cold control
- Reattach the ground wire
- Fit the sensor tube into the correct grooves and channels
- Replace any insulating foam that was removed
- Press the control knob onto the shaft with the flat side down
Reinstall the Control Panel
- Lift the control panel back into place
- Slide the drain tube at the back into its opening
- Press the panel up until the side clips snap into position
- Reinstall the two Phillips screws
Install Damper and Reattach Air Tower
- Open both refrigerator doors
- Remove shelves if needed to reach the back wall
- Locate the air tower and gently pry it loose with a flathead screwdriver
- Install the damper included in the kit
- Reattach the air tower starting from the top clips
- Slide the removed shelves back into place and lock them into the tracks
Restore Power and Test the Fridge
- Plug the refrigerator back in
- Reconnect the water supply
- Adjust the temperature with the new cold control
- Use a thermometer to monitor cooling over the next few hours
Also Read: The Complete Guide: DIY Refrigerator Maintenance Made Easy
Final Thoughts
Changing the cold control kit in your GE refrigerator fixes cooling problems that can spoil your food. Using a few simple tools and following clear steps, you can restore a steady, reliable temperature to your fridge. Paying attention to safety and working carefully during the replacement keeps your appliance safe and avoids damage. After installing the new cold control, your refrigerator will work better and use less energy. This repair helps you avoid expensive service visits and adds more years to your fridge’s life.