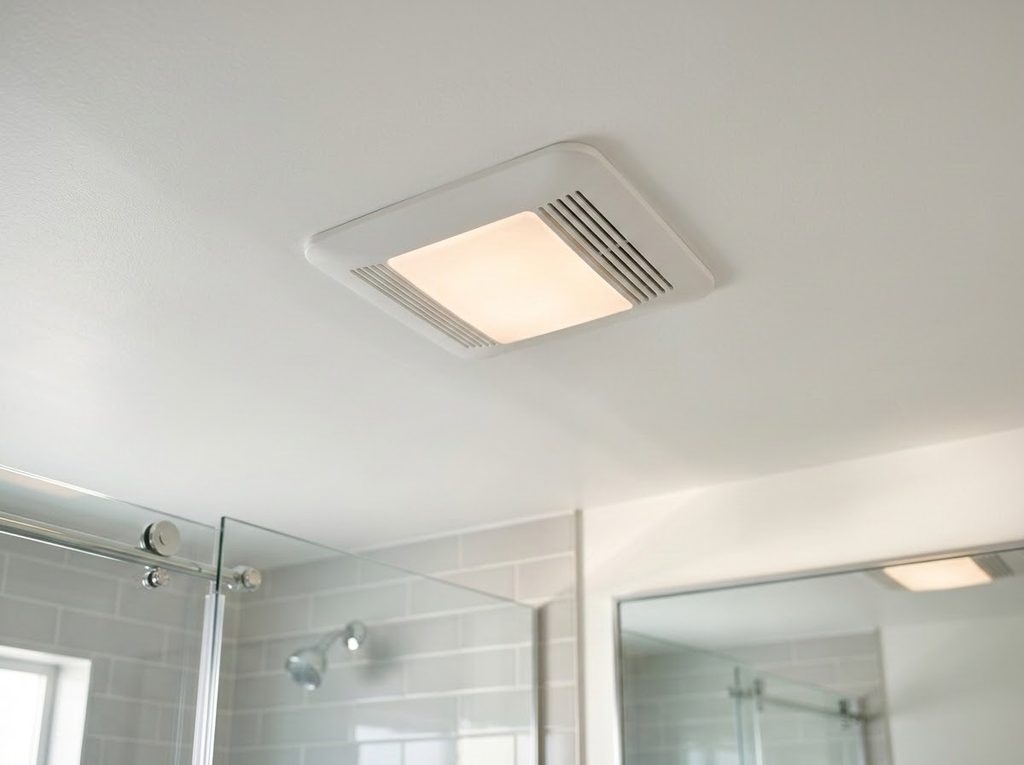
A bathroom fan may still receive power even when its blower barely turns. Humming, weak airflow, or a fan that stops altogether can point to a worn motor. Bathroom fan motor replacement can restore ventilation, but the correct part depends on the fan’s model and housing. The procedure below keeps the source’s removal, installation, and testing order intact.
Before buying a motor, check the label inside the fan housing. Some replacement assemblies include the blower wheel, while others require the original wheel to be transferred. A matching motor must also fit the existing mounting points and electrical connector.
Signs That Support a Motor Check
These symptoms make the motor worth inspecting, though they do not prove it has failed:
- The fan hums but the blower wheel does not turn.
- Airflow remains weak after the grille and visible dust are cleaned.
- The motor starts only sometimes.
- Grinding or scraping comes from the fan housing.
- The blower wheel feels stiff when turned by hand with power off.
- The motor appears damaged or has a burnt odor.
Heavy dust on the blower wheel can also hurt performance. A loose grille may make noise without involving the motor. Checking visible dirt and hardware first can prevent an unnecessary replacement.
Safety Before Working Overhead
- Turn off the fan’s circuit breaker and wall switch.
- Try the switch to confirm the fan does not start before removing the grille.
- Keep the breaker from being turned back on during the work.
- Use a stable step stool or ladder and keep the floor dry.
- Wear gloves and eye protection because dust and sharp metal may be inside the housing.
- Record the wire connections before separating them.
- Stop and call a licensed electrician if house wiring is damaged or the connection differs from the model instructions.
Power at the breaker matters because the wall switch alone may leave wiring energized. The fan should remain off through removal, cleaning, installation, and cover replacement.
Tools and Parts
The source identifies these items for the job:
- Screwdriver set
- Needle-nose pliers
- Wire strippers
- Replacement fan motor
- Clean cloth
- Soft brush
- Vacuum cleaner
- Protective gloves
- Safety glasses
The wire strippers are optional and only apply if the model’s wiring needs that work. A set screw on the wheel may require the small hex key or screwdriver described in the removal procedure.
How to Replace a Bathroom Fan Motor
Keep screws and clips together as each part comes off. The source describes a common motor assembly, but the model’s own instructions control any differences in mounting or wiring.
Remove the Old Motor
- Pull down the vent cover and squeeze its spring clips to remove it. If the cover has a light, unplug that connection and set the bulb aside safely.
- Disconnect the motor wiring. Unplug a quick-connect harness, or turn wire nuts counterclockwise to remove them where the model uses wire nuts.
- Record which wires were joined. The source notes black to black and white to white, with a green or bare ground wire where present.
- Find and release the screws or clips that hold the motor assembly. Support the assembly while doing this so it cannot fall.
- Lower the motor assembly out of the housing without catching the wires or connectors.
- Tilt or rotate the assembly slightly if clearance is tight. Do not force it at an angle that could damage the housing.
- If the blower wheel must move to the new motor, loosen its set screw and slide the wheel off the shaft. Keep the screw in a safe place.
- Inspect the removed motor and wheel for heavy dust that could affect the wheel’s balance.
- Replace a bent or cracked wheel if needed. Brush or wipe large debris from the housing.
Take care with the wheel. A damaged blade can create noise after a new motor is fitted. A photo of its original position may help when reattaching it, though the new motor’s instructions should still be followed.
Install the New Motor
- Unpack the replacement and compare its orientation with the old assembly. If it lacks a wheel, move the original wheel onto the new shaft, align the set screw with the shaft’s flat side, and tighten it without stripping the screw.
- Lift the motor into the housing and align its tabs or brackets. Check that the wheel turns freely without touching the housing.
- Fasten the mounting screws or clips evenly. Confirm that the wheel remains centered.
- Reconnect the quick-connect harness if present. For the source’s wire-nut design, join black to black and white to white, turn each nut clockwise until secure, gently tug the wires, and reconnect the ground wire where present.
- Look inside the housing for loose debris and vacuum or brush it away before the cover goes back on.
The wheel needs clearance all the way around. If it rubs before power is restored, recheck the motor position and mounting hardware. Do not rely on the motor to wear away an obstruction.
Refit the Cover and Test the Fan
- Put the cover’s springs or clips into their slots and push the cover flush with the ceiling. Reattach a light’s bulb and harness where the fan has one.
- Restore the circuit breaker and turn on the fan switch.
- Listen for smooth operation and feel for airflow near the vent. If grinding or rattling appears, turn the fan off and check alignment or a loose wheel before running it again.
The fan should clear bathroom moisture with steady airflow. Listen again over the next few days. A new sound after an otherwise successful test can reveal a loose cover or wheel.
What to Watch After Replacement
These results help confirm the work addressed the original problem:
- The fan starts promptly when switched on.
- The wheel rotates without rubbing the housing.
- Air moves through the grille at a steady rate.
- The cover stays seated against the ceiling.
- The light still works if the assembly includes one.
- No grinding, rattling, or hot electrical smell develops.
If the new motor does not run, switch off the breaker before checking its connector and part match. Repeated breaker trips, damaged supply wiring, or uncertain wire colors need an electrician. The goal is a stable repair, not repeated power tests on an open housing.
Closing Thoughts
Bathroom fan motor replacement depends on a correct part, careful wire reconnection, and a wheel that turns freely inside its housing. The final test should show smooth sound and useful airflow. Keeping the grille and blower free of heavy dust can help the new motor continue working well.