

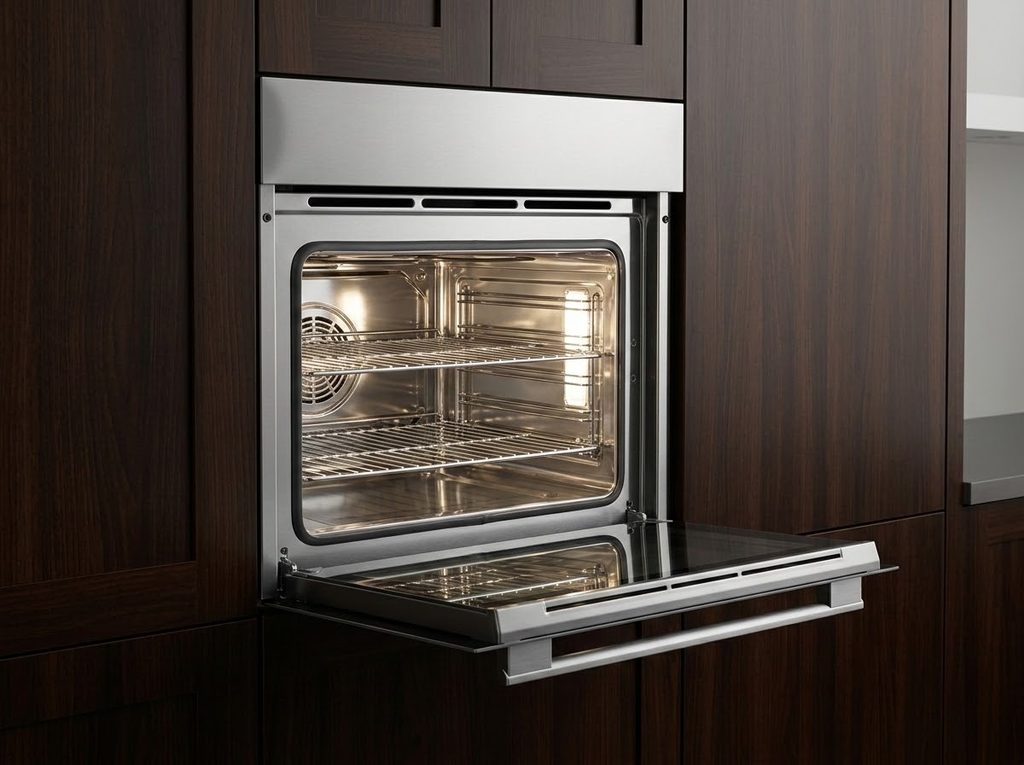
A Bosch double wall oven may show F44 when its lower door latch does not unlock as expected. The control depends on latch switches, a motor, wiring, and a power board to manage that movement. A Bosch oven F44 error therefore calls for diagnosis along the whole latch circuit, not an immediate board replacement. The exact meaning and connector names should be confirmed in the service sheet for the oven model.
The source procedure checks the switch connection first, then the switches, the latch motor wiring, and finally the power board. It is written for a design with board connectors P24 and P10. Other models may use different labels.
What the Latch System Does
During self-clean, the oven door is held locked while temperatures are high. After the cycle and cooling period, the control commands the latch motor to unlock it. F44 can appear when the control does not see the expected unlocked result on the lower oven.
Several faults can interrupt that sequence:
- A latch switch connector is loose.
- A switch does not report its open or closed state.
- A motor wire is broken or pinched.
- A connector pin is bent or corroded.
- The latch motor cannot move the mechanism.
- The power board fails after other parts pass their checks.
Do not force the door open while it is locked. A forced door can damage the latch or glass and make the original problem harder to diagnose.
Safety Before Latch Work
- Turn off the oven breaker before opening a panel or touching a connector.
- Let the oven cool completely after cooking or self-clean.
- Verify that power is absent before testing continuity.
- Wear gloves around sharp sheet metal and latch rods.
- Photograph connectors before disconnecting them.
- Keep the oven supported if it must be moved from its cabinet.
- Leave energized display-status tests and board replacement to a qualified technician if the access method is unfamiliar.
The source includes a check that watches display status while switches are moved. That requires careful separation of live observation from hands-on electrical work. A technician can perform it under the model’s service procedure.
How to Troubleshoot a Bosch Oven F44 Error
Use the model wiring diagram throughout. A connector that looks seated may still have a bent pin, and a part should be replaced only after its circuit has been checked.
Inspect the Latch Switch Connection
- Locate the harness running from the lower door latch switches to the power board.
- For the source’s layout, inspect the plug at connector P24.
- Check that the plug is fully seated and every pin and wire makes contact.
- Move the connector gently with power off to confirm it locks in place.
A loose harness can prevent the board from receiving the locked or unlocked signal even when both switches are sound. Repair damaged pins or wiring before moving to switch replacement.
Test the Latch Switches
- Locate the switches for the fully locked and fully unlocked latch positions.
- Move the latch mechanism with an insulated tool as the service procedure permits and listen for each switch click.
- With power off, test switch continuity in its closed position and an open circuit in its released position.
- Adjust or replace a switch that fails its expected state change.
- Have a qualified technician perform the source’s display-status check with the door open, moving each switch separately and watching for the corresponding locked or unlocked indication.
- If the display does not respond, inspect the wiring and connection again. If it responds correctly, the switch feedback is reaching the control.
The audible click is only one clue. The meter and model’s switch chart establish whether the contacts actually change state.
Inspect the Latch Motor Circuit
- Find the latch motor harness and trace it to the source’s P10 power-board connector.
- Check the plug for complete insertion, bent pins, dirt, or corrosion.
- Compare each wire’s routing with the oven wiring diagram and inspect for damage.
- Check that the harness has slack and is not rubbing against the chassis.
- Disconnect the harness with power off and test each motor wire for continuity.
- Test for an unwanted connection between the wires and oven ground, which can indicate pinched insulation.
- Refit the connector firmly into P10.
A motor circuit that is open or shorted can prevent a normal unlock command. Correct the wiring fault before condemning the board.
Consider the Power Board Last
- Confirm that latch switches, motor circuit, and wiring have passed their mechanical and electrical checks.
- Obtain the exact board specified for the oven model if the diagnosis points to the power board.
- Access the board by the model’s disassembly instructions and inspect it for burn or impact damage.
- Install the replacement without bending pins and reconnect every plug securely.
- Reassemble the oven and test several lock and unlock cycles.
If F44 remains after the board work, the source calls for another close look at the latch motor and harness. A new board cannot overcome a mechanical latch that cannot move.
What to Record if F44 Returns
Useful service notes include:
- The complete model number and code shown.
- Whether the lower door is locked or unlocked.
- Whether the fault appeared after self-clean.
- The continuity results for each switch.
- Any damaged connector or wire found at P24 or P10.
- The result of a controlled lock and unlock test.
These details help keep the next repair focused. Avoid repeated self-clean attempts while the latch fault persists.
The Takeaway
A Bosch oven F44 error points toward the lower door latch system on the source model. Start with the switch harness, verify the switches, and inspect the motor circuit before considering the power board. A correctly unlocking door and several normal cycles provide the useful confirmation after repair.