

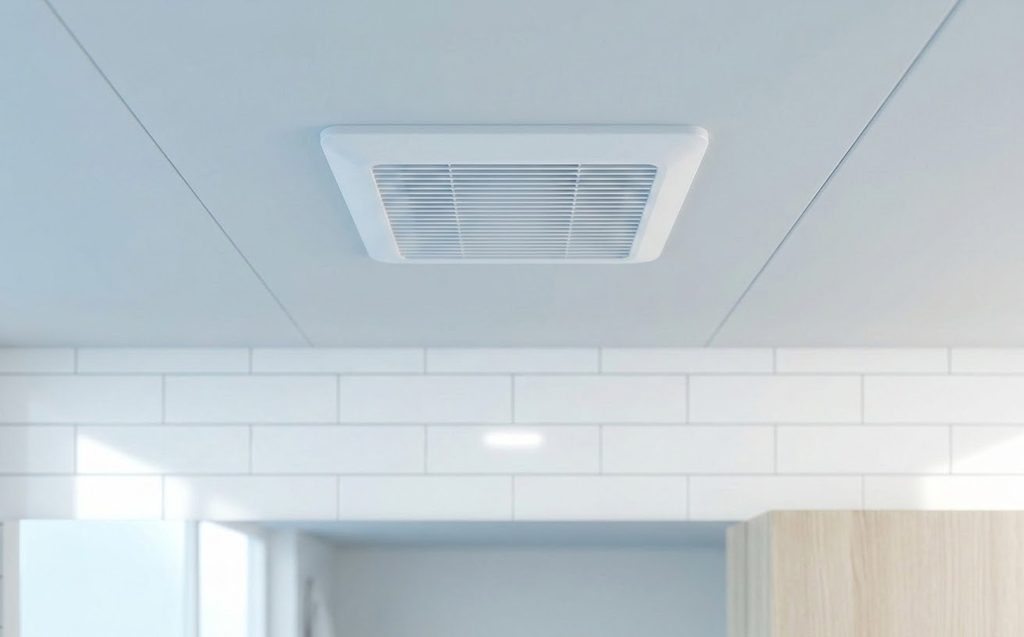
A bathroom fan can still move air while a clicking or rattling sound develops. The noise may come from a loose grille, mounting hardware, a damaged blower wheel, the motor, or a duct flap. Bathroom fan clicking or rattling is easiest to diagnose when each possible source is checked separately. The following source-based procedures begin with the visible cover and finish with the duct and damper.
Before opening the fan, listen briefly to where the sound seems loudest. Then shut off the breaker. The listening step helps focus the work, while the breaker protects against unexpected startup during inspection.
Signs That Point to Different Parts
These sound patterns are clues rather than firm diagnoses:
- A light rattle at the ceiling surface can come from the grille.
- A deeper vibration may involve the housing or mounting bracket.
- A steady click with each revolution can point to a blade touching the housing.
- Grinding or buzzing can suggest motor or bearing wear.
- A flap that taps when air moves may be the backdraft damper.
- Noise that changes after the cover is touched may come from loose clips.
Dust also changes how a blower wheel runs. A dirty but undamaged wheel can make noise that disappears after cleaning. A cracked wheel should be replaced with a model-compatible part.
Safety Before Opening the Housing
- Switch off the fan’s breaker before removing the grille or touching the blower.
- Confirm that the fan cannot start at the wall switch.
- Use a stable ladder and keep the floor dry.
- Wear eye protection around falling dust and debris.
- Keep small screws and clips where they cannot fall into the housing.
- Disconnect motor wires only with power off and according to the fan’s instructions.
- Stop if wiring shows heat damage or a household connection needs repair.
A brief powered listening test may help locate the sound, but all physical checks belong with the power disconnected. Restore power only after each tested assembly is back together.
How to Fix a Clicking or Rattling Bathroom Fan
The source presents several independent repair branches. Work from the cover inward and stop when a clear fault has been corrected. Do not treat every branch as a required part replacement.
Secure the Grille
- Turn off power at the breaker or fuse box.
- Pull the cover down gently and release its clips or screws.
- Inspect the cover for cracks or missing hardware.
- Wipe dust from the cover with a soft cloth.
- Reattach it firmly, replacing missing clips or screws.
- Restore power and listen for the noise again.
If the sound disappears, the grille was the likely source. A cracked cover may not stay secure even with good clips, so use the correct replacement for the fan model.
Tighten the Fan Mount
- Shut off the fan’s breaker.
- Remove the cover and keep its screws or clips safe.
- Check the bracket and housing for loose screws.
- Tighten accessible mounting screws until the housing sits securely against its support.
- Refit the cover and restore power.
- Listen for the original click or rattle.
- If a bracket is bent or poorly aligned, adjust its position slightly before tightening the screws again.
The housing should not rock against the ceiling. Avoid overtightening hardware or driving a screw into hidden wiring.
Inspect and Clean the Blower Wheel
- Turn off the breaker and remove the cover.
- Locate the blade assembly on the motor shaft.
- Release the screws or clips that hold the assembly to the motor.
- Pull the blade assembly gently from the shaft.
- Check each blade for cracks, bends, missing pieces, or jagged edges.
- Replace the whole blade assembly with a compatible part if damaged.
- If it is sound, wipe the removed assembly with a damp cloth or mild cleaner without soaking it.
- Confirm that it is balanced and secure, reinstall the blade and motor, tighten their screws, and restore power.
The source separates replacement of a damaged wheel from cleaning an undamaged one. A wheel that has lost a blade cannot be corrected by cleaning.
Test the Motor
- Turn off the breaker and verify that the motor has no power.
- Set a multimeter to resistance mode.
- Disconnect the motor wires according to the manufacturer’s instructions.
- Probe the motor leads and compare the reading with the model’s specification.
- If the reading is outside specification or mechanical wear is evident, lubricate only a serviceable bearing or replace the motor assembly. Many sealed motors are not intended for lubrication.
The model’s acceptable resistance range is necessary for this check. A guessed value could misidentify a good motor. Grinding and shaft wobble may also justify a closer motor inspection.
Check the Duct and Damper
- Turn off the breaker.
- Inspect the duct connection for a loose clamp or foil-tape seal and secure it if needed.
- Find the backdraft damper and check that it moves freely. Adjust it if it sits off-center.
- Look inside the accessible duct for an obstruction that could make the flap bounce.
- Restore power and listen again.
- Replace a damaged damper or duct section if the noise continues and the defect is visible.
The flap should open with airflow and close without striking a loose part. Ductwork that is hidden or hard to reach may need a ventilation professional.
When a Part Should Be Replaced
Replacement is more useful than repeated adjustment when the part cannot stay secure. Look for these findings:
- The grille is cracked or its clips no longer hold.
- A blade is bent, broken, or missing a piece.
- A bracket has severe rust or cannot support the housing.
- The motor shaft binds or its test falls outside the model specification.
- The backdraft damper is warped or broken.
Choose parts by model number. A visually similar cover or wheel may still have different clips or shaft dimensions. If the fan remains noisy after the obvious fault is repaired, return to the sequence and check the next source-supported area.
Next Steps
Bathroom fan clicking or rattling usually becomes clearer after the grille and mount are checked. Clean and inspect the wheel before blaming the motor, then examine the duct flap if the sound remains. A quiet test run with steady airflow confirms that the corrected part is secure. Keeping dust off the cover and blades also makes future changes easier to spot.