

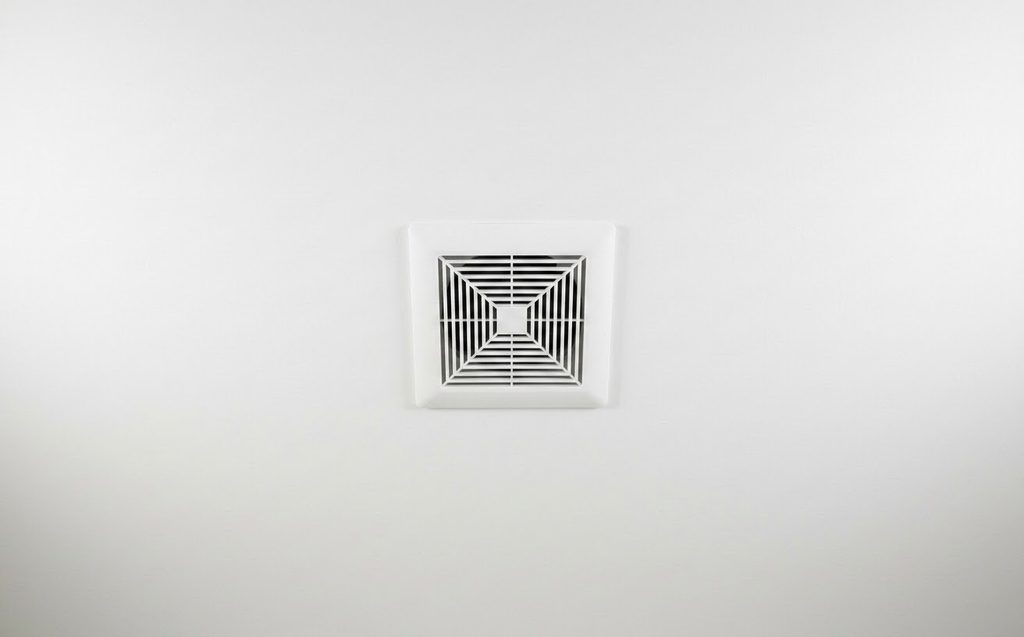
A bathroom fan that hums without moving air may have a stuck blower, a failing motor, or a power connection that needs attention. The sound alone cannot identify the faulty part. A bathroom fan humming but not spinning calls for an orderly check of the switch, supply connection, housing, and motor. Start with power off and the fan’s model number available.
Some fan housings include lights or heat lamps, which change how the cover and motor assembly come out. The model label inside the housing helps match parts and prevents a motor from being chosen solely by appearance.
Clues to Record Before Opening the Fan
These details can narrow the repair path:
- The hum comes from the ceiling housing or from the wall switch.
- The blower wheel does not turn at all or turns only after a delay.
- The fan once ran normally but grew slower over time.
- The grille or housing vibrates when the switch is on.
- The fan starts intermittently.
- A hot smell or discoloration appears near the motor or switch.
Turn the fan off if it only hums. Repeated attempts to start a jammed or failing motor can add heat. A quick note about when the sound began may also help distinguish a loose cover from motor wear.
Safety Before Testing
- Turn the bathroom fan breaker off before removing the grille, switch plate, or motor assembly.
- Verify that the relevant wires have no voltage before touching them.
- Wear eye protection when working below a dusty ceiling fan.
- Use a stable ladder on a dry floor.
- Do not perform live voltage tests without training and suitable equipment.
- Stop and seek an electrician if house wiring is scorched, loose inside the wall, or otherwise damaged.
- Keep fingers clear of the blower wheel when power is restored for a final test.
The source includes a live voltage measurement. That check belongs with a qualified person when the reader is not trained to work around energized wiring. All physical inspection should be done with the breaker off.
How to Troubleshoot a Humming Bathroom Fan
The source checks the wall switch first, then the supply, housing, and motor. Follow that order because a motor cannot run correctly if it does not receive proper power.
Inspect the Wall Switch
- Turn the breaker off and verify that the wall switch is not energized.
- Remove the switch plate and ease the switch assembly from its box.
- Look for loose connections, discoloration, or heat marks. Tighten loose terminal screws and replace damaged wire nuts only when qualified to do so.
- With power off, set a multimeter to continuity and check the switch as it moves between on and off. A near-zero reading in the on position supports a working switch; no change points toward a failed switch.
- Reinstall a passing switch securely, or replace a failed one with a compatible switch.
The hum may seem to come from the ceiling even when the switch is the cause. A visible heat mark is a reason to stop and arrange electrical service rather than continue cycling the fan.
Evaluate the Supply Connection
- With the breaker off, verify power is absent before opening the fan’s wiring compartment.
- Remove the cover and locate the supply wires behind their small housing panel.
- Inspect wire nuts and insulation for wear, burns, or loose connections.
- Have a qualified person perform the source’s live voltage check at the switch, if needed. For many US homes, the expected supply is around 120 volts, but the model and circuit govern the test.
- Shut the breaker off again before any further handling. Repair or replace damaged wiring or the switch as indicated by the diagnosis.
Live testing is not a routine homeowner check. The useful DIY observation is often the condition of the accessible connection with the breaker off. A voltage problem in the home circuit needs an electrician.
Check the Housing and Mounts
- Check whether housing screws hold the fan securely to its support.
- Inspect adjustable brackets or hanger bars for bending or looseness.
- Look for missing or worn rubber or foam vibration pieces.
- Tighten loose accessible hardware and replace a missing vibration piece where the model uses one.
A loose housing can amplify a normal motor sound. If the blower does not spin, however, tightening the housing alone does not explain the stalled wheel. Continue to the motor check.
Inspect the Blower and Motor
- Remove the grille by pulling it down and releasing its spring clips if present.
- Look for dust, dirt, or rust around the motor shaft.
- Turn the blade by hand with power off. A stiff or stuck wheel points toward a seized bearing, motor, or obstruction.
- Record the motor label and part information for a compatible replacement if needed.
- Inspect the motor’s connectors for corrosion or damaged insulation. Reconnect a loose model-approved plug securely.
Do not force a wheel that will not turn. If the shaft is seized or the motor shows heat damage, use the model number to identify the correct replacement assembly. A small fan may have the blade attached to the motor; another model may require separate removal.
What the Findings Mean
The checks lead to different next steps:
- A switch that fails continuity testing needs a compatible replacement.
- A damaged house wire or low supply voltage needs electrical service.
- A loose housing needs its mounting hardware secured.
- A blocked wheel needs its obstruction removed with power off.
- A stiff motor shaft or damaged winding may call for motor replacement.
- A loose plug needs a secure reconnection before the final test.
Do not buy a motor merely because a fan hums. The switch and wiring findings can point elsewhere. If several faults are present, address the electrical safety issue before testing the fan again.
Final Test and Ongoing Care
Restore power only after the switch, wiring covers, motor assembly, and grille are secure. Run the fan briefly and check for these outcomes:
- The wheel starts promptly.
- Air moves steadily through the grille.
- The hum no longer continues without rotation.
- The housing does not vibrate or rattle.
- No hot electrical smell develops.
Heavy dust can slow the blower and conceal damage. Cleaning the grille and visible blades during normal maintenance can make a new problem easier to notice. A fan that still hums after a correct part replacement needs another diagnosis rather than repeated starts.
What’s Next?
A bathroom fan humming but not spinning needs checks in a sensible order. The switch and supply must be sound before the motor can be judged. With power isolated, the housing and blower can be inspected for looseness, dirt, and binding. If the results point to house wiring or a live voltage test, an electrician can complete that part safely.