

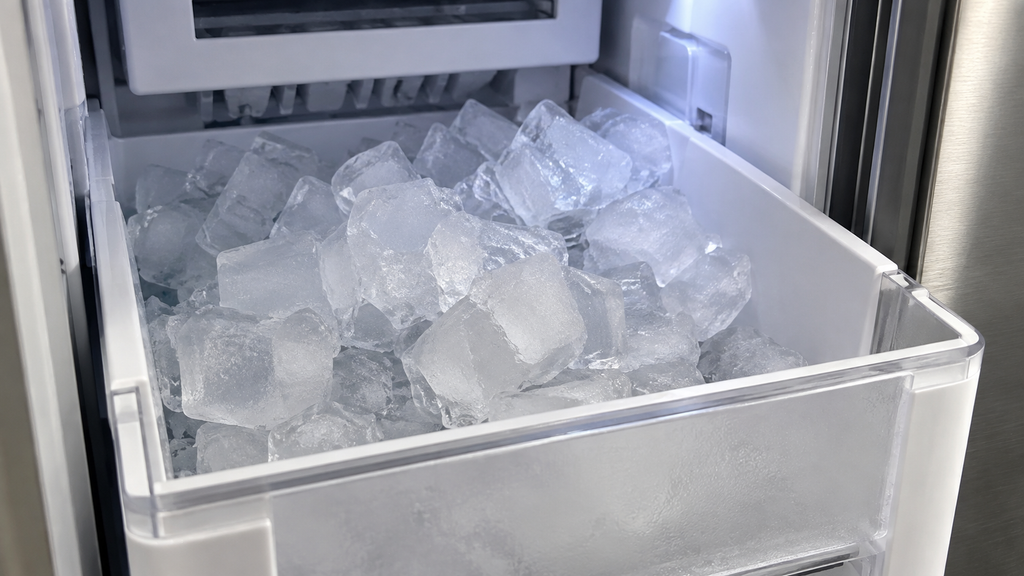
Clumped ice can make the dispenser jam and can point to heat, moisture, or low ice use. Ice cubes sticking together in ice maker bin may freeze into small groups after sitting for days. A large solid mass often means the ice partly melted and froze again. The cause may be a warm freezer, a door leak, a dripping fill valve, or humid air entering the bin.
The right fix starts with the shape of the clump. Rounded cubes fused along their sides suggest melting. Thin sheets or icicles suggest a water leak. Frost across the bin points to moist air. What does the ice show before it gets broken apart?
Ice Cubes Sticking Together in Ice Maker Bin: Common Causes
Several conditions can add liquid water or warm air to stored ice.
- The freezer temperature rises during long door openings.
- A door gasket leaks warm, damp room air.
- The ice bin sits out of position under the maker.
- The fill tube drips after each harvest.
- The water inlet valve closes slowly.
- Ice stays in the bin long enough to shrink and refreeze.
- The dispenser flap does not seal after use.
- Warm food is placed close to the ice bin.
Safety First
- Turn off the ice maker before removing the bin.
- Unplug the refrigerator before touching wiring or removing service panels.
- Dry spilled water at once to prevent slips.
- Do not chip ice with a knife or sharp metal tool.
- Discard ice that has an unusual odor, color, or visible debris.
- Stop and arrange service if water reaches electrical parts.
How to Stop Ice Cubes From Sticking Together
Work from storage conditions toward the water supply. This order avoids replacing a part before basic temperature and sealing problems are checked.
Empty and Inspect the Bin
- Turn off the ice maker using its switch, arm, or control setting.
- Pull the bin straight out according to the manual.
- Dump the clumped ice into a sink.
- Let the bin warm enough for loose frost to melt.
- Wash the bin with mild dish soap and warm water.
- Dry every surface before returning the bin.
- Check that the bin seats fully under the ice maker.
Check Freezer Temperature and Air Leaks
- Place an appliance thermometer near the center of the freezer.
- Leave the door closed for several hours.
- Confirm that the temperature stays close to 0 degrees Fahrenheit.
- Inspect the door gasket for food, folds, cracks, and loose sections.
- Clean the gasket and cabinet contact surface with mild soapy water.
- Check that packages do not stop the door from closing.
- Test the dispenser flap for a full seal after use.
Look for a Water Drip
- Turn the ice maker back on with the dry bin installed.
- Observe the next fill from a safe position.
- Check for water that splashes over the mold or misses the fill cup.
- Look for a thin frozen sheet below the maker.
- Inspect the fill tube opening for a hanging drop or ice plug.
- Turn off the ice maker if water continues after the fill period.
- Arrange service for a valve, tube, or control fault.
Read the Ice Pattern
The form and location of the ice can guide the next check.
- Cubes fused only at the top may have sat under warm air from an open door.
- A solid block at the bottom of the bin points to spilled or leaking water.
- Long icicles below the maker suggest an overfill or misdirected stream.
- Heavy frost on the bin walls suggests a door or dispenser air leak.
- Small, hollow cubes may point to weak water flow before they later refreeze.
- Clear sheets near the fill tube suggest a slow valve leak.
Photographing the pattern before cleaning can help a technician if the problem returns.
When Low Ice Use Is the Main Cause
Ice slowly changes in a frost-free freezer. The defrost cycle warms surfaces for a short time, and old cubes lose moisture. Cubes that remain pressed together can bond during these small temperature changes.
Low-use fixes include:
- Empty old ice every few weeks.
- Break up loose clusters with a clean plastic scoop.
- Keep the bin below its maximum fill line.
- Turn the ice maker off during long trips.
- Make a fresh batch before a party rather than saving old ice for months.
- Store strong-smelling food in sealed containers.
When the Water Valve Needs Attention
The inlet valve should open during the short fill period and close fully afterward. A worn valve can seep even when the maker stops calling for water. Low household pressure can also keep some valves from sealing well.
Possible valve clues include:
- A frozen fill tube returns soon after thawing.
- Water appears in the bin between harvests.
- The ice maker overfills its mold.
- Ice forms below the fill cup.
- The refrigerator has other water flow problems.
- A humming valve runs longer than normal.
Valve testing may involve line water pressure and electrical checks. A trained technician can identify whether the valve, control, or tubing caused the leak.
Prevent Ice Clumps From Returning
Good storage and door habits keep the bin colder and drier.
- Keep the freezer near 0 degrees Fahrenheit.
- Close both refrigerator doors fully after loading food.
- Clean door gaskets every month.
- Check the dispenser flap for trapped ice.
- Level the refrigerator according to the installation instructions.
- Use or discard old ice before it packs into a hard mass.
- Keep warm containers away from the ice maker area.
- Call for service when any drip returns.
Closing Thoughts
Ice cubes sticking together in ice maker bin usually come from partial melting, added water, or humid air. A clean dry bin, steady freezer temperature, and tight door seals solve many cases. Frozen sheets, icicles, or repeat water in the bin point to a fill problem that needs repair. Reading the ice pattern turns a frustrating clump into a clear set of checks and helps keep the dispenser ready.