
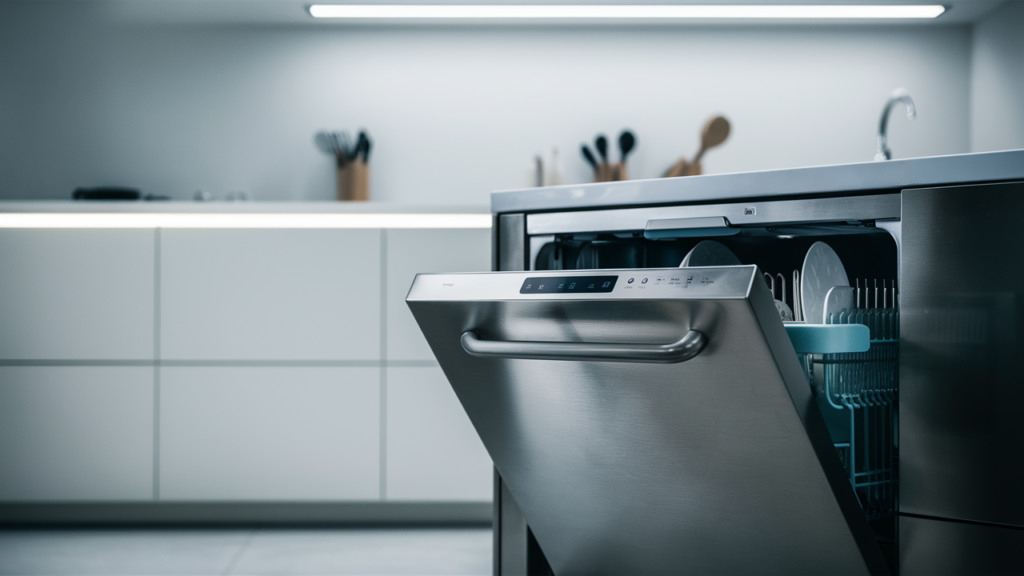
The leak detector sensor in a Samsung dishwasher monitors for water leaks and alerts the control board if any are detected. However, when the sensor malfunctions, it may incorrectly signal a leak or fail to detect an actual one. This can cause error codes, water pooling under the appliance, or an unresponsive leak detection system.
If you’re experiencing these issues, replacing the leak detector sensor may solve the problem.
How the Leak Detector Sensor Works
The Samsung dishwasher leak detector sensor operates by detecting excess moisture or water in specific areas of the dishwasher. It sends an electronic signal to the control board when water is detected, triggering a shut-off mechanism or an error code to prevent further leaks.
A faulty sensor may misread water presence, triggering false alarms or failing to respond during actual leaks. The system can accurately detect and respond to potential water issues by replacing the defective part.
Common Signs of a Faulty Leak Detector Sensor
Knowing when the Samsung dishwasher leak detector sensor needs replacement can save time and prevent further issues. Here are common symptoms of a failing sensor:
- Frequent error codes related to water leakage (e.g., LE or LC error).
- Water pooling or dripping underneath the dishwasher.
- Inconsistent shutdowns during operation.
- Unresponsive leak detection system, even when water is present.
If you experience any of these signs, replacing the sensor can restore normal dishwasher function.
Tools and Materials Needed
- Replacement leak detector sensor (compatible with your dishwasher model)
- Phillips screwdriver
- Flathead screwdriver
- 5/8-inch wrench
- 9/64-inch hex screwdriver
- Pliers
- Towels
Safety Precautions
Before starting the replacement process, prioritize safety to avoid accidents and damage.
- Disconnect Power: Always unplug the dishwasher or turn off the circuit breaker to prevent electrical shock.
- Cool Down: If the dishwasher was recently used, allow it to cool completely before working on it.
- Turn Off Water Supply: Shut off the water supply and have towels ready to absorb any remaining water.
- Stay Organized: Work in a clean, well-lit area free from clutter, children, and pets.
- Dry Work Area: Make sure your hands and the workspace are completely dry to avoid electric shock.
- Use Insulated Gloves: Wear gloves to protect your hands from sharp edges or debris.
- Handle Parts with Care: Avoid using excessive force, as this can damage components or cause injuries.
- Document Connections: Take photos or notes of wiring and connections before disassembly to simplify reassembly.
- Check the Manual: Refer to your dishwasher’s user manual for specific safety and installation guidelines.
- Avoid Exposed Wires: If you must handle wires, use insulated tools or wear protective gloves.
How to Replace the Samsung Dishwasher’s Leak Detector Sensor
Preparation
- Unplug the dishwasher from the power outlet.
- Locate the water supply valve for the dishwasher and shut it off.
- Use a Phillips-head screwdriver to remove the screws securing the lower access panel at the front of the dishwasher.
- Carefully remove the lower access panel.
Disconnecting Water and Power
- Place towels under the water supply line and inlet valve to catch any water.
- Use a 5/8-inch wrench to unthread the water supply line from the inlet valve. Be prepared for some water to spill out.
- Locate the junction box cover on the side or back of the dishwasher.
- Use a screwdriver to unthread the screw securing the junction box cover, then remove the cover.
- Take note of the wire connections inside the junction box and take a photo for reference during reassembly.
- Untwist the wire nuts to disconnect the wires.
- Unthread the strain relief nut and detach the strain relief from the junction box.
Disconnecting the Drain Hose
- Locate the drain hose connected to the sink drain or garbage disposal.
- Disconnect the drain hose and feed it through the cabinet.
- Inspect the drain hose for blockages or damage, and clean or replace it if necessary.
Releasing the Dishwasher
- Open the dishwasher door and locate the mounting bracket screws at the top of the dishwasher.
- Use a screwdriver to unthread the mounting bracket screws.
- If needed, adjust the dishwasher legs to lower the appliance.
- Use a 9/64-inch hex head screwdriver to rotate the adjustment rod at the front of the dishwasher clockwise to lower the rear leveling leg.
- Carefully pull the dishwasher out of the cabinet, avoiding damage to any hoses or connections.
Accessing the Leak Detector Sensor
- Tip the dishwasher back so it rests on its rear panel.
- Use a Phillips-head screwdriver to unthread the screws securing the bottom access panel.
- Pull the bottom access panel forward to access the leak detector sensor.
Replacing the Leak Detector Sensor
- Disconnect the wire connector from the old leak detector sensor.
- Use a screwdriver to unthread the screws securing the old leak detector sensor to the access panel.
- Remove the old leak detector sensor.
- Align the new leak detector sensor on the access panel and attach it with the screws.
- Reconnect the wire connector to the new leak detector sensor.
Reassembling the Dishwasher
- Reposition the bottom access panel onto the base of the dishwasher and snap the retaining tabs into place.
- Secure the bottom access panel with the screws.
- Carefully slide the dishwasher back into the cabinet, avoiding pinching any cables or hoses.
- Adjust the dishwasher’s leveling legs as needed to make the appliance level.
- Secure the dishwasher to the cabinet or countertop by replacing and tightening the mounting bracket screws.
Reconnecting the Drain Hose and Wires
- Feed the drain hose through the cabinet and reconnect it to the sink drain or garbage disposal.
- Position the drain hose so it is elevated above the connection point.
- Position the wire strain relief back into the junction box and secure it with the strain relief nut.
- Reconnect the wires using the wire nuts, aligning the connections properly.
- Align the junction box cover and secure it with the screw.
Restoring Water and Power
- Reconnect the water supply line to the inlet valve on the dishwasher.
- Replace the lower access panel and secure it with the screws.
- Turn the water supply back on.
- Plug the dishwasher back into the power outlet.
Testing the Repair
- Run a test cycle to confirm the new leak detector sensor is working properly.
- Check for leaks or any other issues.
So, there you have it—your step-by-step guide to replacing the leak detector sensor in your Samsung dishwasher. If you’ve made it this far, you’re practically a home appliance technician (or at least deserve a well-earned break and a snack).
While it might sound complicated at first glance, taking things one step at a time makes this repair surprisingly manageable. Plus, saving yourself from a costly service call? That’s always a win. Now that your dishwasher is back in business, you can say goodbye to those annoying error codes and unwanted puddles.