
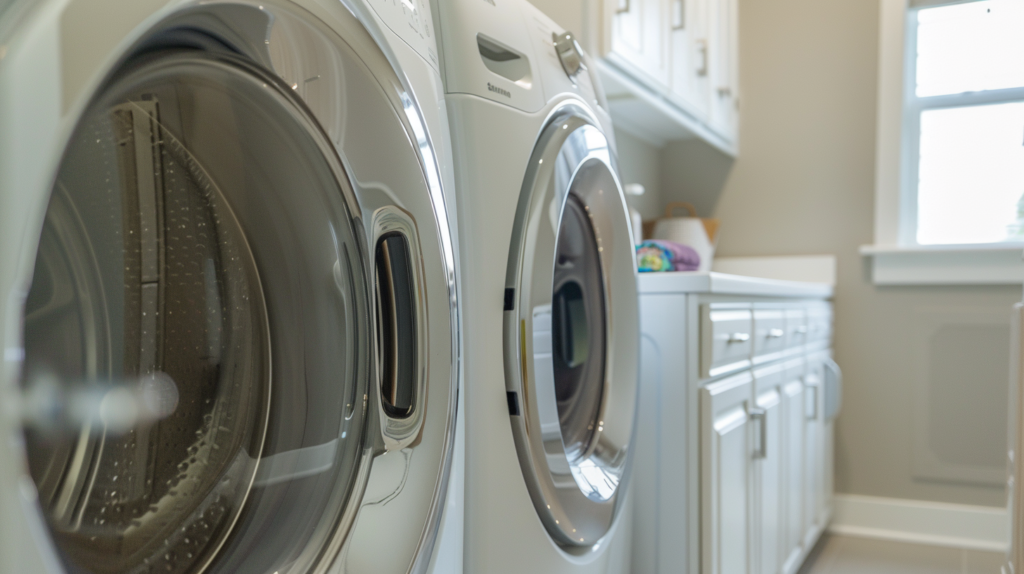
Does your dryer seem to take longer to dry clothes or feel warmer than normal? It may be time for a deep clean. The buildup of lint in the dryer vent and lint trap can cause inefficient drying and safety hazards like fires. This guide shows you how to thoroughly clean these hard-to-reach areas and make your dryer run like new again.
Understanding Your Dryer’s Lint System
Your dryer’s lint trap and vent system is designed to collect and remove lint and debris from your clothes as they tumble dry. Keeping this system clean is important for ensuring proper airflow and drying performance, as well as reducing fire hazards.
The main components of a dryer’s lint system are:
- Lint Trap – This is a screen located inside the dryer drum. It collects lint from the clothes as they tumble. Lint and debris are stopped by the screen while airflow continues out to the vent. The lint trap needs to be cleaned before and after every load.
- Vent Ductwork – This is the flexible aluminum or plastic duct that connects the back of the dryer to the external dryer vent. It allows hot air and lint to be carried outside. Ductwork should be inspected and cleaned periodically to remove any lint buildup.
- External Dryer Vent – This vent, usually located on an outside wall, allows the hot exhaust air from the dryer to exit your home. It has a hood or louvered flap to keep out pests when not in use. The external vent needs to be cleaned regularly as part of duct maintenance.
To keep your dryer operating safely and efficiently, you should clean the lint trap before and after every load. Do a deep clean of the full lint system every 6-12 months by disconnecting and cleaning ducts. Look for excessive lint buildup around joints and corners.
Tools and Materials Needed
Cleaning your dryer lint trap and vent ducts does not require many supplies. With just a few handy tools, you can keep your dryer’s airflow running smoothly.
Here is what you’ll need to deep clean your dryer’s lint system:
- Vacuum cleaner with hose attachments – Use the crevice tool and brush attachments to vacuum lint and debris from the lint trap housing and vent ductwork.
- Dryer vent brush kit – This specialized brush can reach deep into the vent ductwork. Use it to dislodge built-up lint.
- Screwdriver – You may need a Phillips or flathead screwdriver to remove the dryer vent cover.
- Microfiber cloths – These lint-free cloths are great for wiping away dust and debris. Dampen them to clean lint housing.
- All-purpose cleaner – A mild, soapy cleaner helps wash the lint trap and lift stuck-on lint.
- Safety gear – Wear gloves to protect your hands from dirt and sharp edges. A dust mask prevents inhaling lint.
You likely already have most of these supplies at home. The specialized vent brush kit can be purchased affordably at any hardware store or online.
Gather all these materials before beginning. Make sure to unplug the dryer and read the safety tips before starting your cleaning. The right tools make a duct cleaning job much easier!
Step-By-Step Guide to Deep Cleaning Your Lint Trap
Cleaning the lint trap is an important part of dryer maintenance. Follow these steps to thoroughly clean your dryer’s lint trap:
1. Preparing Your Dryer
Before cleaning, make sure to:
- Unplug the dryer or turn off the power supply. This prevents electric shock.
- Pull the dryer away from the wall. This allows access to the lint trap housing.
2. Cleaning the Lint Trap
- Open the dryer door and remove the lint trap. It slides or pulls out easily.
- Use a brush or fingers to wipe off any loose lint on the screen.
- Wash the lint trap with mild soap and warm water. This lifts stuck-on residue.
- Rinse and dry the lint trap thoroughly before replacing it. Insert it fully into place.
3. Cleaning the Lint Trap Housing
- Use a vacuum crevice tool to suck up lint around the trap opening.
- Wipe the surrounding housing with a damp microfiber cloth.
- Check the housing for any cracks or damage. Clogged vents can cause overheating.
That’s it! Cleaning your lint trap regularly improves airflow and prevents fire hazards. It’s a quick and easy way to maintain your dryer.
Deep Cleaning Your Dryer Vent
In addition to the lint trap, it’s important to periodically deep clean the entire vent ductwork that carries air outside. Follow these steps:
1. Disconnecting the Vent Duct
- Locate the flexible vent duct attached to the back/top of the dryer.
- Remove the metal clamp or duct tape securing the duct. Wear gloves to avoid sharp edges.
- Detach the duct and set it aside. Try not to knock loose any lint inside.
2. Cleaning the Interior Duct Work
- Insert a dryer vent brush into the duct opening. Reach in as far as possible.
- Twist the brush while pushing and pulling to dislodge lint buildup inside the duct.
- Use a vacuum hose to suck up any loosened lint.
- Carefully wipe the inside of the duct opening with a damp microfiber cloth.
3. Cleaning the External Vent
- Find the outside vent cover, usually on an exterior wall or roof.
- Remove the cover and set it aside. Shine a flashlight to look for blockages.
- Use a vent brush to clean lint from the outside vent opening and flap.
- Vacuum around the vent hood exterior and pipe exterior.
4. Reassembling and Testing
- Reconnect the vent duct and secure it with clamps or foil tape. Make sure it is tight.
- Push the dryer back into place and reconnect power.
- Run a test cycle to verify smooth airflow and make sure no lint escapes.
Regularly cleaning the full vent system prevents blockages that are fire hazards. Your dryer will run safer, last longer, and dry faster.
Maintenance Tips
To keep your dryer’s lint system running safely and efficiently, remember these maintenance tips:
- Clean the lint trap before and after each load – This quick habit prevents excess lint buildup between deep cleanings.
- Do a deep clean every 6-12 months – An annual dryer vent cleaning removes hidden lint and improves airflow.
- Watch for signs of blockages – Slow drying times, overheating, or lint escaping into the room, which all indicate a clogged vent.
- Inspect duct joints – Check that all duct connections are tight and lint-free each time you deep clean.
- Replace plastic ducts – Plastic ducts can accumulate static and lint. Upgrade to a smooth metal duct.
- Document your cleaning dates – Keep a cleaning log to remember the last time you deep cleaned the dryer vent.
- Hire a pro if needed – If you can’t reach tricky ducts, call a dryer vent cleaning service for assistance.
Staying on top of dryer vent maintenance ensures your appliance lasts for years while operating safely. Preventing lint buildup also helps your clothes dry faster and saves energy!
Safety Precautions
Cleaning your dryer lint trap and vent ducts is a straightforward DIY project. But it’s important to keep safety in mind:
- Unplug the dryer before cleaning – This prevents electric shocks or injury from moving parts.
- Use cleaning tools carefully – Sharp vent brushes and screws can cause cuts and scrapes. Wear work gloves.
- Prevent falls and strains – Use a sturdy step stool if needed to reach high vents. Don’t overextend your arms.
- Minimize dust inhalation – Wear a protective mask and ventilate the workspace to avoid breathing in lint.
- Check for sharp edges – Metal ducts and vents may have sharp points that could cut you. Use caution.
- Stop a project if overwhelmed – Dryer vent cleaning requires working in tight spaces. Call a pro if you feel unsafe.
- Restore power properly – Plug the dryer back in and confirm it is operating normally before walking away.
- Keep flammables away – Don’t use cleaning products near an open flame or sparks.
With some common sense precautions, you can safely clean your dryer vent. Focus on being careful and methodical. If needed, don’t hesitate to call a professional.
Also Read 5 Alternate Uses for Extra Dryer Sheets
Conclusion
Regularly cleaning your dryer’s lint trap and vent ductwork is important preventative maintenance. By following a thorough deep cleaning routine, you can avoid lint buildup and keep your dryer operating safely and efficiently.
To recap, be sure to:
- Clean the lint trap before and after each load
- Deep clean the vent ducts annually
- Use proper cleaning tools and safety precautions
- Check for clogs or damage during cleaning
- Improve airflow and reduce fire hazards
Taking good care of your dryer with regular lint trap and vent maintenance saves time, money, and effort over the long run. Your dryer will dry faster and last longer. You’ll also reduce energy use and prevent potential fires.
Hopefully, this guide gave you useful tips on how to keep your dryer in good working order. Taking a bit of time for routine lint trap and vent cleaning pays off with better dryer performance. As long as you clean carefully and stay safe, you can handle this useful DIY project yourself. Here’s how to clean ducts. Happy drying!