
Is your refrigerator freezing up and not cooling properly? It could be a faulty defrost thermostat. Replacing this small but important part is a doable DIY project with the right tools and safety steps. This practical guide walks through replacing a defrost thermostat in a top-freezer refrigerator from start to finish. Learn how to disconnect and remove the old part, install the new thermostat, and reassemble your appliance. With some mechanical know-how and patience, you can troubleshoot cooling issues and maintain refrigerator efficiency. Let’s fix the frost buildup and get your fridge back to chillin’!
Required Tools
To complete this refrigerator repair, you will need to gather a few essential tools. Having the right tools on hand will make the job much easier and ensure you can fix the issue properly. Here are the tools needed for this refrigerator repair:
- Phillips screwdriver – to remove screws from the evaporator cover and any other components secured with screws
- Flathead screwdriver – to pry off the wire harness connectors and detach the thermostat from the evaporator
- Wire cutters/strippers – to cut old thermostat wires and strip insulation from new thermostat wires
- Voltmeter – to test for power is off before starting work (optional but recommended)
- Electrical tape or wire nuts – to connect new thermostat wires
- Heat gun or hair dryer – to heat shrink tubing over wire connections
- Protective gloves – to protect hands from sharp metal edges
A. Difficulty Level
This repair requires working with electrical components and disconnecting wires, so it is rated as moderately difficult. With patience and care, an average DIYer should be able to tackle it. Just be sure to follow all safety precautions.
B. Estimated Time
- Plan to set aside 2-3 hours for this repair.
- It will take about 30 minutes to remove the old part.
- Installing the new thermostat will take another 30 minutes.
- Reassembling the freezer components and restoring power will take 1-2 hours.
Step-By-Step Instructions
Now, let’s walk through the repair process step-by-step. Follow along carefully and use the tips provided to make the job easier.
Power Off
Safety first! We need to disconnect the power to avoid electric shock.
- Transfer frozen items – Move food from the freezer to a cooler so it stays frozen during the repair.
- Unplug the refrigerator – Pull the plug from the wall outlet. For extra safety, turn off the fuse or circuit breaker for the fridge circuit.
Did you know? Using a voltmeter to check for power is an extra precaution before touching any wires.
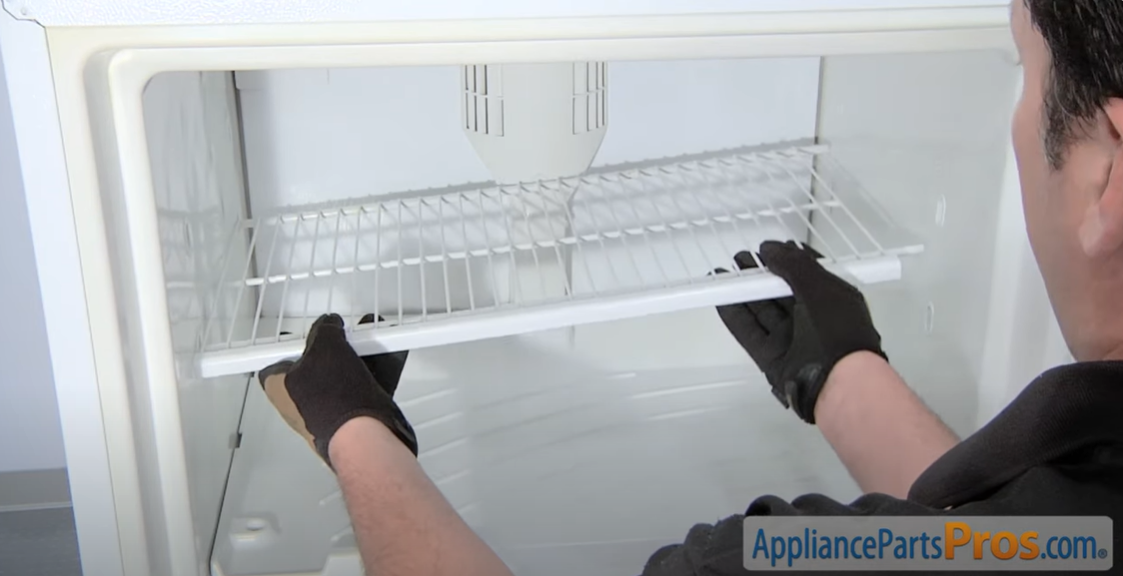
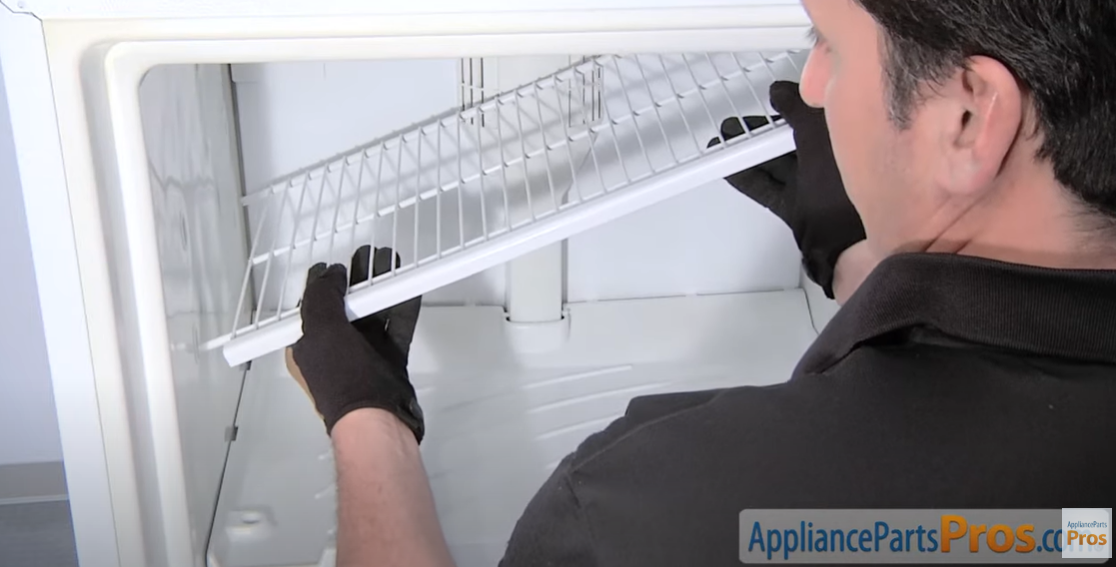
Freezer Shelf Removal
Let’s clear the way to get access behind the freezer wall.
- Remove the spacer – This plastic piece keeps the shelf aligned. Carefully pop it off the pins.
- Detach the shelf from mounting holes – Lift up the shelf bracket hooks from the wall pins. Slide out the shelf.
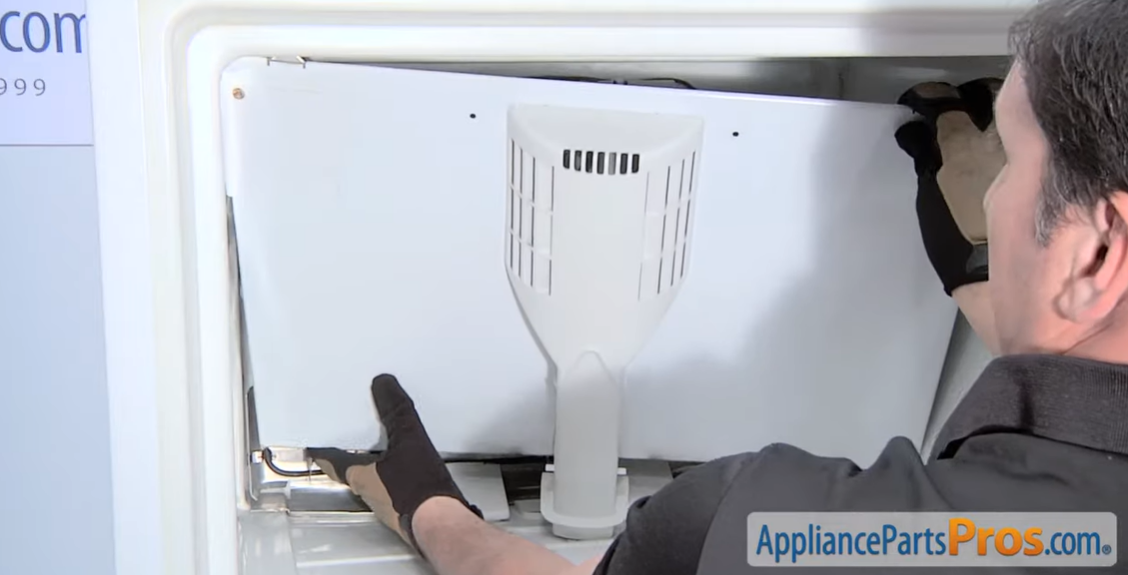
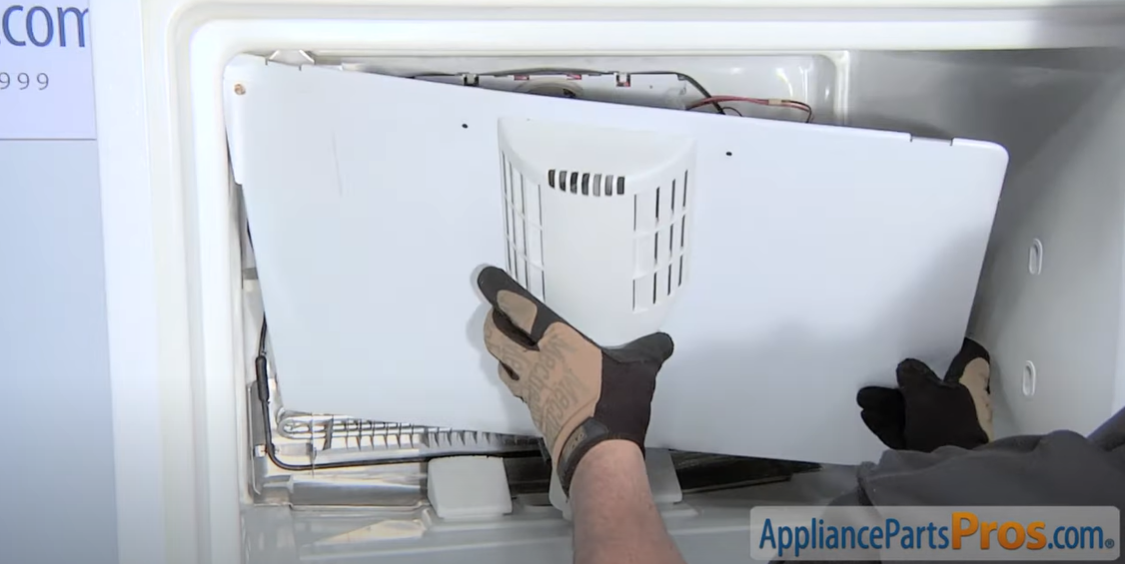
Evaporator Cover Removal
With the shelf out, we can get to the evaporator cover.
- Unscrew mounting screws – Use a Phillips screwdriver to remove any screws securing the cover.
- Disconnect the evaporator fan wire harness – Release the fan wires from the cover connector.
- Disconnect green ground wire and ice maker wire harness – Release all wiring connections.
- Remove the cover – Detach it from the refrigerator wall. Take care not to bend the thin evaporator fins.
Slow and steady wins the race at this step!
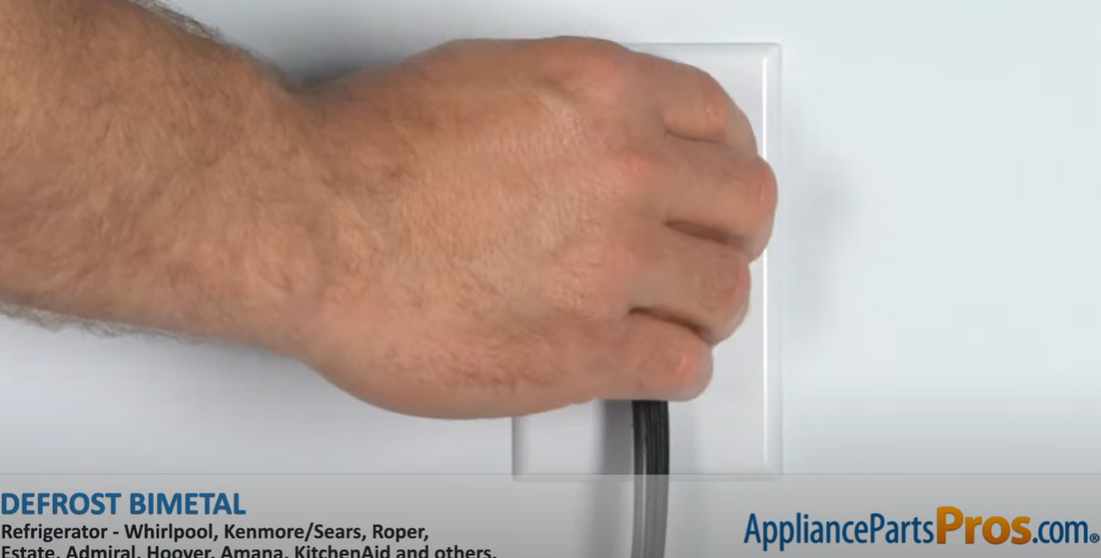
Defrost Bi-Metal Thermostat and Wire Harness Extraction
Now we can access the old thermostat.
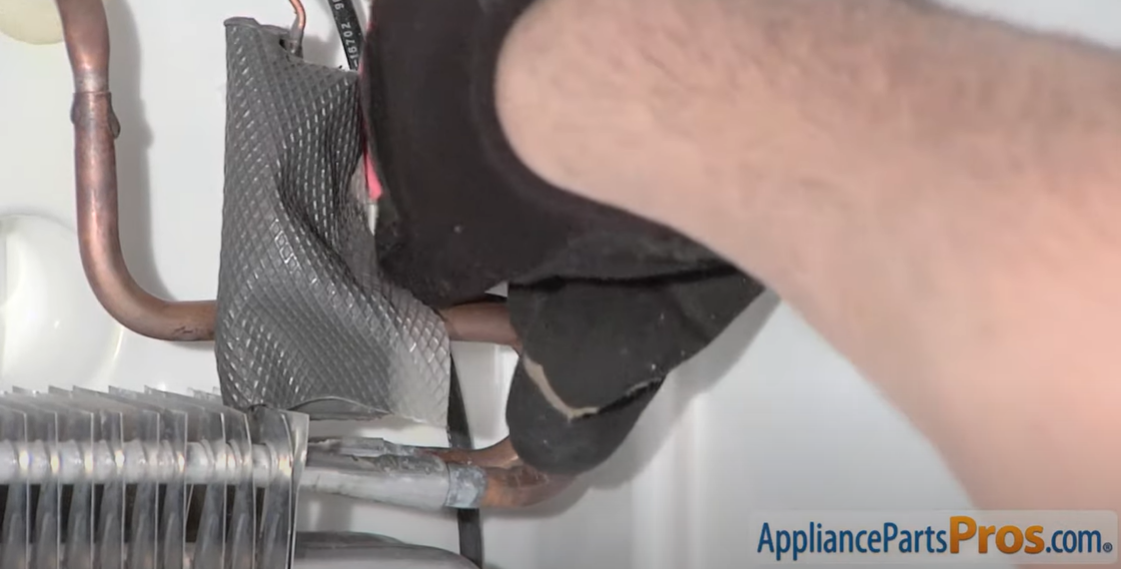
- Detach wires from the defrost heater – Use a flathead screwdriver to gently pry off the wire connectors.
- Release the thermostat and thermistor from the evaporator coils – Gently pull them off the evaporator fins.
- Disconnect the freezer wire harness – Unplug the harness from the wall receptacle.
Removing the Old Defrost Bi-Metal Thermostat
With everything disconnected, we can fully remove the old thermostat.
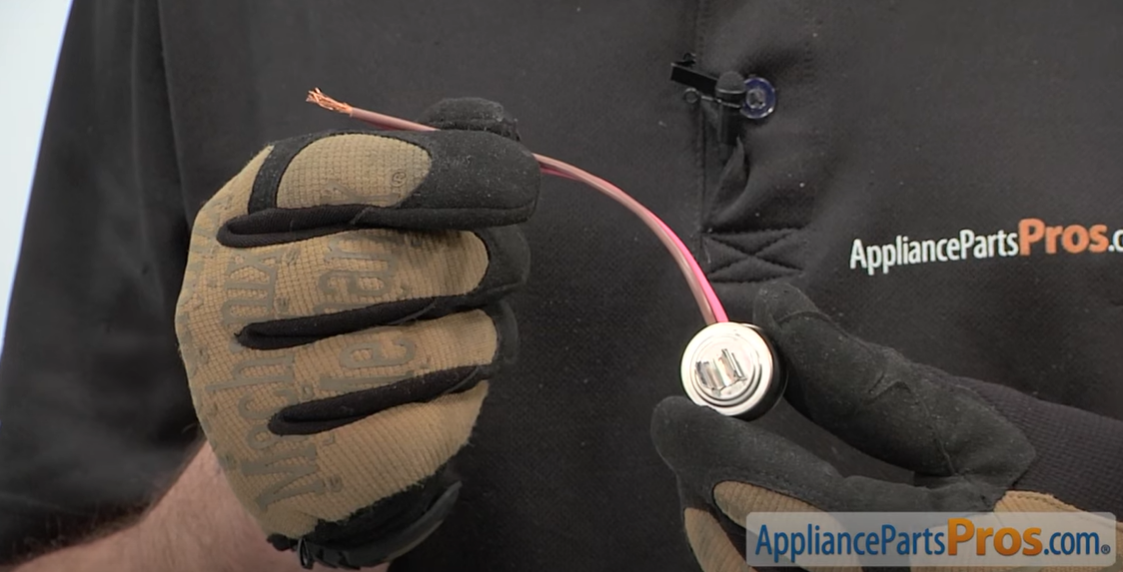
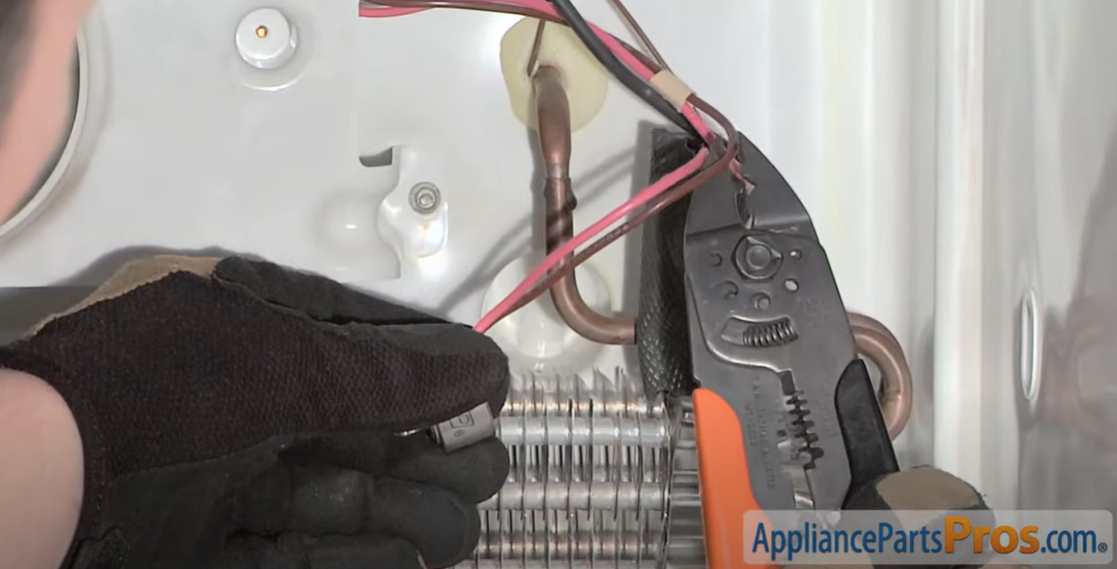
- Cut electrical wires close to the old thermostat – Use wire cutters to clip off the wires. Leave some length to connect the new part.
Installing the New Defrost Bi-Metal Thermostat
Now we’re ready for the new thermostat.
- Strip insulation from wire ends – Use wire strippers to expose 3/4″ of bare wire.
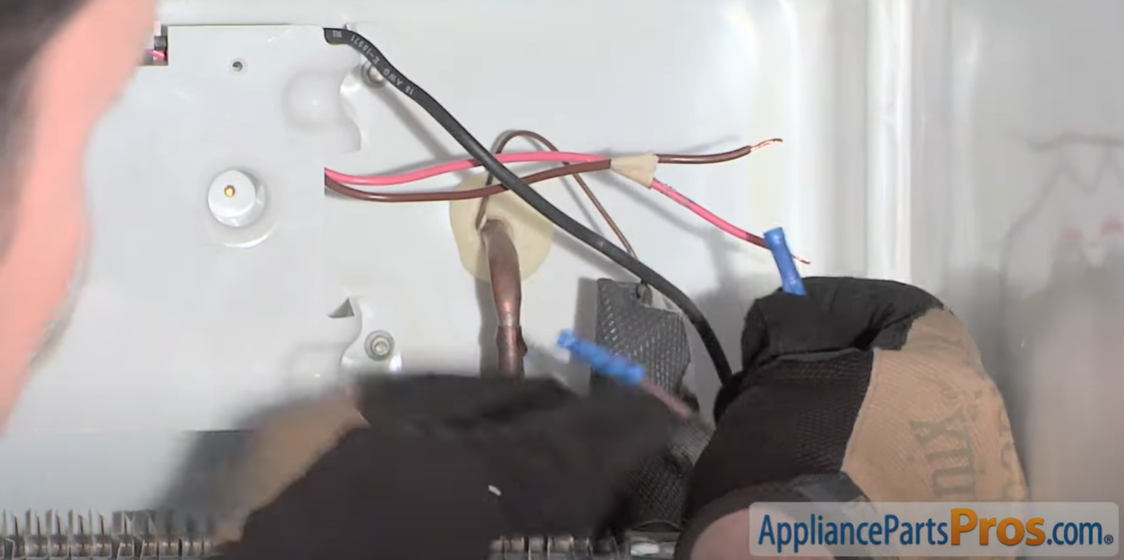
- Connect wires using connectors and heat shrink tubes – Match wire colors. Secure connections with electrical tape or wire nuts, then slide heat shrink tubing over the joints and heat to seal.
Reattaching the Freezer Wire Harness
Almost done! Let’s reconnect everything.
- Reconnect the wire harness to the back wall receptacle – Push the harness plug firmly into the outlet.
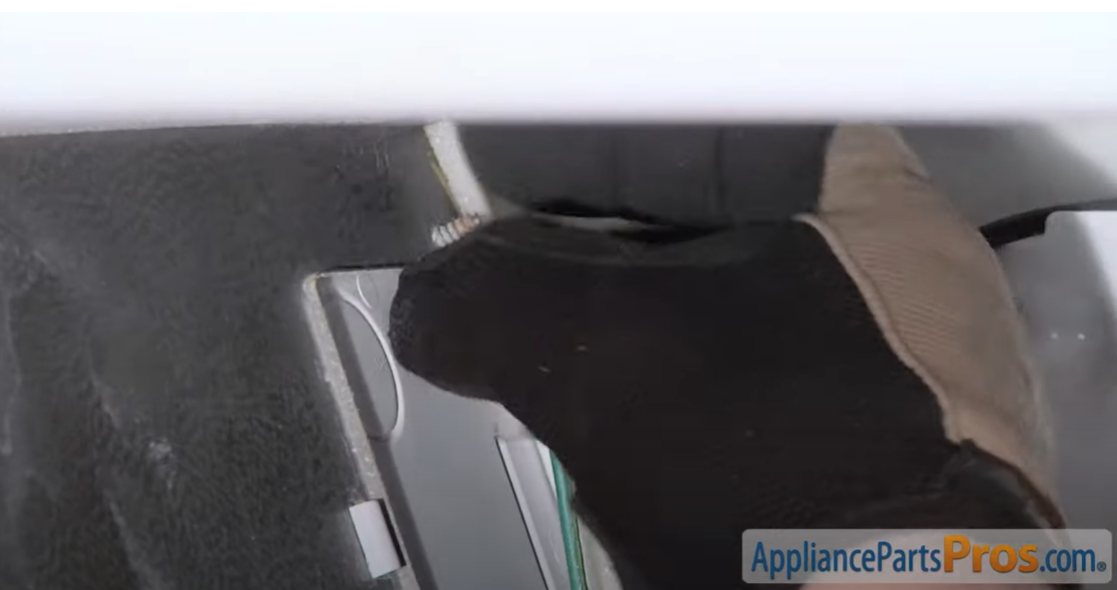
- Secure the new thermostat and thermistor onto the evaporator – Press them evenly spaced onto the coils.
- Reconnect wires to the defrost heater – Attach the push-on wire connectors securely.
Double-check that all connections are tight.
Reinstalling the Evaporator Cover
We’re in the home stretch now.
- Reconnect the ice maker wire harness and ground wire
- Center the cover and reconnect the evaporator fan wire harness
- Secure cover with mounting screws – Tighten screws snugly but be careful not to overtighten.
Replacing the Freezer Shelf
Let’s put everything back together.
- Insert shelf into left side mounting holes.
- Slide the shelf to the right and replace the spacer – Ensure the shelf is secure.
Power Restoration
We’re ready to power the refrigerator back on.
- Plug the refrigerator back in – Return the power cord to the wall outlet.
- Turn on fuse/circuit breaker – Restore power at the breaker box if you turn it off.
- Check for proper cooling – Allow time for the fridge and freezer to cool down completely. Monitor temperatures.
- Return food to refrigerator and freezer – Once fully cooled, food can go back in. Enjoy that frozen treat to celebrate!
That covers the full replacement process. Take it slow and double-check your work. With patience and care, you can successfully replace a defrost thermostat.
Troubleshooting Common Issues
Even experienced DIYers can run into problems during the repair. Let’s go over some potential issues and solutions to get your refrigerator working properly again.
A. Frost buildup after replacement
It’s frustrating to finish the repair only to find frost accumulating. What’s going on?
- The new thermostat may not be making good contact with the evaporator coils. Press it firmly onto the fins.
- A wiring connection could be loose. Double-check that all wires are securely attached.
- The thermistor that senses temperature may be misplaced. Make sure it sits flat against the coils.
- If the vents and coils are very dusty, the airflow is restricted. Try thoroughly cleaning the evaporator compartment.
Take your time checking these potential causes. Proper thermostat contact and wiring are key to preventing frost.
B. Refrigerator not cooling properly
Oh no, the fridge temperature is too warm after the repair! Now what?
- Make sure the thermostat wires are routed correctly and do not interfere with any moving parts.
- A multi-meter will be used to test the thermostat, thermistor, and other components for proper continuity and resistance values. Replace if faulty.
- Inspect the compressor start relay, overload protector, and main control board. These could also cause cooling issues.
- Refrigerant leaks clogged freezer vents, and condenser coil dirt can all affect cooling. We may need to dig deeper to pinpoint the cause.
Don’t give up – methodically test each component to isolate the issue. The fridge will be back to freezing in no time.
C. Unusual noises from the freezer compartment
Is your freezer suddenly humming, clicking, or buzzing after the repair? Some troubleshooting tips:
- Check the evaporator fan wiring and mounting brackets. A loose connection or mount could cause fan vibration and noise.
- Make sure no food packages or ice buildup interferes with or touches the fan blades. Remove any obstructions.
- The fan motor itself may be going bad. Test the fan motor resistance with a multi-meter. Replace if needed.
- Low refrigerant, bad bearings, or compressor issues can also lead to odd noises. But let’s start with the easier fixes first.
With some focused troubleshooting, we can silence that racket and enjoy a quiet, properly running refrigerator again.
Maintenance Tips for Optimal Performance
Nice work on the repair! Now let’s go over some maintenance tips to keep your refrigerator running efficiently:
1. Regular cleaning of the evaporator coils
- Dust on the evaporator coils decreases cooling capacity.
- Use a soft brush or vacuum with a crevice tool to gently clean the coils and fins.
- An evaporator coil cleaning spray can help dissolve stuck-on dirt and debris.
2. Checking the door seal for proper closure
- A leaky door seal allows cold air to escape.
- Feel along the seal for any gaps or brittle areas and replace them if needed.
- Test the seal by closing a dollar bill in the door and tugging it out. Resistance means a good seal!
3. Setting the correct temperature
- Refer to your owner’s manual for ideal temp settings.
- Allow 24 hours to stabilize after adjusting the temperature controls.
- Use an appliance thermometer to double-check the fridge and freezer temp.
Following these simple maintenance steps will maximize cooling efficiency and extend the service life of your refrigerator. A little preventative care goes a long way!
Here are some other tips:
- Regularly wash removable parts like shelves and drawers with mild soap and water.
- Straighten the fridge condenser coils if bent to allow optimal airflow.
- Keep the floor around the refrigerator clean to promote proper ventilation.
- Avoid overpacking the fridge or blocking vents with food items.
With proper maintenance and care, your refrigerator can reliably freeze and chill your food for years to come.
Safety Precautions
When tackling any appliance repair, safety should always be the top priority. Let’s review some key safety steps:
1. Disconnecting power before beginning the repair
- Unplug the refrigerator or turn off the circuit breaker supplying power to it.
- Use a non-contact voltage tester to double-check that the power is off.
- This prevents electric shock while handling wiring and components.
2. Wearing protective gloves
- Sharp metal edges behind the refrigerator can cause cuts.
- Insulated gloves protect your hands and improve your grip.
- Consider eye protection, too, for an added safety buffer.
3. Handling electrical components with care
- Don’t tug or force any connectors to avoid damaging wires.
- When using heat to shrink tubing, keep the heat source moving to prevent melting.
- Avoid touching any circuit boards unnecessarily. Static electricity can ruin them!
Take things slowly and be cautious when dealing with any electrical appliance. Rushing through steps can lead to injury or accidental damage.
Here are some other smart precautions:
- Keep a fire extinguisher handy just in case, especially when soldering or heating.
- Lay down cardboard or a towel to avoid scratching the floor or hurting your knees.
- Refer to your refrigerator’s schematic diagram if the wiring seems unclear.
Your safety is most important! Don’t hesitate to consult a professional if any steps seem unsafe. When in doubt, call for backup.
Watch the guide here: How To: Whirlpool/KitchenAid/Maytag Defrost Bimetal WP4387503
Conclusion
We’ve reached the end of this refrigerator defrost thermostat replacement guide. Let’s recap the key points:
- Gather the proper tools and safety gear before starting. Make sure to disconnect the power.
- Remove freezer interior components to access the evaporator compartment. Detach all wiring connections.
- Cut out the old thermostat and carefully install the new one. Reconnect the wiring.
- Reassemble the evaporator cover, shelf, and accessories. Restore power once complete.
- Troubleshoot any issues like frost buildup or odd noises using the tips provided.
- Maintain your refrigerator regularly for optimal cooling and efficiency.
- Follow all safety precautions when dealing with electrical components.
With some handy tools, mechanical ability, and a patient approach, you can successfully replace a defrost thermostat. Your refrigerator will be back chilling food in no time!