
Is your fridge failing to stay cold enough or perhaps freezing all your produce? In many cases, the root cause lies with a broken temperature control thermostat needing replacement. Thankfully, this repair is very DIY-friendly for handy homeowners.
This guide covers:
- How the thermostat regulates fridge temperatures
- Signs you may be having issues
- Step-by-step instructions to replace it
- Helpful pointers for first-time repairers
- Potential complications and how to avoid them
Let’s keep perfectly chilled food, just a new thermostat away!
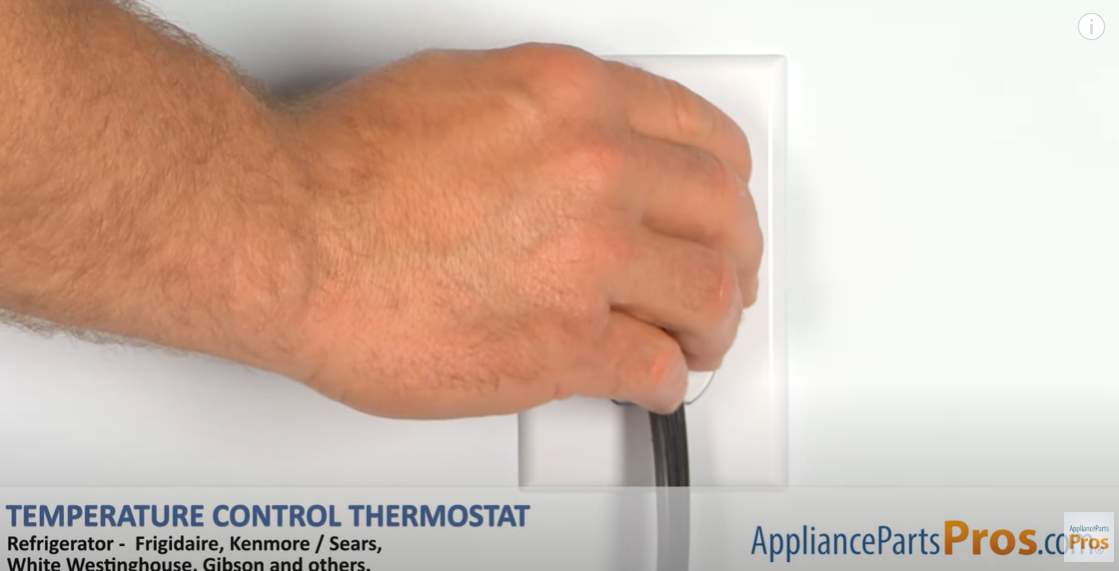
Understanding the Temperature Control Thermostat
The refrigerator thermostat is the main temperature control component mounted inside the fridge compartment.
It works by regulating electrical voltage to the cooling system based on feedback from a long sensing tube with temperature-sensitive metal coils inside:
- The sensing tube runs from freezer down to produce drawers
- Internal coils expand or contract based on detected temps
- This alters electrical resistance, which thermostat reads
- Power to compressor/fans adjusts up or down to stabilize to dial set point
If the thermostat contacts corrode or its coiled sensor tube cracks, precise temperature regulation becomes impossible.
Common Failing Thermostat Symptoms:
- Unit temperature too warm
- Food freezing in refrigerator section
- Thermostat dial stops adjusting temps
- freezing up with frost buildup
- Odd compressor noises
Catch issues early before risking hundreds in spoiled food!
DIY Temperature Control Thermostat Replacement
Taking on a thermostat replacement yourself has a few key steps:
- Purchase the correct new thermostat
- Gather necessary tools
- Power down unit safely
- Access and remove old thermostat
- Install replacement thermostat
We’ll break down each step for success. With proper precautions, expect 1-2 hours for the full repair.
Step 1: Buying a New Refrigerator Thermostat
An exact replacement match ensures full compatibility.
To source the part:
- Note fridge brand name & model # (typically printed inside unit)
- Search using model # for the part listing
- Verify thermostat style & tube insulation match
- Purchase part specifically for your refrigerator
Expect costs between $50-$150. Stick with OEM parts from your fridge’s manufacturer if uncertain.
Once ordered, thermostats usually ship in 1-3 days.
Step 2: Gathering Tools and Materials
You’ll need a basic toolkit:
- Safety glasses
- Phillips and flathead screwdrivers
- Needle nose pliers
- Headlamp/flashlight
- Multimeter (for testing)
- Non-static mat
Also, gather:
- Exact replacement thermostat
- Painter’s tape
- Anti-seize grease
Use extreme caution working near live electrical wiring!
Step 3: Disconnect Power
Before any repair work, fully disable the refrigerator:
- Unplug fridge from power outlet
- Turn off circuit breaker/fuse supplying unit
- Place warn sign & lockout device on breaker panel
- Verify appliance is fully powered off
- Set replacement parts aside in secure area
With electricity safely eliminated, repair work can now safely begin.
Step-by-Step Thermostat Replacement Instructions
With all preparations complete, let’s walk through the replacement process:
1. Power Off the Refrigerator
Ensure the refrigerator is unplugged from electrical outlet and circuit breaker is turned OFF. Leave doors closed to avoid temperature loss.
Carefully transfer perishable items from fridge and freezer to insulated coolers if power is cut for over 30 minutes.
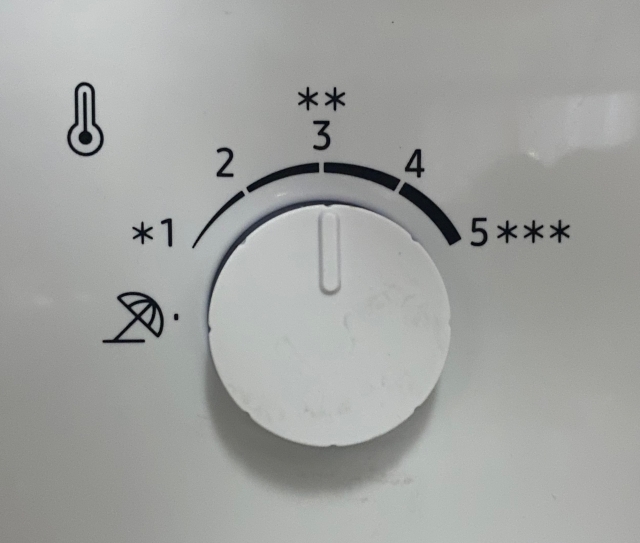
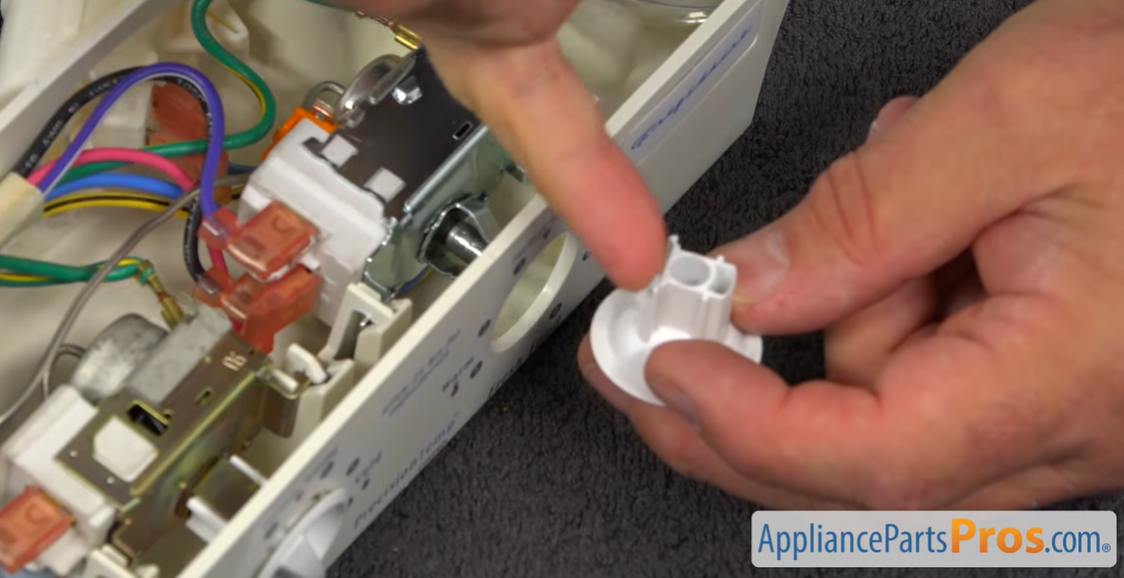
2. Removing the Control Knob
The thermostat dial must be taken off first to reveal the control housing mounting screws underneath:
- Grasp plastic temperature control knob firmly and gently pull knob from thermostat dial stem to remove it.
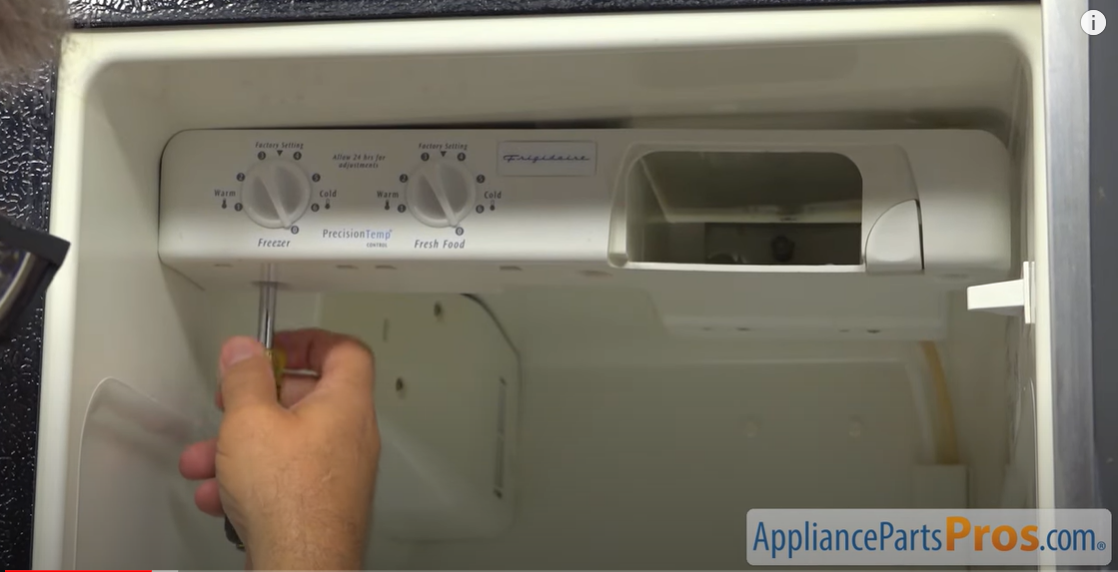
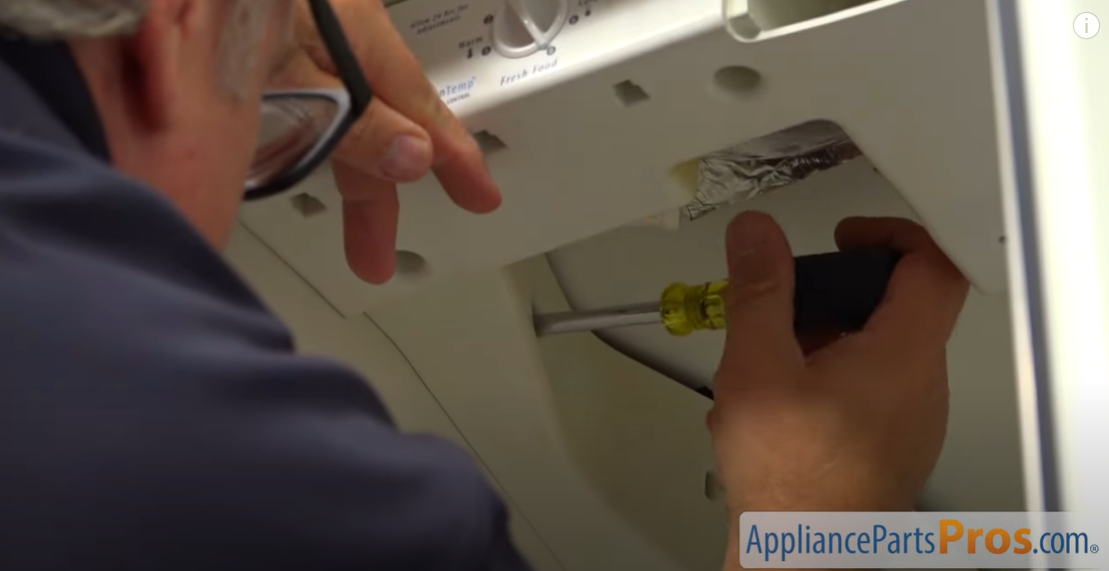
3. Detaching the Control Housing
With the knob off, access and detach the outer metal thermostat housing:
- Unscrew mounting screws from perimeter of housing with Phillips screwdriver. Often 6-8 screws.
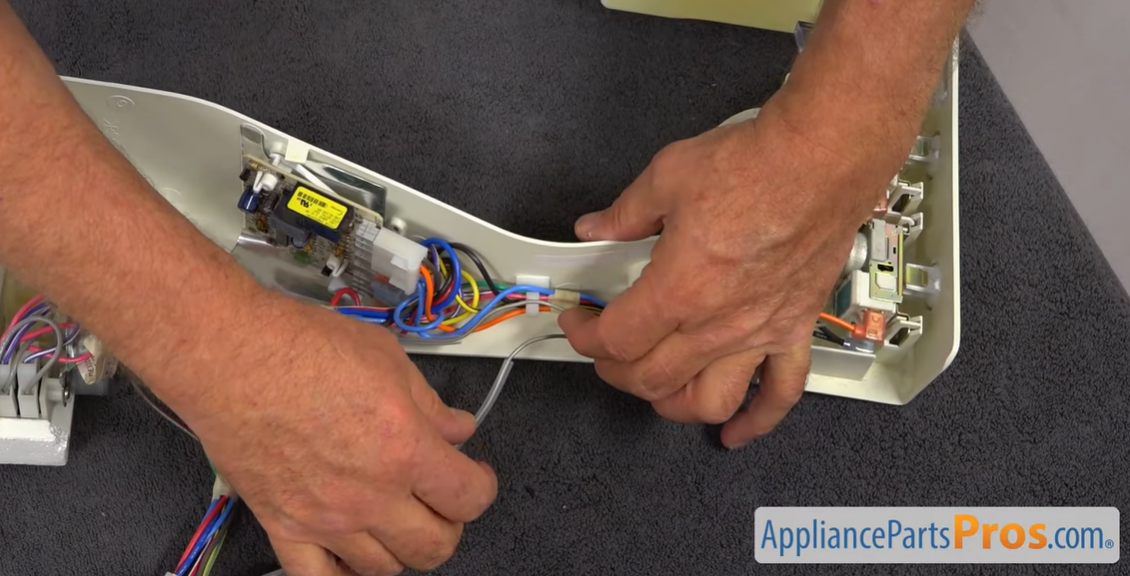
- Carefully slide housing upwards once screws are out. Multiple wire harnesses will prevent it from being fully removed.
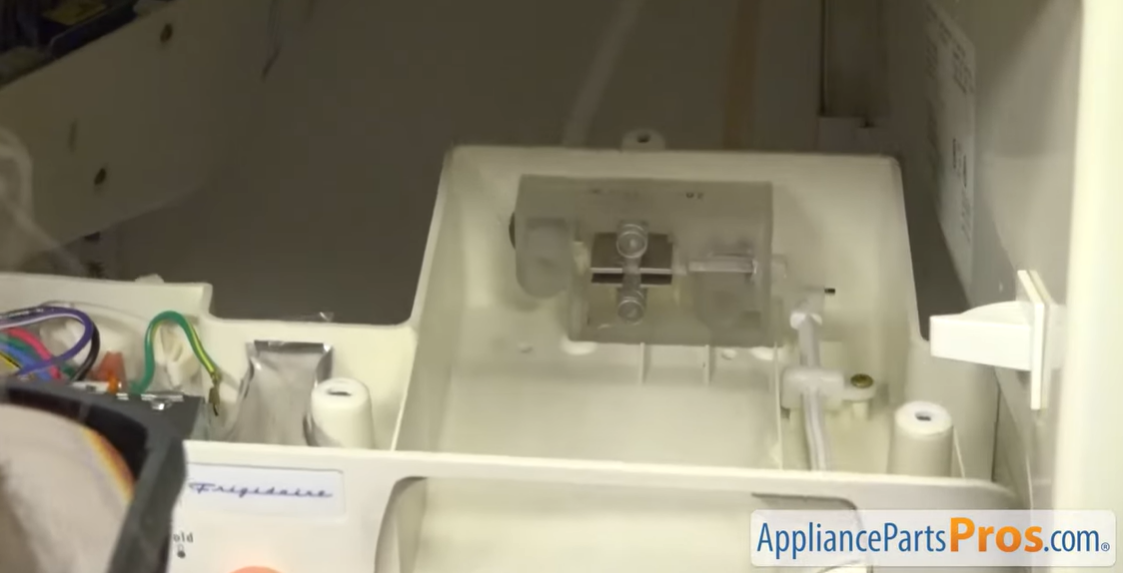
4. Releasing the Temperature Control Thermostat
Now the actual temperature sensing components can be accessed and removed:
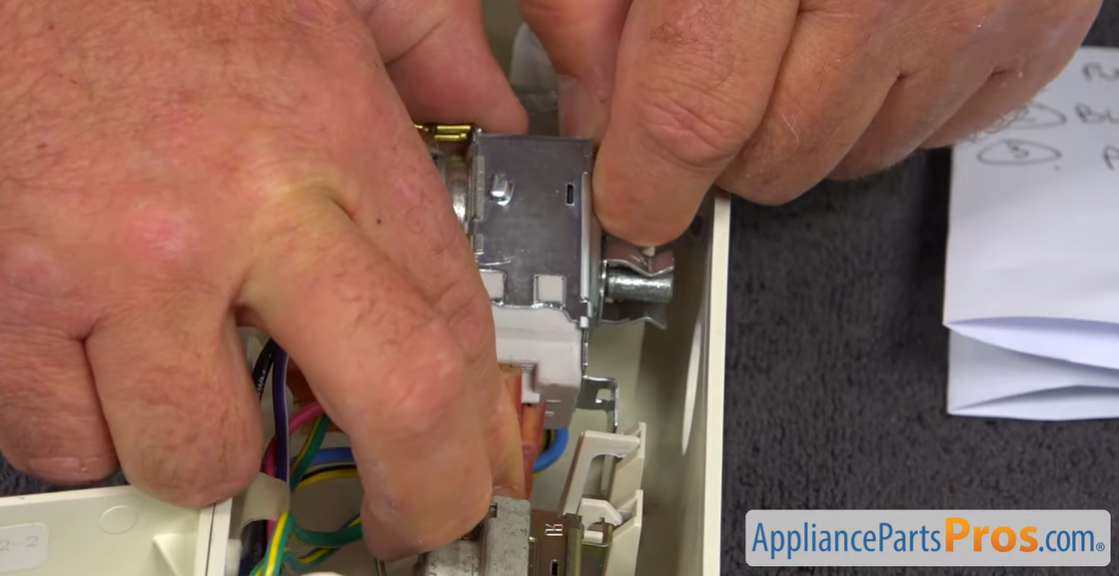
- Locate bracketed mounts securing thermostat and long metal sensing tube to the control housing.
- Loosen/remove brackets using screwdriver or needle nose pliers until sensing tube and thermostat components come free.
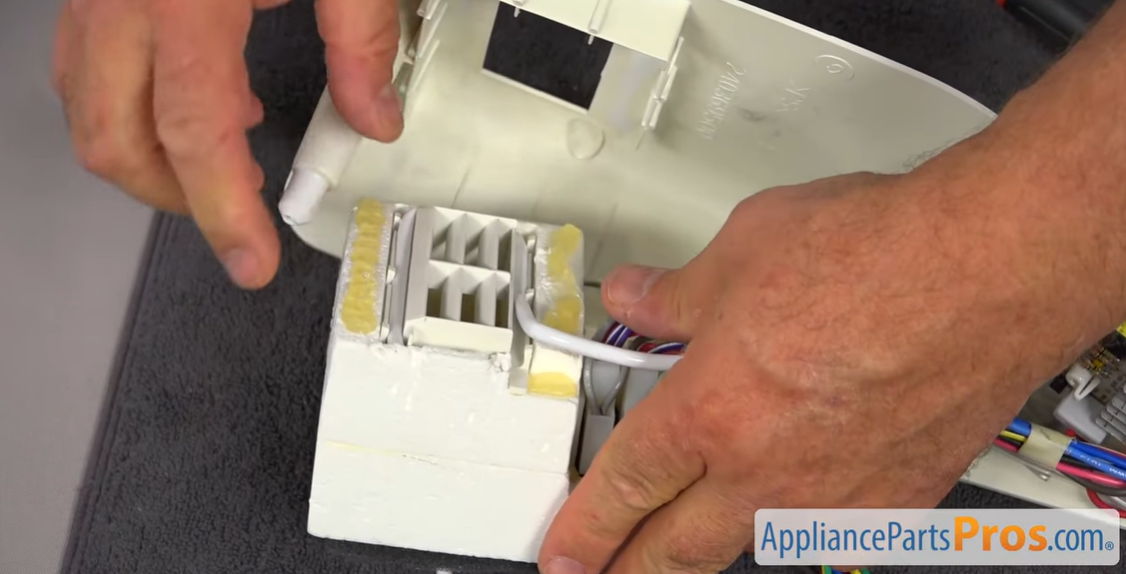
- Slide insulation sleeve off old sensing tube – make note to transfer this sleeve over to the replacement sensing tube later for a snug fit.
5. Disconnecting the Wires
Use extreme care when handling wire connections:
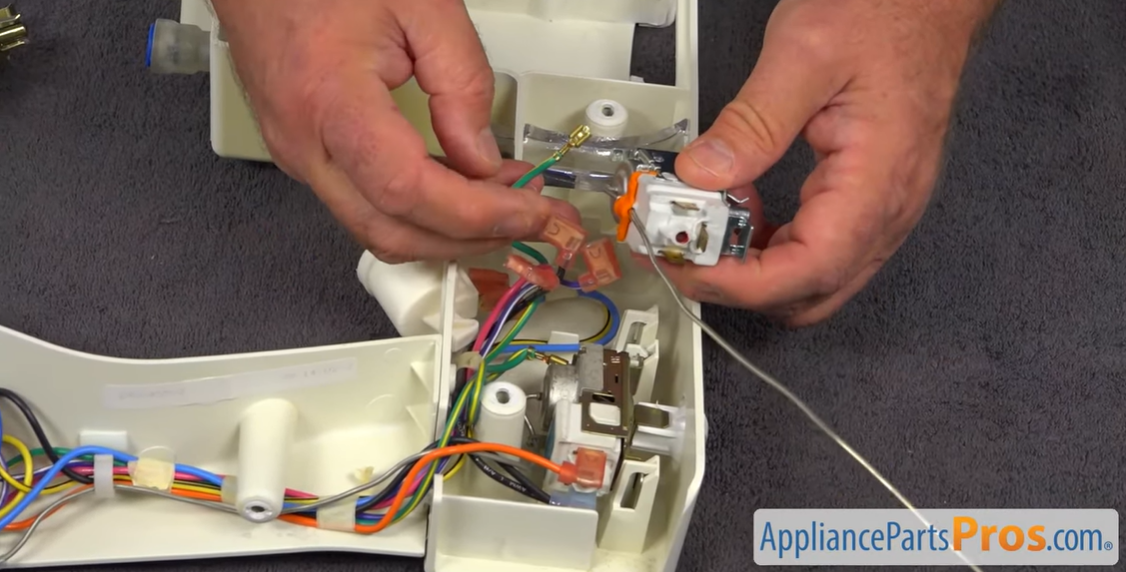
- Before disconnecting any wires, take photos or label wires with numbered tape showing terminals for reassembly.
- Release wires from temperature control thermostat electrical terminals. Make sure to pull from the connectors, not the wires themselves.
- Set old temperature control thermostat aside for now.
6. Connecting Wires to New Thermostat
Ensure your replacement matches first, then reconnect wires accordingly:
- Carefully straighten out the new thermostat’s metal sensing tube.
- Transfer old sensing tube insulation sleeve over to new sensing tube for a precise fit.
- With sleeve on, orient and position new thermostat into control housing.
- Reconnect wires to matching electrical terminals on replacement thermostat using your photos or wiring diagram for accuracy. Warning – incorrect connections can permanently damage thermostat or refrigerator!
7. Inserting New Thermostat into Bracket
Ensure your new temperature control thermostat & long sensing probe sit securely back into the control housing:
- Align thermostat front dial and sensing tube into original mounts and brackets.
- Reinstall any loosened mounting brackets using screwdriver to tighten them back into position.
- Verify thermostat and sensing tube seat are firm with no wiggle room.
8. Reattaching Control Housing
Reverse removal steps by:
- Carefully line up control housing with wires routed properly through openings.
- No wires should be pinched or bound when sliding the housing down.
- Fasten perimeter mounting screws firmly using your Phillips screwdriver to secure housing back into position.
9. Reinstalling Control Knob
Finish up by replacing the temperature adjustment knob:
- Line up plastic control knob with the thermostat dial stem shaft.
- Push knob firmly onto shaft until fully seated. Turn knob to verify smooth spinning.
10. Restoring Power
The moment of truth! Time to re-enable your repaired refrigerator:
- Plug fridge power cord back into electrical outlet.
- Flip circuit breaker back ON.
- Allow 24 hours to re-stabilize temperatures before returning food.
First-Timer Pointers for Thermostat Replacement
Here are handy tips to make your first repair go smoothly:
Prep pointers:
- Review wiring diagrams in manual if nervous
- Have a helper hand you tools/parts
- Protect floors beneath work area
Installation reminders:
- Double-check ALL wires are reconnected correctly
- Confirm insulation sleeve has transferred from old sensor tube
- Carefully align control housing before reattaching
Nice work reviving your appliance and saving money by DIYing the repair!
Avoiding Potential Complications
While generally straightforward, be aware of these trouble areas:
- Snapped sensor tube – Use extreme care when manipulating
- Incorrect wire connections – Verify terminals match wiring diagram
- Thermal fuse failure – Can mimic thermostat failure
Carefully following instructions and verifying part compatibility prevents most issues. Seek assistance if a complication arises in your head.
Conclusion
With this step-by-step DIY replacement guide, your refrigerator can regain precise temperature control and get back to protecting your food properly in no time with a new thermostat installed.
Combined with some helpful tips and warnings, have confidence to take on intermediate home appliance repairs yourself without having to call an expensive appliance technician. You’ve got this!