
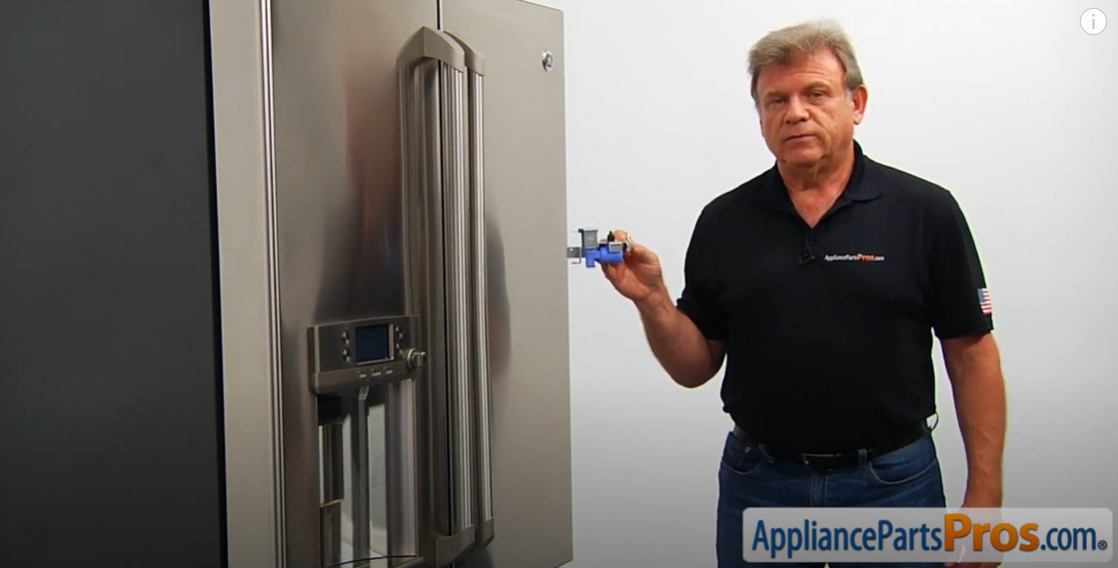
Is your refrigerator not making ice anymore? The culprit could be a faulty water inlet valve. Replacing this part is an easy DIY job that will get your ice maker working again. With some basic tools and following simple step-by-step instructions, you can detach the old valve and install a new one. This article walks you through the entire process, from turning off the water supply to reattaching the lines. We’ll also cover troubleshooting common issues and maintenance tips. Don’t pay for an expensive appliance repair – learn how to replace the water inlet valve yourself and save money with this straightforward repair project.
Required Tools
Replacing the water inlet valve in your refrigerator is a straightforward DIY project that can be completed with just a few basic tools. Having the right equipment on hand will make the repair process smoother and prevent potential issues.
When getting ready to replace your refrigerator’s water inlet valve, be sure you have the following tools:
Basic Hand Tools
- Flathead screwdriver – used to remove screws from the rear compartment cover and detach the mounting bracket.
- Phillips head screwdriver – used to detach and reattach the valve’s mounting bracket.
- Adjustable wrench – used to disconnect and reconnect the water supply line’s compression nut.
- Needle-nose pliers (optional) – useful for releasing tubing connections.
Safety Equipment
- Work gloves – protect your hands from sharp edges.
- Safety goggles – shield your eyes from debris.
- Towels – place beneath the work area to absorb water spills.
Parts and Supplies
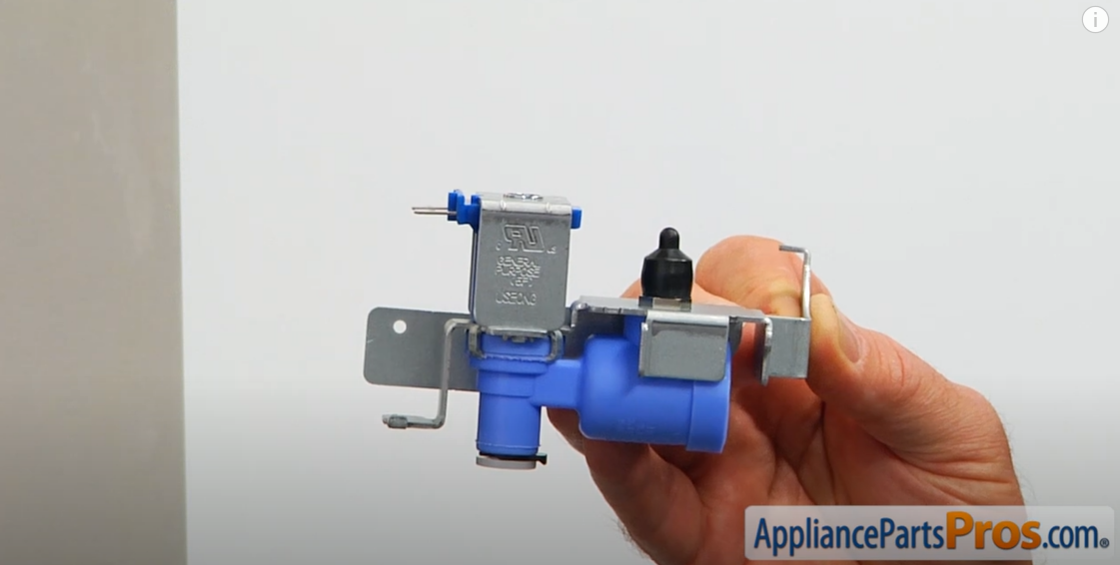
- New water inlet valve specific to your refrigerator model
- Teflon tape
- Rag – for cleaning up small spills
Gathering these basic tools and supplies will prepare you for tackling this straightforward repair. With the proper equipment, you’ll be able to complete the project smoothly, avoid complications, and get your refrigerator functioning properly again.
Step-by-Step Instructions
Replacing the water inlet valve may seem intimidating, but breaking it down into simple steps makes it very manageable. Follow along below to learn the full process:
Step 1: Power Off
Before getting started, make sure to unplug the refrigerator from the electrical outlet. This prevents electric shock and allows you to work safely on the appliance.
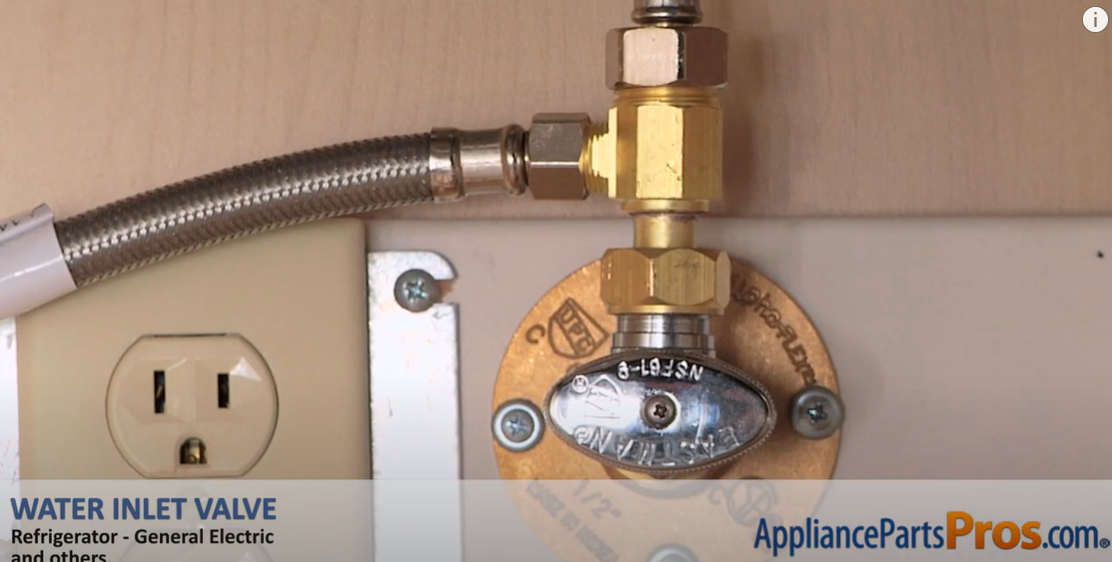
Step 2: Disconnect Water Supply
- Turn off the water supply valve that connects to the refrigerator. This is usually located behind the fridge.
- Move the refrigerator forward to gain access to the back. Be sure to protect the floor from scratches.
- Place a towel beneath the valve assembly to catch any drips or spills.
- Unscrew the compression nut on the water supply line using your adjustable wrench. This detaches the line from the old valve.
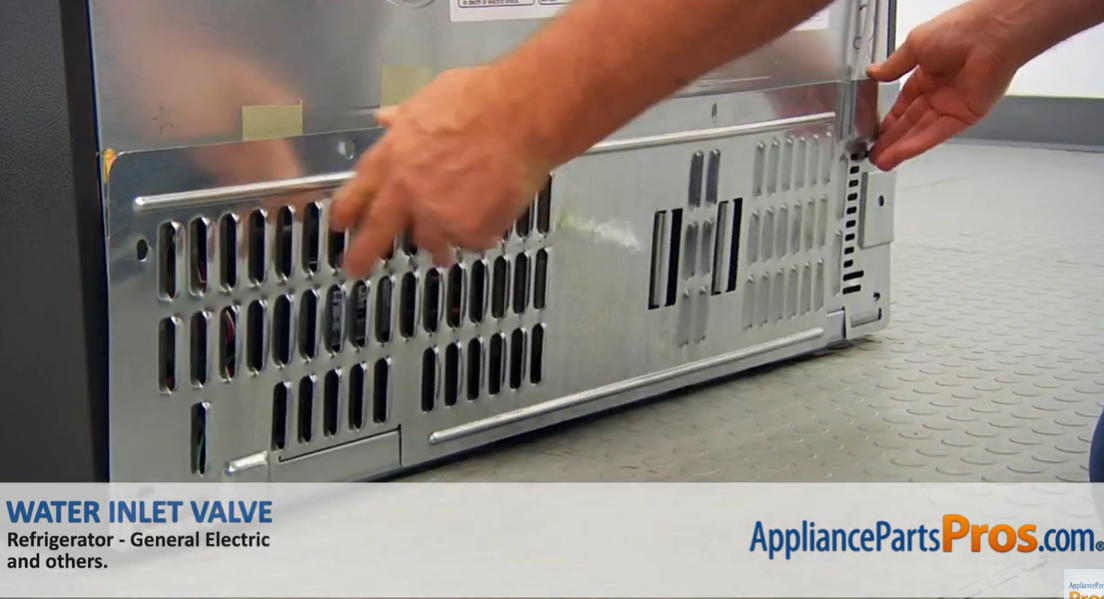
Step 3: Remove Rear Compartment Cover
Locate the cover panel on the rear of the refrigerator compartment. Unscrew and remove this cover to expose the water inlet valve.

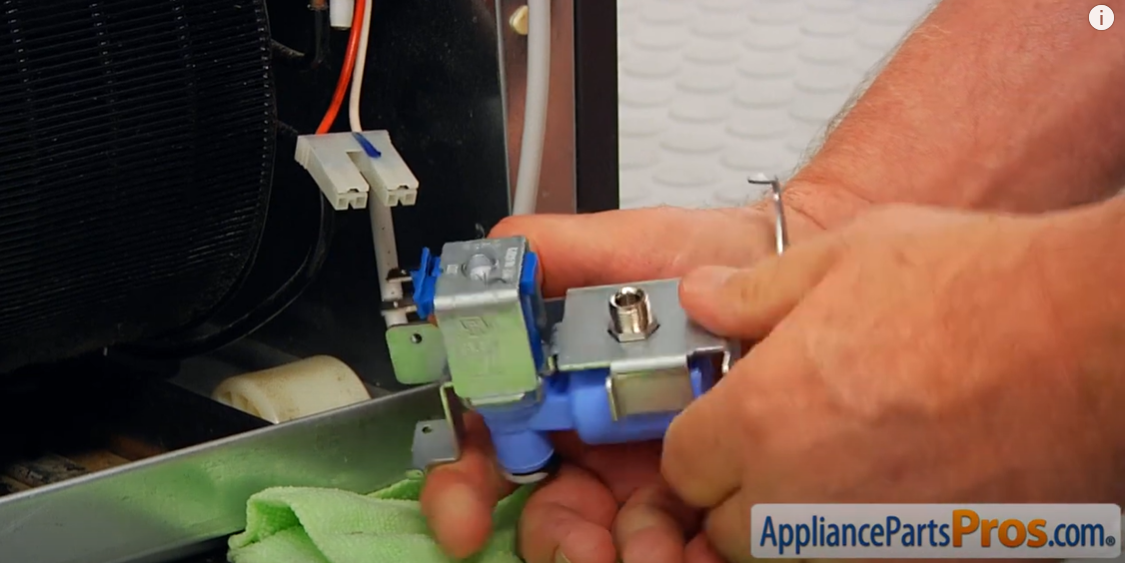
Step 4: Detach the Old Water Inlet Valve
- Unscrew the valve’s mounting bracket and slide out the old valve.
- Disconnect the wire harness from the valve terminals.
- Release the ice maker water supply line from the outlet fitting.
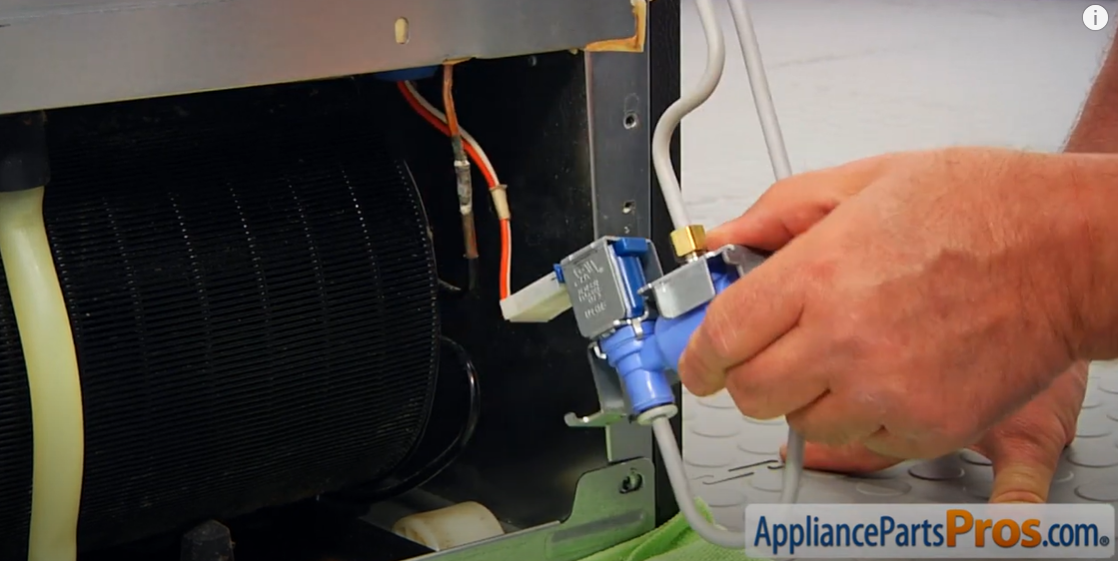
Step 5: Install the New Water Inlet Valve
- Insert the ice maker water supply line into the new valve’s outlet fitting.
- Reattach the wire harness to the valve terminals.
- Secure the new valve inside the cabinet using the mounting bracket.
Step 6: Reattach Rear Compartment Cover
Once the new water inlet valve is installed:
- Position the rear compartment cover back over the access hole and screw it back onto the refrigerator. This protects the valve and wiring.
Step 7: Reconnect Water Supply
- Reattach the water supply line to the inlet of the new valve and tighten the compression nut using your adjustable wrench.
- Turn on the water supply valve and check carefully for any leaks. Tighten connections if necessary.
Step 8: Power On
- Plug the refrigerator back into the electrical outlet once all lines are reconnected.
- Return the refrigerator to its original position in your kitchen.
- Confirm the ice maker receives water and is functioning again.
Troubleshooting Common Issues
Despite your best efforts, you may run into problems after replacing the water inlet valve. Here are some common issues and solutions:
A. Water leaks after replacement
If you notice a leak coming from the valve or connections:
- Double-check that all fittings are tightened properly. Tighten with an adjustable wrench if needed.
- Examine tubing for cracks or holes. Replace damaged tubing.
- Verify the valve model is correct for your refrigerator. Improper sizing can cause leaks.
B. Ice maker not receiving water
If the ice maker stops receiving water flow after replacement:
- Confirm the water supply valve is turned completely on.
- Check that the ice maker’s fill tube is properly attached to the outlet fitting.
- Test the valve by manually pouring water into the fill tube. If it flows through, the valve is working. An issue with the ice maker may exist instead.
C. Noisy water valve
A loud whistle or chattering sound may mean:
- There is too much water pressure. Try using a pressure reducer.
- Debris is obstructing water flow. Shut off water supply, disconnect lines, and flush debris.
- The refrigerator is not level. Water hammer can occur in tilted appliances.
D. Insufficient water pressure
If the water flow seems too slow:
- Make sure the supply valve is fully open.
- Check for kinks or blocks in the supply line.
- Try raising the water pressure at the shutoff valve.
Maintenance and Prevention
Replacing the water inlet valve restores proper function, but regular maintenance helps avoid issues in the future. Here are some tips:
A. Regular cleaning of the water inlet valve
- Shut off the water supply and disconnect lines to access the valve.
- Remove any dirt or mineral deposits from the valve and tubing.
- Flush lines with water to clear out debris.
Cleaning the valve every 6-12 months prevents buildup and keeps water flowing smoothly.
B. Checking for signs of wear and tear
Periodically inspect the valve and supply lines for:
- Cracks, leaks, or damage to tubing
- Corrosion or mineral deposits on the valve
- Loose electrical connections
Replace any worn parts right away before problems occur.
C. Ensuring proper water pressure
- Use a pressure-reducing valve if your home’s pressure exceeds 80 psi.
- Install a water hammer arrestor if pipes bang from pressure surges.
Proper pressure prevents damage to the inlet valve.
D. Replacing water filters as recommended
Clogged water filters can reduce water flow. Replace the fridge filter every 6 months for optimal performance.
Routine maintenance keeps the water inlet valve working properly for years to come.
When to Call a Professional
While a DIY valve replacement is totally achievable for many, there are times when it’s better to have a technician handle the repair:
A. Lack of confidence in DIY skills
If you feel unsure about safely completing the steps involved, don’t risk it – call a pro. Appliance repair technicians have years of specialized training and experience.
B. Complications during the replacement process
If you encounter any issues accessing the valve, disconnecting tubing, or getting the new valve installed properly, stop work and call for assistance.
C. Other refrigerator issues discovered during the repair
If you notice any other problems with the fridge during the valve replacement, such as strange noises, dripping condenser lines, or damaged components, get those addressed by a technician right away.
D. Warranty concerns
If your refrigerator is still under warranty, using a certified repair technician ensures the work is done properly and doesn’t void your coverage.
Also watch the video guide: How To: GE Water Inlet Valve WR55X11128
Conclusion
Replacing the water inlet valve in your refrigerator is a straightforward repair that can be completed in just a few hours with some basic tools and a bit of care.
Following the step-by-step instructions, you can successfully detach your old faulty valve, install a new replacement valve, reconnect all the lines and wiring, and have your ice maker functioning properly once again.
While it may look intimidating at first glance, breaking the project down into simple stages makes DIY valve replacement very manageable. The tips above will help you avoid potential issues and keep your repair running smoothly.
And remember – if at any point you feel unsure or encounter complications, don’t hesitate to call in a professional technician. They have specialized expertise that can get your fridge working again quickly and safely.
With the right preparation and care, you can take care of this repair yourself and save the cost of an expensive service call.