
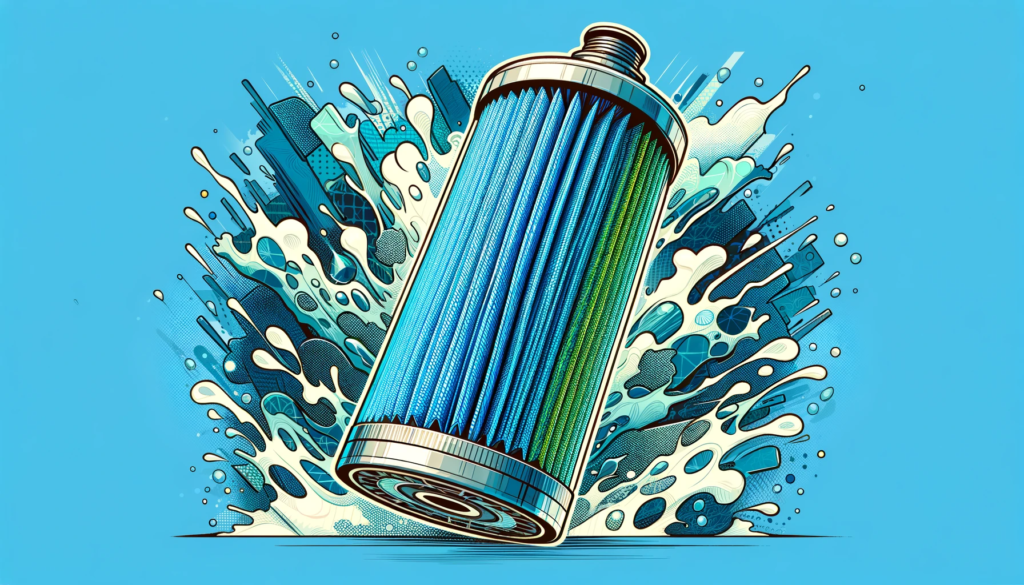
Having a working refrigerator water filter inside your fridge is important if you want to enjoy fresher-tasting water and ice. These filters remove contaminants like lead, asbestos, chlorine and sediment that make water taste bad. They also help protect your family from illness by getting rid of bacteria and microplastics.
However, installing or replacing the filter incorrectly can lead to a variety of problems:
- Water leaks
- Decreased water pressure
- Bad tasting water
- Damage to the refrigerator
This comprehensive guide will walk you through the entire installation process and highlight the most common mistakes to avoid. Follow these tips carefully so you can change your fridge filter properly.
Why Trust Is Important When Buying Water Filters
When purchasing a replacement refrigerator water filter, buy only from reputable brands recommended by the manufacturer. Some third-party or knock-off brands compromise performance to save money. Stick to quality filters that are NSF-certified to appropriately filter water and structurally fit your refrigerator model.
Buying the incorrectly sized or shaped filter will lead to leaks or other issues. Later in this article, we’ll go into detail about how to select the right replacement part.
Mistake #1 – Forgetting to Remove Protective Caps
Refrigerator water filters come with protective caps covering the inlet and outlet ports. These caps prevent debris from getting inside the filter during shipping and storage.
If you forget to remove them before installing the filter, water will be unable to flow through it.
This mistake leads to the following problems:
- No water dispensing from the fridge
- No ice production
- The water line will keep trying to push water through the blocked filter, which can damage the valve or lead to leaks
To avoid this error, check both ends of your new water filter for protective caps and remove them. This only takes a few seconds. Refer to your owner’s manual for specific instructions.
Step-by-Step Guide to Removing Protective Caps
- Unpack the new filter and locate the water inlet and outlet ports (ends)
- Check both ports for plastic caps covering the openings
- Grip the cap firmly on each end and twist counterclockwise to loosen
- Pull straight out to slide the caps off of both ports
- Confirm that both openings are clear and free of debris before installation
You should notice filter media inside both ports. If you see an undisturbed white plastic wall instead, the cap is likely still in place.
Now the filter is prepped and ready for installation.
Mistake #2 – Failure to Flush the Filter
Some replacement water filters come pre-rinsed from the factory. However, it’s still a good idea to flush them thoroughly yourself before installation.
If you put in an unflushed filter, dislodged carbon particles and other contaminants will wind up in your first batches of water and ice.
This leads to the following problems:
- Black specks in clear ice
- Cloudy ice cubes
- Discolored water
- Unpleasant tastes and odors
Run at least 2-3 gallons of water through the filter before connecting it to your refrigerator’s water line. Catch the initial bursts in a bucket to prevent a mess.
Step-by-Step Guide to Flushing the Filter
- Locate the water inlet and outlet ports on your replacement filter
- Run the filter under medium-pressure tap water with the outlet port directed into a sink or bucket
- Capture the first few bursts of water in the bucket to avoid a mess as contaminants flush out
- Continue flushing 2-3 gallons of water through the entire filter to rinse it thoroughly
Pro tip: Submerge the outlet port in the gathering water to muffle the forceful initial bursts.
Flush until the water runs clear. Some discoloration is normal from the carbon in the filter, but it should not contain visible sediment or particles.
Your new water filter is now prepped for a clean installation.
Mistake #3 – Using Incorrect Installation Force
Installing the filter housing improperly is another common mistake. If you use too much force trying to insert or remove the filter, you can damage it or the refrigerator filtration system.
Issues caused by improper installation force include:
- Cracked filter housing
- Broken mounting brackets
- Stripped water line threads
- Compromised water seals
- Pressure damage to the filter’s structural integrity
Refer to the installation guide that came with your refrigerator or water filter. Follow any instructions related to:
- The amount of torque recommended to twist off the old filter
- How tightly to twist on the housing for the replacement filter
- Adjusting the angle to insert the new filter
If your manual doesn’t specify exact force levels, use the following general rule of thumb:
- To remove the old filter: Use medium force. Twisting it too lightly may fail to unseat the filter. Too much force risks cracking the plastic housing. Turn the filter no more than a 1⁄4 or 1⁄2 counterclockwise rotation without some “give”. If you meet with firm, continued resistance, don’t force it. Troubleshoot the cause before continuing.
- To install the replacement filter: Use light force initially. Line up the electrical pins if your model has them. Lightly push the filter straight up into its housing, adjusting the angle if you meet resistance. Increase to medium force once it’s partially seated to get a water-tight connection. Be careful not to over-torque it.
Let us know if you still have trouble with the force needed to access your refrigerator’s filter assembly. We can suggest some troubleshooting tips. Using the right amount of care and force is key to proper filter installation.
Mistake #4 – Choosing the Wrong Replacement Filter
It’s vital for water quality, appliance functionality, and your wallet to choose the correct replacement filter made specifically for your refrigerator model.
Using the wrong one leads to issues like:
- Leaking around the filter housing
- Restricted water flow
- Filter housing cracks
- Loose fittings
- Bad tasting water
- Damage to your refrigerator
You also won’t properly filter out contaminants if using a filter not designed for your fridge.
Start by checking your owner’s manual or refrigerator guide for the correct part number. Next, always verify that any third party filter claims to be a direct and authentic replacement for your exact make and model.
Beware of vague claims of “compatibility”. For full functionality, it needs to be an identical replacement made specifically for your refrigerator.
Be especially cautious with cheaper knock-off brands found online. Their poor design often damages refrigerator models with delicate plastic filter housings. This article on finding the right water filter has more tips on selecting the correct one.
We recommend replacing your fridge filter every 6 months. Mark the month on your calendar so the date sneaks up on you.
Mistake #5 – Failure to Replace Filter at Recommended Interval
Replacing refrigerator water filters as recommended is important for two reasons:
- Effectiveness – Their filtration media wears out over time. An expired filter allows more contaminants through into your drinking water and ice.
- Restricted Water Flow – Particles captured by the filter begin restricting water flow over months of use. This reduces water pressure and also leads to leaks.
So when should you replace your refrigerator water filter?
- The manufacturer of the filter usually recommends replacing it every 6 months.
- Some refrigerators have a replacement indicator light that comes on after a specified period, often around 6 months.
- If your refrigerator doesn’t have an indicator light, mark your calendar every 6 months to remind you to swap out the filter.
- Check your owner’s manual for any model-specific replacement interval recommendations.
Don’t continue using a water filter past the recommended period. Doing so will compromise water quality and can lead to problems.
Mistake #6 – Improper Assembly and Installation
As previously discussed, using the incorrect installation procedure can damage your refrigerator’s filtration system. Follow the instructions in the user manual closely, as the method varies by refrigerator model.
Here is a basic step-by-step guide to installing replacement filters properly:
Preparation
- Remove the old water filter by twisting it counterclockwise (unless instructions say otherwise)
- Take out any parts from inside the housing like plastic caps or ribbons
- Rinse dust out of the empty housing using low-pressure tap water
- Thoroughly flush the replacement filter as previously described
- Check that the filter’s rubber O-ring is seated properly within its groove on top of the new filter
Installation
- With the power switched off to the refrigerator, disconnect the water supply line. Place it in a bucket to catch drips.
- Seat and engage the filter by aligning its electrical connectors (if equipped) and outlet sockets to the refrigerator ports
- Twist clockwise to lock it into place, using reasonable force. Over tightening can damage plastic threads and casings.
- Switch the refrigerator’s power back on and reconnect the water supply
- Flip on the water valve to check for leaks at the back ports and housing around the filter
- Dispense 4-5 gallons of water through the internal dispenser to flush residual contaminants and air bubbles from the system
Monitoring the initial flushing allows you to immediately turn off the water if a leak develops or the stream pressure indicates an installation problem. If water flow and filtration performs properly without leaks, the filter should now be successfully installed.
Next recommended filter replacement: Mark your calendar for 6 months from the installation date. Stick the replacement sticker on the side of refrigerator and make a note in your appliance maintenance records.
Troubleshooting Common Installation Issues
Sometimes everything goes smoothly when installing a replacement water filter in your refrigerator. But occasionally annoying problems crop up, especially if it’s your first time changing the filter yourself.
Here are some quick solutions to common post-installation issues:
Water under refrigerator after installing new filter
- Solutions
- Filter not fully tightened – Rotate clockwise a little firmer if plastic threads seem intact
- Damaged filter housing threads – Order manufacturer service for repairs
- Disconnected water supply line fittings – Check that all connections are snug
- Bad water valve seal – Order service for diagnosis
Reduced ice production or slow dispenser water flow
- Solutions
- Air trapped after changing filter needs flushing out – Dispense water for a few minutes
- Partially closed supply valve – Ensure water valve is fully open
- Crimped water supply line – Check the full length of the line
- Low house water pressure – Test pressure at nearby faucet and contact city if under 60 PSI
- Clogged water filter – Replace it with new cartridge
Black particles in water/ice after installing new filter
- Solutions
- Failure to flush new filter before installing – Always rinse thoroughly per instructions
- Old plastic cap left on filter inlet port – Remove caps from both ends
- Major water contamination in the house if on a well water supply – Arrange water testing
Don’t continue drinking water with undetermined particles. Contact refrigerator support for additional troubleshooting.
Hopefully, these tips help you avoid headaches and quickly solve any problems related to improper filter installation. Let us know if you have any other questions!
Wrapping Up
Changing water filters inside your refrigerator is necessary maintenance that keeps water and ice clean and great tasting. It also protects the appliance from scale buildup and debris that can lead to costly repairs.
Just be careful to avoid the common mistakes outlined in this guide during the filter replacement process:
- Forgetting to take off protective caps
- Failure to flush
- Using the wrong replacement part
- Employing too much installation force
- Infrequent filter changes
- Improper assembly
Following instructions unique to your refrigerator model is key. Refer to your owner’s manual each time for guidance. Bookmark and share this guide for a handy refresher before your next filter change.