
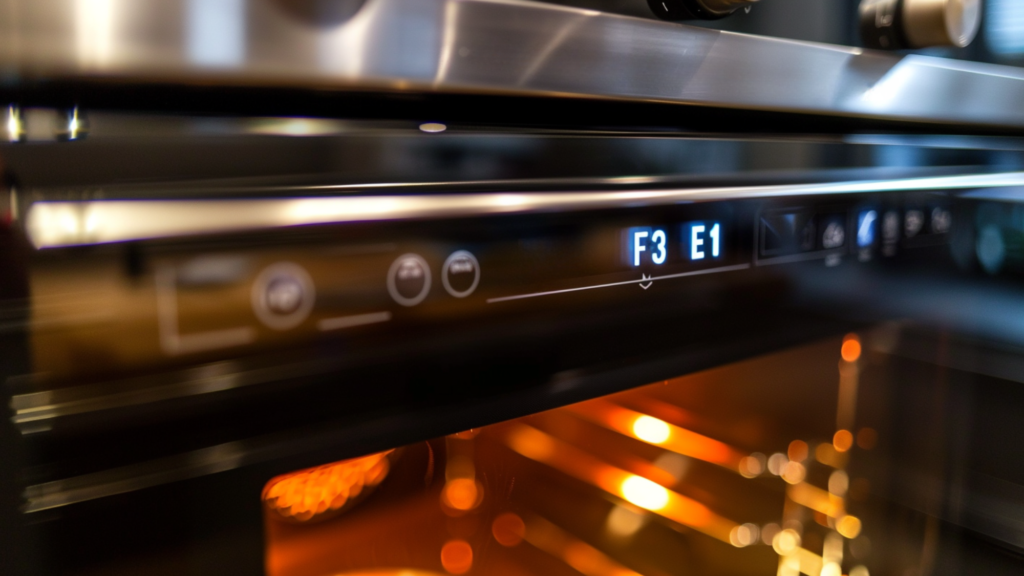
Have an annoying F3 E1 error popping up on your Whirlpool double oven? Don’t get heated – we’re here to help you troubleshoot and solve the issue. This error indicates a temperature sensor problem, which prevents the oven from monitoring how hot it’s getting. By following some important safety steps and using a multimeter to carefully check the wiring and resistance of the lower oven sensor, we can methodically work through potential causes like loose connections or a faulty component. Let’s crack this case and get your double oven baking smoothly again!
Causes of the F3 E1 Error Code
Lower Oven Temperature Sensor
The lower oven temperature sensor is responsible for monitoring the temperature inside the lower oven chamber. This helps the oven’s control board know when to turn the heating elements on and off to maintain the set temperature.
If the sensor is not working correctly, it can cause error code F3 E1 to appear. The sensor might be loose, damaged, or simply stopped working over time.
How does the sensor work? It’s a small switch that changes resistance as the temperature varies. The control board checks the resistance to determine how hot the oven is. If the sensor can’t be read properly, it will trigger the error.
Communication Issues Between Sensor and Control Board
Another common cause is communication problems between the sensor and the control board. These two components need to “talk” to each other to regulate the oven’s temperature.
Sometimes, dust, dirt, or liquid spills can interfere with the tiny electrical signals sent between the sensor and the board. The wires connecting them may also be loose, damaged, or broken over time.
If the control board isn’t getting clear signals from the sensor, it assumes something is wrong. As a safety precaution, it will shut the oven off and display the error code.
Potential Causes
- Loose or Damaged Sensor Wiring: As mentioned, loose or damaged wires between the sensor and control board can disrupt their communication. The thin wires may become cracked, pinched, or disconnected after years of use. Always check the physical condition of the wiring.
- Malfunctioning Lower Oven Sensor: It’s also possible the sensor itself has simply stopped working properly due to normal wear and tear. After several years of high heat, the switch could malfunction and no longer change resistance as it should.
- Issues with the Oven Control Board: On rare occasions, the control board may be faulty. While the board usually lasts a long time, components can fail. If the sensor tests fine but the problem remains, the control board may need to be replaced.
Necessary Tools
To properly troubleshoot the oven for an F3 E1 error code, you’ll need a few basic tools. Let’s break down what each one is and how it can help:
Multimeter
A multimeter is a handy device that can measure voltage, resistance, and continuity. We’ll use it to check the resistance of the temperature sensor and look for issues with the wiring.
Multimeters are affordable and easy to use – even beginners can learn the basics. A resistance measurement setting is needed. Does yours look like it will do the job?
Phillips Screwdriver
Many screws inside the oven will be Phillips head style. A quality screwdriver makes removal and installation quicker and reduces the risk of slippage. This helps ensure parts go back together properly.
Protective Gloves
Working inside an oven involves the risk of cuts from sharp metal edges. Thick gloves protect your hands while dealing with parts that may be hot as well. Better safe than sorry, right?
Appliance Tech Sheet
The manual or a repair sheet specific to your oven model. This lists expected sensor resistance values and steps to isolate problems methodically. Following directions closely to avoid mistakes.
Safety Precautions
Working on an appliance involves risks, so let’s go over some important safety steps:
Power Off and Unplug the Appliance
You don’t want any part of your body to touch live electrical components. Make sure the oven is fully disconnected from power at the wall before beginning work.
Avoid Testing Live Voltage
As mentioned, electricity can cause injury. Only use the multimeter to test after confirming a part is safe. It’s better to be overly careful, don’t you think?
Allow the Appliance to Cool Down
Oven parts, such as the heating elements, will be very hot even after turning them off. Wait for everything to fully cool down before opening it up. No need to get burned!
Work Safely and Avoid Rushing
There’s no prize for finishing quickly if it means risking your well-being. Take your time and remain focused on the job. Rushing often leads to mistakes.
Maintain a Clean, Well-Lit Workspace
A clean work area allows you to focus without distractions. Good lighting helps you see what you’re doing. Don’t work somewhere dark or messy.
Consult the User Manual
Reviewing the guide can remind you of important cautions specific to your oven model. It’s easy to overlook something in the enthusiasm of a project.
Handle Parts Gently
No need to force anything. If a screw or connector gives too much resistance, stop and figure out the right approach. Forcing may damage or break apart.
Wear Protective Gloves
As mentioned before, oven internals have sharp edges. Gloves help prevent cuts that could lead to infection. Your safety is worth a few bucks.
Avoid Exposed Wires and Terminals
Electricity flows freely through disconnected wires. Treat them carefully, and don’t touch them unless testing is required. Better to watch than find out the hard way!
Troubleshooting Steps
Now that we’ve covered safety, it’s time to start working through the potential issues. Let’s break down the process step-by-step:
Step 1: Inspect the Lower Oven Sensor Wiring
When was the last time you looked at these wires? It might be a good place to start.
- Locate the Wiring Harness Connector: This is where the sensor plugs into the main board. Look for it near the back or bottom of the oven compartment.
- Check for Proper Connection: Are the wires fully plugged in at both ends? Any gaps could interrupt signals.
- Inspect for Wire Damage: Look closely for nicks, cracks, or exposed copper that may cause short circuits over time.
Step 2: Check Sensor Resistance
Might as well cross this potential cause off our list.
- Set Multimeter to Measure Resistance: Most have a symbol that looks like overlapping waves. Make sure it’s set to the ohms symbol (Ω).
- Disconnect Sensor Wiring: Be gentle so you can easily plug it back in after testing.
- Measure Resistance: Touch leads to sensor terminals. The results should match your model’s specs.
Step 3: Replace the Main Control Board (If Needed)
Only do this last if other checks are good.
- Replace the Board: Carefully unplug/remove old and insert/plugin new.
- Restore Power and Test: Reconnect power and see if the error persists.
Additional Considerations
| Consideration | Details |
| Availability of Replacement Parts | Check if components like temperature sensors or control boards can still be purchased and are compatible with your model. |
| Oven Hot Spots | Test baking multiple items to see if uneven heat distribution could cause inaccurate temperature readings, leading to hot/cold spots. |
| Reducing Kitchen Waste | Minor problems don’t require discarding partly good food. Strategize storage and reuse of partial ingredients when safe and possible. |
| Oven Safety Tips | Tables can help organize content: |
| Tip | Details |
| Seal door properly | Prevents heat loss that forces the oven to overwork itself |
| Keep vents clear | Allows oven to breathe and reduces overheating risk |
| Regular cleanings | Removes grease buildup that can lead to electrical faults if ignited |
Wrapping up a repair by thinking about ongoing care helps avoid future issues. Catching small problems early is easier than bigger headaches later.
Conclusion
We’re at the end of our guide on fixing the F3 E1 error on your Whirlpool double oven. Let’s recap what we learned:
- The F3 E1 error means the lower oven temperature sensor is having issues. This sensor tells the oven how hot it is.
- To find the problem, we first checked the sensor wiring. Wires that are loose or damaged can cause the error.
- Next, we tested the sensor’s resistance with a multimeter. Resistance out of range points to a bad sensor.
- If needed, the oven’s control board was replaced. The board controls the sensor and other parts.
- Safety came first! We powered off, let the oven cool, and took precautions. Rushing leads to mistakes.
Troubleshooting takes patience. But now you have the knowledge to tackle an F3 E1 error yourself. Our step-by-step guide walked you through it. Mastering repairs makes you more self-reliant. It also saves money on service calls. Knowledge is power!