
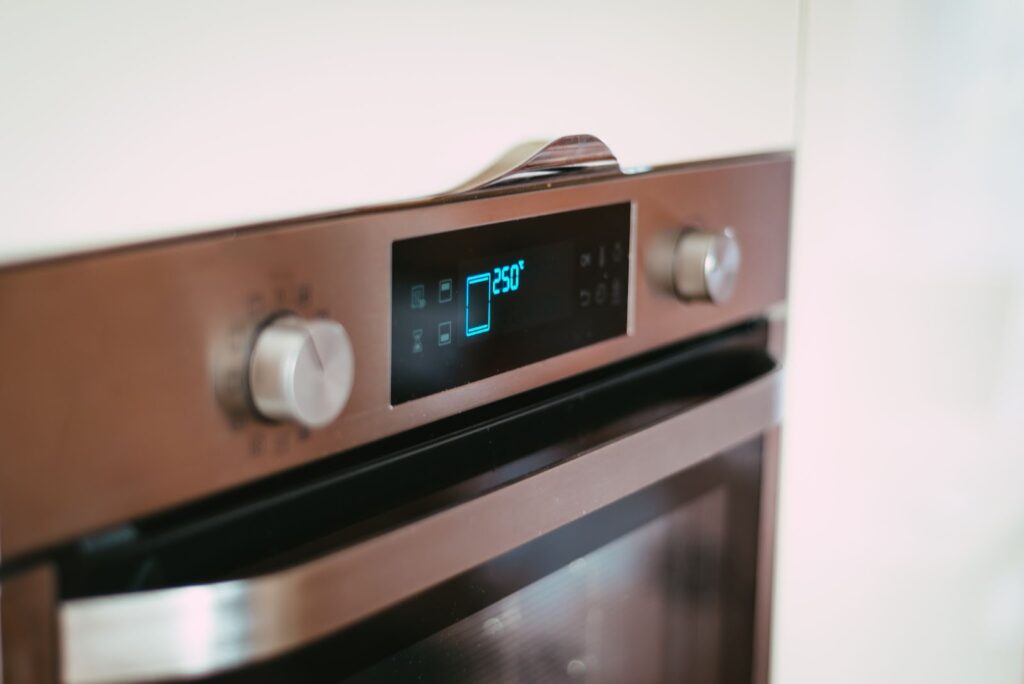
The oven control board is the brain of your electric oven, housing the microprocessors and circuitry that regulate various functions like temperature, timers, sensors, and bake and broil elements. Over time, issues like keypad malfunctions, error codes, inaccurate cooking temps, and failing components can develop, necessitating control board replacement.
This step-by-step walkthrough details the end-to-end oven control panel replacement process:
- Tools and materials required
- Safety best practices
- Removal of oven housing and interior parts
- Wiring configurations and connections
- Control panel removal
- New control board installation
- Reassembly and calibration
By following these guidelines carefully, even novice DIYers can replace their oven control board properly. Let’s get started!
Why Replace an Oven Control Board
Before we dive in, let’s review why you may need this repair in the first place:
- Keypad malfunctions – Buttons not responsive or triggering wrong commands
- Error codes – Constant fault codes impairing oven functionality
- Inaccurate cooking temps – Over or underheating food
- Failed components – Internal fuse issues or relay/transformer failures
- Aesthetic updates – Touchscreen or smart oven controller upgrades
Replacing old, worn-out oven controllers restores your appliance’s accuracy and performance.
Tools & Materials Needed
Gather the following tools before beginning any disassembly or repair:
- Safety goggles & gloves
- Phillips and flathead screwdrivers
- Needlenose pliers
- Wire cutters/strippers
- Multimeter (to test components)
- Replacement control board
- Isopropyl alcohol & rag (for cleaning)
- Label maker, painter’s tape, and pen (for marking wires)
Safety First
When servicing any major appliance involving electricity/gas, exercise extreme caution:
- Disconnect the power supply before the repair
- Check for live wiring with a multimeter
- Never daisy-chain extension cords
- Remove rings and jewelry
- Have a fire extinguisher on hand
We’ll cover more specific safety tips during each stage of the replacement process.
Preparing for Control Board Replacement
With your tools assembled, clear sufficient space around the oven area. Remove any surrounding storage, racks, or countertop appliances blocking access.
Locate the electrical junction box to disconnect the power or unplug the range if it’s freestanding. Make it impossible for someone to inadvertently restore electricity during the procedure.
If possible, pull the entire oven away from the wall. This facilitates getting behind and underneath to access internal housing and parts.
Lay down drop cloths below the workspace. Place all removed components/hardware on a cookie sheet or magnetic parts tray for safekeeping.
Oven Disassembly
To access the defective control board, systematically deconstruct the oven from the outside in:
Removing Outer Trim and Doors
The oven door(s), handle trim, and surrounding decorative fronts must first be taken off. This grants internal access:
- Door removal – Hinge brackets secure each oven door. Rotate the locking clips sticking through the hinge shafts 90 degrees. Then slide both hinges off their respective shaft ends simultaneously. Carefully maneuver the freed door outwards.
- Trim detachment – Decorative trim pieces usually pop loose with careful prying. Insert a small flathead driver into the perimeter gaps to lift retaining clips.
- Control panel trim – Similar clip fasteners around the control console likely require releasing. Avoid bending or warping the trim paneling.
Inner Subpanels and Racks
Once the outer shrouding is detached, start stripping sub-layers:
- Any custom racking should slide out, providing greater visibility.
- Remove screws securing subpanels like bake chamber liners or broiler pans.
- If a bottom drawer exists, empty the contents and pull it completely out.
- The inner oven door is now visible. Detach it using the same spring hinge release technique.
Continue removing obstructive layers while leaving the oven’s skeleton of structural brackets/panels in place. Work slowly and label components.
Recording Wire Connections
Before disturbing existing control board wiring, use labels or masking tape flags to identify each individual connection terminal. For example:
- T1 – Transformer wire #1
- GB – Ground bus bar
- LD – Oven light power supply
- DD – Bake element wiring
Alternatively, draw a rough sketch mapping wires to their corresponding board plugs. This helps facilitate proper reconnection later.
If wires must be detached during the replacement process, cut connector leads rather than unsoldering components. This allows for simplified rewiring.
Removing the Defective Board
By now, the defective control board should be clearly visible. There are typically 4-8 mounting screws securing the controller assembly itself.
- Disconnect all wiring – Label and detach power cables and wire harnesses linked to the board. Cut any stubborn connector leads if necessary to fully free the unit.
- Remove mounting screws – Using a Phillips head screwdriver, back out any screws still fastening the controller to the oven’s metal frame or rear paneling.
- Extract control board – Maneuver the loosened assembly outwards, clearing nearby structural components. Be extremely careful not to apply pressure directly to the fragile controller components themselves as you remove them.
Closely inspect the empty control board brackets for any signs of damage before installing replacement hardware (burn marks, disfigured metal, etc). Use rubbing alcohol and a rag to remove grime buildup around mounting points.
Installing New Oven Control Board
With the workspace cleared and prepped, it’s time to install the fresh control panel assembly:
- Position the new board – Seat the replacement controller properly into its empty floor brackets, aligning screw holes. Avoid scraping or impacting delicate electronic modules.
- Reattach mounting screws – Thread in and tighten all securing screws. Take care not to overtighten, and take frequent visual confirmation that the unit remains level.
- Reconnect labeled wiring – Using your color coding, wire flags, or the manufacturer diagram included with the new part, plug all labeled cables and connectors back into their correct terminals on the replacement controller.
Double-check for potentially reversed or loose harness connections that could short-circuit board components. It’s easy to accidentally switch two similar plugs or overlook a strand of wiring. Once wiring continuity passes visual inspection, we’re ready to reassemble the oven!
Reassembly and Calibration
With electronics restored, it’s time to reinstall all of the surrounding oven components. Simply follow the prior disassembly steps in reverse:
- Subpanels – Replace interior oven lining, broiler/baking chamber racks, bottom drawer, etc. Reattach all mounting screws.
- Inner oven door – Using the earlier spring release technique, align hinges to shaft posts and snap back into place.
- Control/trim panel – Take care of delicate electronics, and reseat the controller trim housing. Press perimeter mounting clips back into retaining slots until the facade pops back into place.
- Outer trim and doors – Similarly, realign hinge brackets and lower oven door(s) into position, turning locking clips to fix back onto post shafts securely. Pop decorative trim bits back over the front frame perimeter.
Visually inspect the oven to ensure all required components are replaced and fasteners tightly resecured. Remove any tools, cleaning supplies, or debris from the interior chambers.
Plug the appliance back into its electrical source or flip breakers to restore power. On initial energization, confirm that the replacement control board illuminates normally. Attempt to activate basic functions like lighting or heating elements. If the operation still seems faulty, immediately kill the power supply once more until troubleshooting is completed.
Assuming basic oven lighting and controls activate appropriately, proceed by calibrating the new controller hardware:
- Check temperature accuracy with NIST-certified oven thermometers placed inside heating chambers during bake/broil cycles.
- Adjust offset variance using the touchpad or mechanical calibration procedures outlined in the owner’s manual. Expect some trial and error.
- Ensure timer durations result in accurate cooking durations for standardized recipes.
- Test all specialized cooking modes available on your replacement control hardware (convection, self-cleaning, proofing, etc).
Following successful calibration and functional testing, your oven can be returned to service! Enjoy vastly improved performance and avoided repair costs.
Also Read: Oven cooking unevenly: Common causes & how to fix
Conclusion
With proper attention to safety, patience, and our step-by-step guidance, you likely found oven control board replacement an approachable DIY adventure! Should issues arise during any stage of the process, remember:
- Refer frequently to oven schematics and diagrams
- Double-check for wiring errors or misalignments
- Research error code meanings as necessary
- Seek assistance from professional technicians
Equipped with basic mechanical competency and the right replacement part(s), homeowners can execute this repair themselves – saving significant expense over hiring an appliance pro. In the end, take pride in acquiring a specialized skillset – not to mention your revitalized oven!