
Keeping your steam cleaner in good working order is crucial for maintaining effective and efficient cleaning performance. A key component that can wear out over time is the steam cleaner nozzle. Replacing a worn or damaged nozzle is an easy do-it-yourself project that can restore cleaning power and save you money on repairs. This comprehensive guide provides everything you need to know to tackle steam cleaner nozzle replacement confidently.
Understanding Your Steam Cleaner
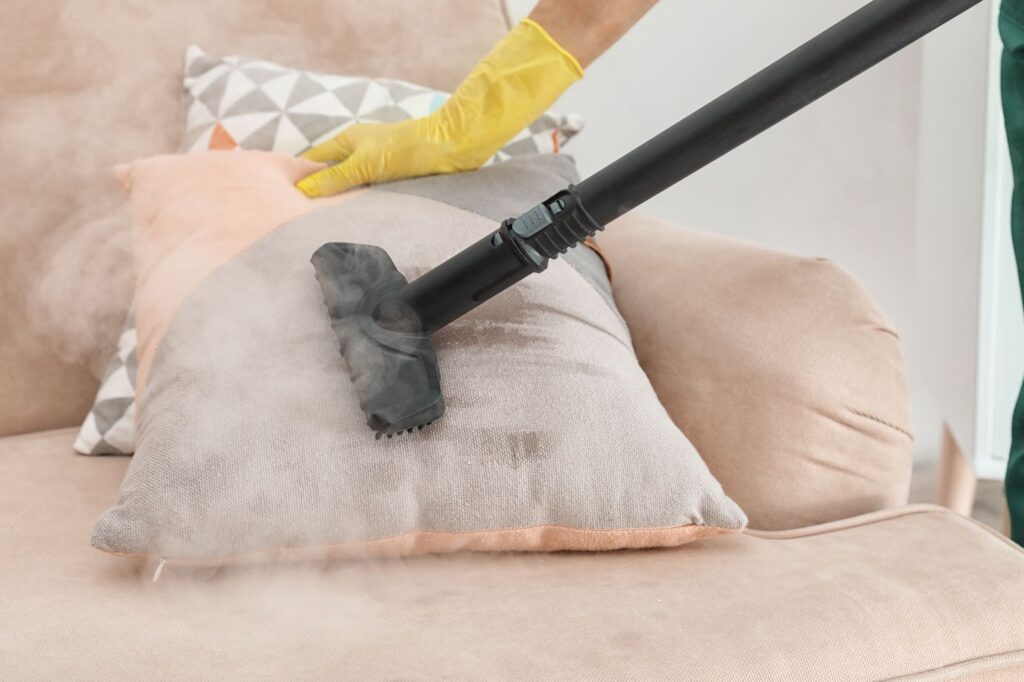
Steam cleaners utilize very hot, pressurized steam to sanitize and remove dirt, grease, and stains from a variety of surfaces. They commonly feature a water reservoir, heating element, steam valve or switch, power cord, and nozzle.
The nozzle is the business end of the steam cleaner. It is the attachment that directs the pressurized steam onto the surface being cleaned. The nozzle may be fixed or removable. It typically has a relatively small opening to build up steam pressure. Some nozzles allow steam only, while others also release cleaning solutions.
The nozzle plays a crucial role in optimizing steam distribution, pressure, temperature, and cleaning effectiveness. A damaged or clogged nozzle can greatly reduce performance.
Signs You Need a Nozzle Replacement
There are a few clear signs that indicate it’s time to replace your steam cleaner nozzle:
- Decreased steam power – If the steam pressure seems weaker and cleaning is taking longer, this likely means deposits and debris have built up in the nozzle.
- Uneven steam distribution – If steam spurts out unevenly from the nozzle, the opening may be damaged or blocked.
- Visible wear and tear – Look for cracks, scratches, and other external damage, indicating replacement is needed.
- Steam leaks – If steam is leaking out around the nozzle rather than exiting the nozzle opening with force, the nozzle likely needs to be replaced.
Any of these issues can greatly reduce the performance and efficiency of your steam cleaner. Replacing a damaged nozzle is easy and typically restores it to like-new cleaning power.
Preparing for Nozzle Replacement
Before replacing your steam cleaner nozzle, take a few simple precautions:
Safety First
- Make sure the steam cleaner is unplugged and has fully cooled before disassembling to avoid burns. Refer to your owner’s manual for the recommended cool-down period.
- Review the manufacturer’s instructions for your specific model to identify any special considerations.
Gather Supplies
You may need some of the following tools:
- Flathead or Phillips head screwdriver
- Needle nose pliers
- Safety goggles and work gloves
Make sure you have the replacement nozzle on hand for your steam cleaner model. The manufacturer’s site or appliance parts store can assist with selecting the right replacement part.
Step-by-Step Nozzle Replacement Instructions
Follow these key steps to successfully replace your steam cleaner nozzle:
1. Gain Access to the Nozzle
The first step is to disassemble the steam cleaner’s attachments and housing to access the nozzle:
- Remove mop heads, pads, brushes, or other attachments from the end of the steam cleaner wand.
- Locate any retaining rings, clips, or screws securing covers or panels hiding the nozzle. You may need a small screwdriver.
- Carefully remove any covers or panels to expose the nozzle without damaging nearby wires or tubing.
If you are having difficulty accessing the nozzle area, refer to your owner’s manual or contact the manufacturer for guidance on your specific model.
2. Remove the Old Nozzle
Once you locate the nozzle, removing it takes just a few easy steps:
- Inspect if there are any screws, clamps, or retaining pieces helping to secure the nozzle. Remove these first if needed.
- Wearing gloves, use pliers if necessary to grip the nozzle. Avoid squeezing so tightly that you damage the nozzle, though.
- Twist the nozzle gently to loosen it. If needed, rock it carefully from side to side while pulling it outward.
- Once loosened, detach the old nozzle so it releases fully from the cleaner.
Check inside the opening of the steam cleaner wand to ensure no pieces of the old nozzle remain stuck inside. Remove any debris or deposits noted.
3. Select the Replacement Nozzle
It is critical to match your replacement nozzle to the specific model and nozzle material:
- Refer to any nozzle model number etched on the old nozzle.
- Note what the old nozzle is made of – common materials include plastic, metal, and heat-resistant silicone.
- Check that the sealing gaskets inside the replacement nozzle match your model.
- Ensure diameter, threading, and other specs match.
Reputable retailers can guide you in selecting the precise replacement if you are uncertain what you need. Providing the steam cleaner’s make and model is very helpful.
4. Install the New Nozzle
Installing the new steam cleaner nozzle involves reversing the earlier removal steps:
- Check that any gaskets or seals are firmly set inside the new nozzle, if applicable.
- Insert the new nozzle into the opening, aligning any connectors or threading.
- If the nozzle twists into place, twist gently but firmly until fully seated.
- Replace any retaining clips, brackets, or screws previously removed. Tighten just until snug.
- Replace any access panels or covers. Insert and tighten screws.
- Reattach steam cleaner attachments like brushes or mop heads onto the steam wand.
Be very careful not to overtighten any fasteners or retaining pieces during reassembly, as this can cause leaks or damage the nozzle.
5. Test for Proper Operation
The final step is confirming your nozzle replacement was successful:
- Review safety and first-time-use guidance for your steam cleaner if needed.
- Add water to the reservoir per instructions. Use distilled water if possible.
- Plug in and turn on the steam cleaner. Allow to heat up fully.
- Activate the steam release with the steam valve or steam switch.
- Check that steam releases forcefully from the center of the nozzle without leakage at edges and fittings.
- Verify steam pressure seems consistent by holding the nozzle 6 inches from a surface and observing steam force. Move across different surfaces.
- Turn off and unplug the steam cleaner. Allow to fully cool before wiping down or storing.
If steam distribution seems uneven or leaks occur, turn off the unit and recheck that all fittings are properly sealed. If issues persist, contact the manufacturer for further troubleshooting.
Maintenance Tips
With a simple nozzle replacement, you can restore a poorly performing steam cleaner to like-new condition. Extend future nozzle life and optimal performance with these maintenance tips:
Descale Regularly
- Scale and mineral deposits from water can build up inside the steam cleaner and nozzle.
- Use a descaling solution per manufacturer directions to remove this buildup.
- Descale every 30-50 uses for most models.
Use Distilled Water
- Tap water contains minerals that leave scale inside the steam cleaner over time.
- Pure distilled water minimizes scale buildup that can clog the nozzle.
Inspect and Clean the Nozzle
- Check the nozzle exterior periodically for cracks or damage.
- Remove the nozzle to clear any debris clogged inside the opening.
- Soak in white vinegar and rinse with water if necessary.
Troubleshooting Common Nozzle Problems
While most nozzle replacements go smoothly, issues occasionally crop up. Try these troubleshooting tips if problems arise:
| Problem | Potential Cause | Solution |
| Steam cleaner takes too long to heat up or doesn’t get hot enough | Scale deposits in the heating unit | Descale per manufacturer instructions |
| Nozzle drips or leaks steam | Loose fittings | Check seals; tighten fittings evenly |
| No steam, steam flow is weak | Damaged seals or air pockets | Take apart and reassemble; replace seals |
| Nozzle cracks or splits | Incorrect nozzle material for steam cleaner | Replace nozzle with manufacturer-recommended model |
| Uneven steam distribution | Partial nozzle blockage | Remove the nozzle; clean out opening |
If you continue having performance issues after replacing the steam cleaner nozzle:
- Double-check for clogs or overlooked cracks/damage.
- Consider replacing seals/gaskets even if they look ok.
- For persistent problems, contact the manufacturer, authorized repair center, or reputable appliance repair technician for service.
Replacing the steam cleaner nozzle on your own is much cheaper than paying for repairs. However, some steam cleaner internal issues are tricky to properly diagnose and fix yourself. Seek professional support if needed.
Read More: Ideas To Make A Small Laundry Room More Functional
Conclusion
Replacing a malfunctioning or damaged steam cleaner nozzle is an essential appliance maintenance task that restores cleaning performance. By understanding nozzle warning signs, properly selecting replacement parts, and following step-by-step installation guidance, you can tackle this repair job yourself. Paying attention to maintenance recommendations such as descaling and using distilled water also helps avoid future issues. Don’t hesitate to contact pro help for any complications beyond nozzle replacement. Equipped with these nozzle troubleshooting and replacement tips, you can keep your steam cleaner working like new.