
Installing a ducted range hood in your kitchen is an effective way to improve air quality, and ventilation, and remove smoke, grease, odors, and more. While the installation may seem intimidating, this comprehensive guide will walk you through the entire process with step-by-step instructions.
Why Install a Ducted Range Hood?
There are many benefits to installing a ducted range hood in your kitchen:
- Improves air quality by venting smoke, grease, and odors outside
- Enhances kitchen ventilation to provide fresh air flow
- Captures more smoke and odors than non-ducted range hoods
- Quieter operation than non-ducted models
- Filters help keep kitchen clean from grease buildup
- Stylish focal point and decorative element for your kitchen
By ducting the range hood outside, 100% of the air gets expelled, unlike recirculating models which only filter some of the air. This makes ducted range hoods much more effective and powerful.
Planning the Installation
Careful planning is required for a smooth installation process. Here are key steps to plan out:
- Measure your cooking surface area to choose the correctly sized hood
- Decide on the mounting height based on cooktop size and recommendations
- Pick a suitable location with proper access to ventilation ductwork
- Plan the ductwork route to the outside
- Ensure adequate electrical supply with a dedicated circuit
Proper planning will save a lot of time and headaches later on.
Equipment/Materials Needed
Make sure you have all the required equipment and materials on hand before starting the installation:
- Ducted range hood
- Ductwork pipes and elbow joints
- Screws and mounting hardware
- Screwdriver & drill
- Measuring tape
- Marker
- Ladder
- Wire cutters/strippers
- Duct tape
- Vent hood/roof cap
You may also need additional materials depending on your exact ductwork route. Having everything prepared ahead of time will make the installation smooth.
Step 1: Turn Off Power Supply
Before installation, turn off power supply to the area at the circuit breaker to prevent electric shocks or damage to the electrical system:
- Locate your circuit breaker panel in the house
- Identify the circuit breaker controlling the kitchen electrical
- Flip the circuit breaker switch to the OFF position
Turning off power is an essential safety step when working on any electrical project. Make sure power is OFF throughout the entire ducted range hood installation process.
Step 2: Determine Mounting Location
Next, determine the mounting location based on your cooktop:
- For gas cooktops, hood should be at least 30 inches above the cooking surface
- For electric cooktops, hood should be at least 24 inches above surface
Measure from the highest point on your cooktop surface to establish the correct minimum mounting height.
Additionally, consider:
- Mounting directly over the center of cooktop
- Enough mounting structural support like wall studs
- Accessible space for ductwork route
- Ventilation requirements for your kitchen size
Mark mounting screw holes with a marker based on your measurements. Having the right location planned is key for proper function.
Step 3: Install Mounting Bracket
With the mounting location determined, install the ducted hood mounting bracket securely into place:
Supplies Needed:
- Mounting bracket
- Screws
- Screwdriver
- Drill
Steps:
- Hold mounting bracket in desired position
- Mark holes for drilling using pencil/marker
- Pre-drill holes into the wall or cabinet
- Insert mounting screws into pre-drilled holes
- Secure bracket tightly using screwdriver
- Use wall anchors if drilling into drywall for better support
Getting the mounting bracket properly installed is vital for correctly positioning the hood.
Step 4: Prepare Electrical Wiring
Before installing the hood itself, adequate electrical wiring must be set up:
Supplies Needed:
- Wire cutters/strippers
- Electrical wiring
Steps:
- Measure length of wire needed from breaker panel to hood
- Cut appropriate length of electrical wire
(including extra length for adjustments) - Strip insulation from ends of wire
- Secure one end of wire to the breaker panel connection
- Leave the other wire end prepared for connecting to hood later
Proper electrical wiring is now ready for the ducted hood connection.
Step 5: Install Vent Hood Ductwork
The vent hood ductwork provides the route for smoke, fumes, and vapors to exit outside:
Key Considerations:
- Minimize duct run length and elbow angles
- Maintain constant slope for efficient airflow
- Use rigid round metal ductwork for best air movement
- Calculate duct diameter based on hood airflow rating (CFM)
Steps:
- Measure and cut ductwork sections as needed
- Connect straight pieces with elbow joints leading outside
- Use screws to connect each ductwork section
- Wrap all duct connections with duct tape to seal properly
- Attach exterior vent hood/roof cap outside
Install ductwork before securing the hood itself for easier access.
Read More: Troubleshooting Guide: What to Do When Your Kitchen Exhaust Fan or Range Hood Isn’t Pulling Air
Step 6: Mount Range Hood onto Bracket
With the supporting preparations complete, mount the ducted range hood onto the brackets:
Supplies Needed:
- Ducted range hood
- Screws
- Screwdriver
Steps:
- Line up hood with installed mounting brackets
- Insert mounting screws through brackets into back of hood
- Tighten screws securely using a screwdriver
- Avoid overtightening screws
Take care when mounting the hood to avoid any damage.
Step 7: Connect Ductwork Pipes
Next, connect the ductwork pipes to the mounted range hood:
Supplies Needed:
- Ductwork pipe
- Clamps
- Screwdriver
Steps:
- Slide duct pipe over outlet hole on top of range hood
- Wrap duct tape around joint to seal it properly
- Install metal clamp around duct connection
- Tighten clamp securely using screwdriver
Airtight duct connections are vital for proper ventilation.
Step 8: Complete Electrical Connections
Finish the electrical work by connecting wires from the breaker panel to the hood terminals:
Supplies Needed:
- Power wires
- Wire connectors
- Screwdriver
Steps:
- Attach black (live) wire to black lead on hood
- Attach white (neutral) wire to white lead
- Connect green/bare ground wire
- Wrap all connections in electrical tape
- Tuck wires back into wiring box
- Reinstall wiring box cover
Ensure electrical connections are tight and well-insulated for safety.
Step 9: Test Range Hood Functions
Before completing installation, test all the ducted range hood features:
- Power on from circuit breaker panel
- Check all lights and fan speeds
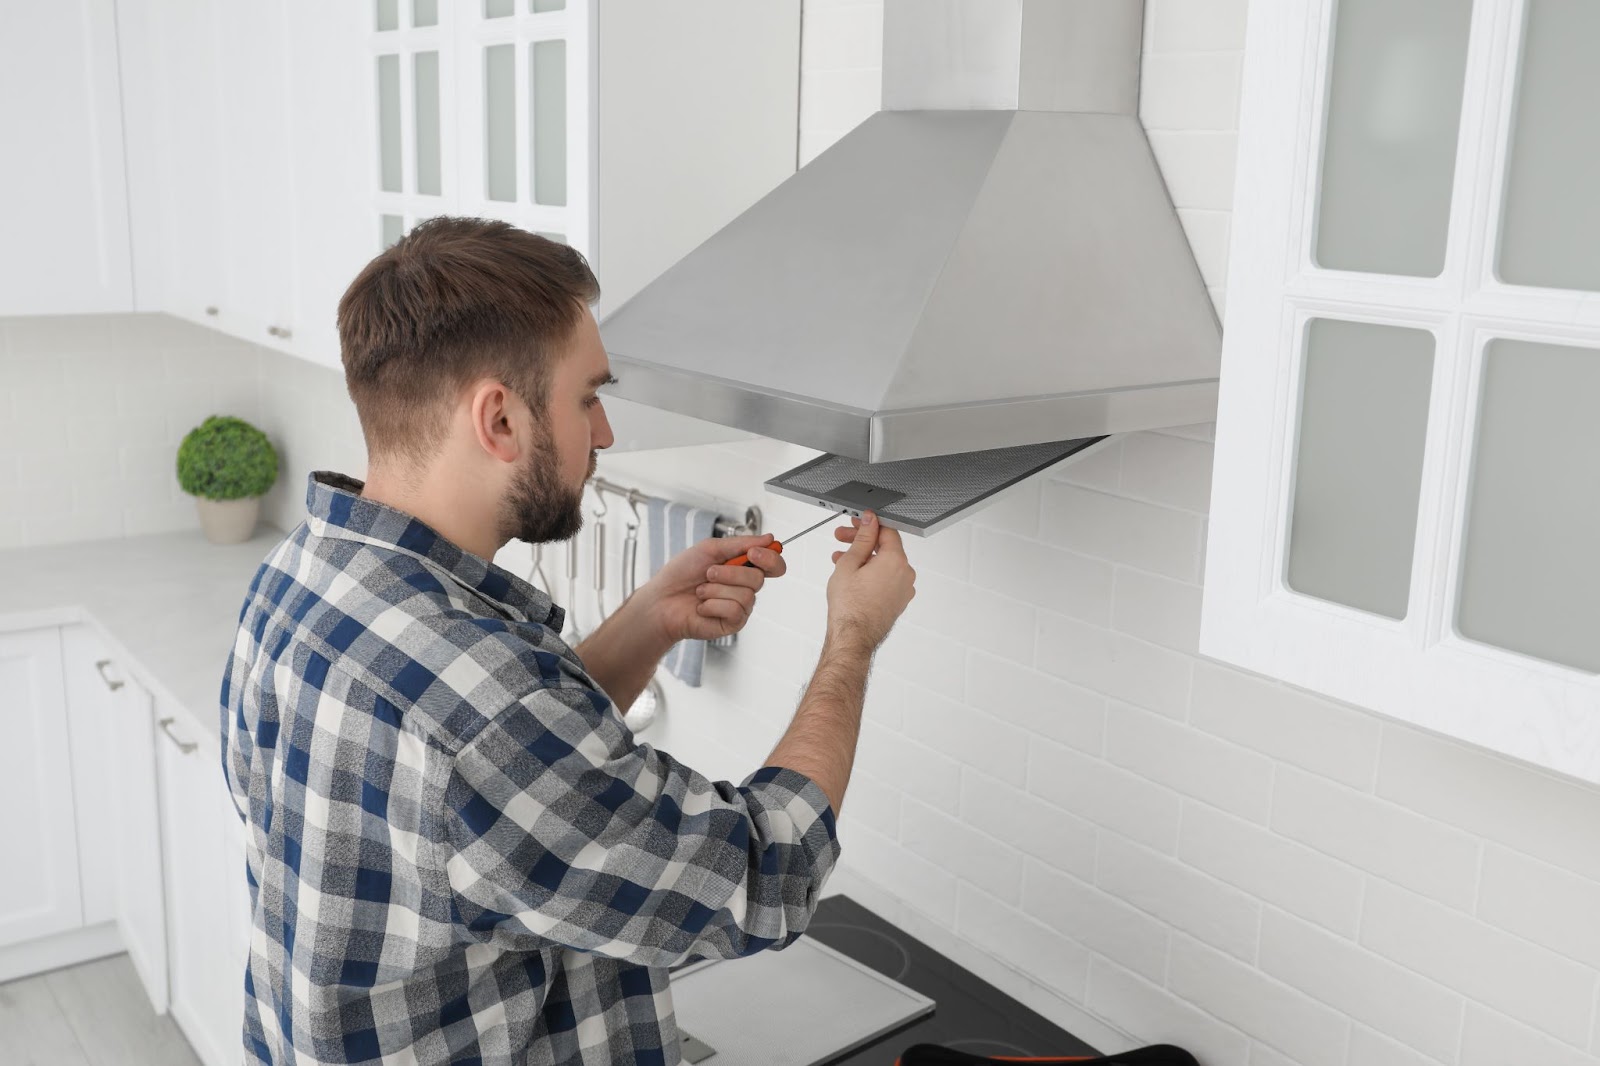
- Test baffle filters slot in properly
- Confirm adequate ventilation and suction
- Verify duct outlet cap outside expels air
- Check for any unusual sounds or issues
- Turn off hood when complete
Identifying and fixing problems now is much easier than later.
Step 10: Finish Installation
Lastly, finish securing the hood fully:
- Attach any filters, controls, or front covers
- Seal spaces between hood and wall with caulk
- Install decorative duct covers if desired
- Remove any protective plastic from surfaces
Thoroughly cleaning the area and testing all grease trap components is also recommended after install.
Conclusion
While installing a ducted range hood involves careful planning and consideration, having this step-by-step guide makes the process straightforward, even for DIYers. Proper installation will lead to drastically improved ventilation, air quality, and kitchen environment.
Be sure to check local building codes and manufacturer instructions as well during your hood installation for compliance. Taking the effort to correctly install a quality ducted range hood will provide cleaner, healthier indoor air for years to come!