
Replacing a broken blender glass jar may seem daunting, but it’s an essential task for getting your appliance safely up and running again. This comprehensive guide will walk you through the entire replacement process, from start to finish. We’ll cover everything you need to know, including:
- Gathering the necessary tools and replacement parts
- Preparing your workspace
- Removing the old glass jar
- Disassembling and reassembling the blade assembly
- Installing the new glass jar
- Testing the blender’s functionality
Necessary Tools and Parts
Before starting any repair work, you’ll need to have the right tools and replacement parts on hand. Attempting blender glass jar replacement without the proper equipment can be unsafe.
Tools
Here are the basic tools you’ll need:
- Philips head and flathead screwdrivers
- Work gloves
- Safety goggles
Additional tools: Some blender models may also require pliers, hex keys, or specialty screwdrivers. Refer to your owner’s manual to see if any additional tools are needed for disassembling your unit.
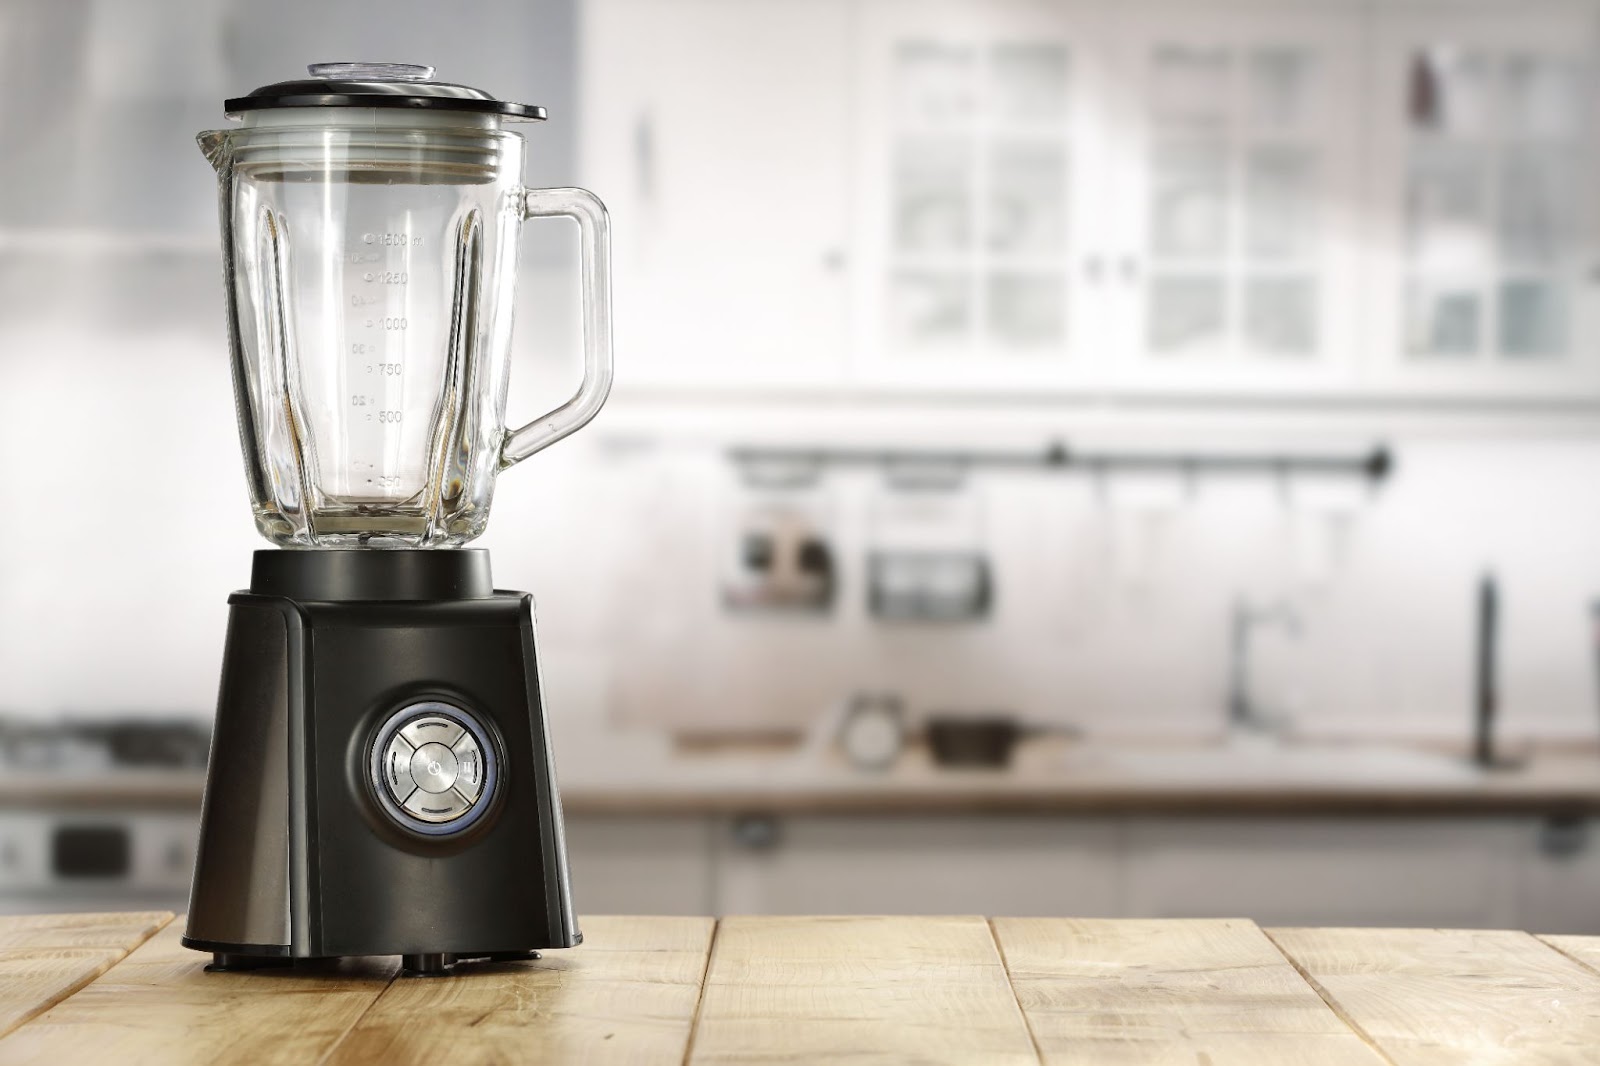
Replacement Glass Jar
You’ll need to purchase a replacement glass jar or pitcher that is explicitly compatible with your blender model. Using the wrong jar can prevent the blades from connecting properly or cause the jar to crack under pressure.
To find the right replacement jar:
- Check the manufacturer’s website using your blender’s model number
- Search appliance parts websites using your model number
- Check with an appliance parts supplier offline
Make sure to have the new OEM (original equipment manufacturer) glass jar on hand before beginning the repair.
Read More: What Causes Sticky Blender Buttons and How to Fix Them
Preparing the Workspace
Proper workspace preparation is crucial for safely tackling any repair job. Follow these tips to get set up:
Unplug the Blender
Before disassembling, unplug your blender from the electrical outlet. This prevents accidental startup and electric shock.
Clear the Area
Clear off ample workspace around the area you’ll be working. Remove any dishes, towels, or clutter from the immediate vicinity.
Protect Surfaces
Place towels, cardboard, or other protectants over countertops and floors beneath your workspace. This safeguards surfaces from damage.
Have Access to a Sink
Position yourself near a sink to facilitate cleaning up any broken glass or spills.
Lighting
Ensure you have ample overhead lighting on your work area so all blender components are clearly visible.
With safety preparations complete, you’re ready to move on to actually removing the damaged glass jar.
Removing the Old Glass Jar
Taking out the broken glass blender jar is the first step to replacing it. With adequate safety gear on and workspace prepped, follow these instructions unique to your blender model:
Note: Glass jar removal processes can vary greatly between different blenders. Refer to your owner’s manual for specific directions. The overview below covers common removal methods but may not apply to all blender types.
Open the Housing
- Locate any retaining clips, thumb screws, or release buttons on the outer housing of the motor base.
- Release the glass jar housing by undoing clips, screws, pressing release buttons, etc.
- Lift open the housing to reveal internal components.
Disconnect Power Cable
- Locate wiring harness connections between jar, base, and electrical cord.
- Gently disconnect any power couplings or cables.
Loosening Jar Mounting Mechanism
- Find jar locking tabs, screw rings, clamps, etc. that secure the glass jar.
- Carefully loosen and detach hardware to release the glass jar.
Lifting Out Jar
- When fully detached, lift glass jar directly upward to remove. Use gloves for protection. Broken remnants may be sharp!
- Inspect empty housing area and cleaning any leaked contents
- Place removed jar in secure container for disposal
With the old blender jar removed, inspect the open housing for any leaks, debris, or damage before continuing.
Disassembling the Blade Assembly
Before installing the replacement glass jar, you’ll need to detach the blade assembly from the original jar and mount it into the new one. Here is an overview of typical blade assembly removal:
Locating Mounting Nut/Screw
- Examine underside of removed glass jar for hardware piece that secures blade assembly. Often a nut or screw.
- Some models may require you first detach a mounting gasket, seal, or ring. Refer to your manual.
Holding Jar Securely
- With one hand, grip the mouth of the jar firmly to keep stationary. Use gloves for protection.
- Position second hand under the jar base for added support.
Loosening Mounting Hardware
- Using your free hand, grip and loosen the mounting nut/screw using proper sized wrench, pliers etc.
- Detach mounting hardware to release blade assembly from glass jar.
Extracting Blade Assembly
- Carefully tilt and slide entire blade assembly out of jar base.
- Continue gripping jar stationary with one hand.
- Use gentle controlled motions to avoid contacting sharp blades.
With the blade assembly fully removed inspect all parts for damage before moving to the replacement glass jar installation.
Transferring Blade Assembly to New Jar
Now comes the reassembly! Follow these key steps to safely transfer the blade assembly into your new OEM replacement glass jar:
Inspecting Components
- Thoroughly examine new glass jar and existing blade assembly for any defects.
- Ensure all parts are clean and free of debris.
- Confirm the blade assembly came from the correctly matched original jar to maintain proper fitting with new jar.
Inserting Blade Assembly
- Carefully insert blade assembly into new glass jar base using same gentle, tilted motions used during removal.
- Take care not to contact any sharp edges! Use gloves whenever handling blade assembly.
- Ensure assembly sits flush and even at jar’s interior bottom.
Reattach Mounting Hardware
- Align any holes, slots, or connectors between jar base and blade assembly.
- Reinsert and tighten any mounting nuts, screws, gaskets etc. following your blender manual specifications.
- Final tightness should secure assembly snugly with no wobbling.
Safety Test Fit
- Perform test installation of glass jar into motor base before final use.
- Ensure proper fitting with no looseness or unevenness.
- Repeat blade assembly mounting process if any instability, gaps, or issues are found.
When fully assembled without problems present, you’re ready to reinstall the glass jar into the motor housing.
Reinstalling Glass Jar into Housing
With blade assembly securely integrated into your new replacement glass jar, follow these tips to finish reassembly:
Prep Housing
- Clear any dust or debris from empty motor housing using small brush, towels and, if needed, vacuum crevice tool.
- Ensure no obstructions that could hinder jar fitting.
Lower Jar
- Using both hands, gently lower glass jar assembly straight down into housing cavity.
- Align any positioning guides, notches, or mounting holes between jar and motor base.
Reconnect Wiring Harness
- Locate wiring harness panel on housing and carefully reconnect multi-pin plugs from power cords.
- Ensure firm, flush fittings. Refer to your diagram if uncertain.
Securing Jar
- Reinstall any clamps, screw rings, locking tabs, gaskets etc. used to solidly mount the glass jar according to instructions.
- Avoid overtightening hardware. Snug with light pressure only.
Closing Housing
- Swing shut blender motor housing and refasten any retention clips, thumbscrews etc. Follow specifications in owner’s manual.
Before proceeding to use, plug the unit back in and power it on to perform a thorough functionality test.
Testing Blender Operation
As a final step before regular use, conduct testing to ensure full safe functionality:
Initial Power Test
- With unit plugged in, toggle between all settings momentarily to check proper electric and motor responses.
- Ensure the jar assembly shows no instability or base displacement during power up/down.
Test Blend
- Add 1-2 cups water and a few ice cubes to jar.
- Run full blending cycles on both low and high settings, checking for smooth and even operation.
- Listen for any loud noises like rattling that could indicate issues.
- Let blender run for 2-3 minutes total to confirm sustained performance.
Check for Leaks
After testing, open housing and inspect underneath blender for any water dripping from jar seals that could indicate fitting problems.
If any performance, noise, or leak issues arise, inspect jar & blade assembly again and review previous installation steps. Running additional tests is advised prior to blending actual ingredients.
Assuming testing runs without problems – congratulations! With these steps complete, your blender has new life with its replacement glass jar securely integrated. You can finally get back to making delicious creations.
Just remember a few usage tips going forward:
- Never overfill blender jar beyond max fill lines
- Use care when handling to avoid future breakage
- Not all jar types and brands safely interchange. Only replace with proper OEM jars!
Also Read: Blender Safety Tips and Best Practices
Conclusion
While an intimidating DIY venture, this guide proves replacing your own broken blender glass jar is quite achievable with some mechanical know-how (or the ability to follow instructions closely!)
The key is having proper tools on hand, an understanding of how blenders assemble/disassemble, patience during the blade transfer process, and attentiveness to safety.
These step-by-step instructions break down the entire replacement procedure for various blender models. Now even novice home cooks can tackle this repair themselves, saving the cost and hassle of shop servicing. Just follow each step carefully while always erring on the safe side.
So don’t despair the next time you nick up your blender jar or accidentally crack it into shards with a dropping knife! (We’ve all done it.) This guide should supply everything you need to order the right OEM replacement part and get your appliance running safely once more.