
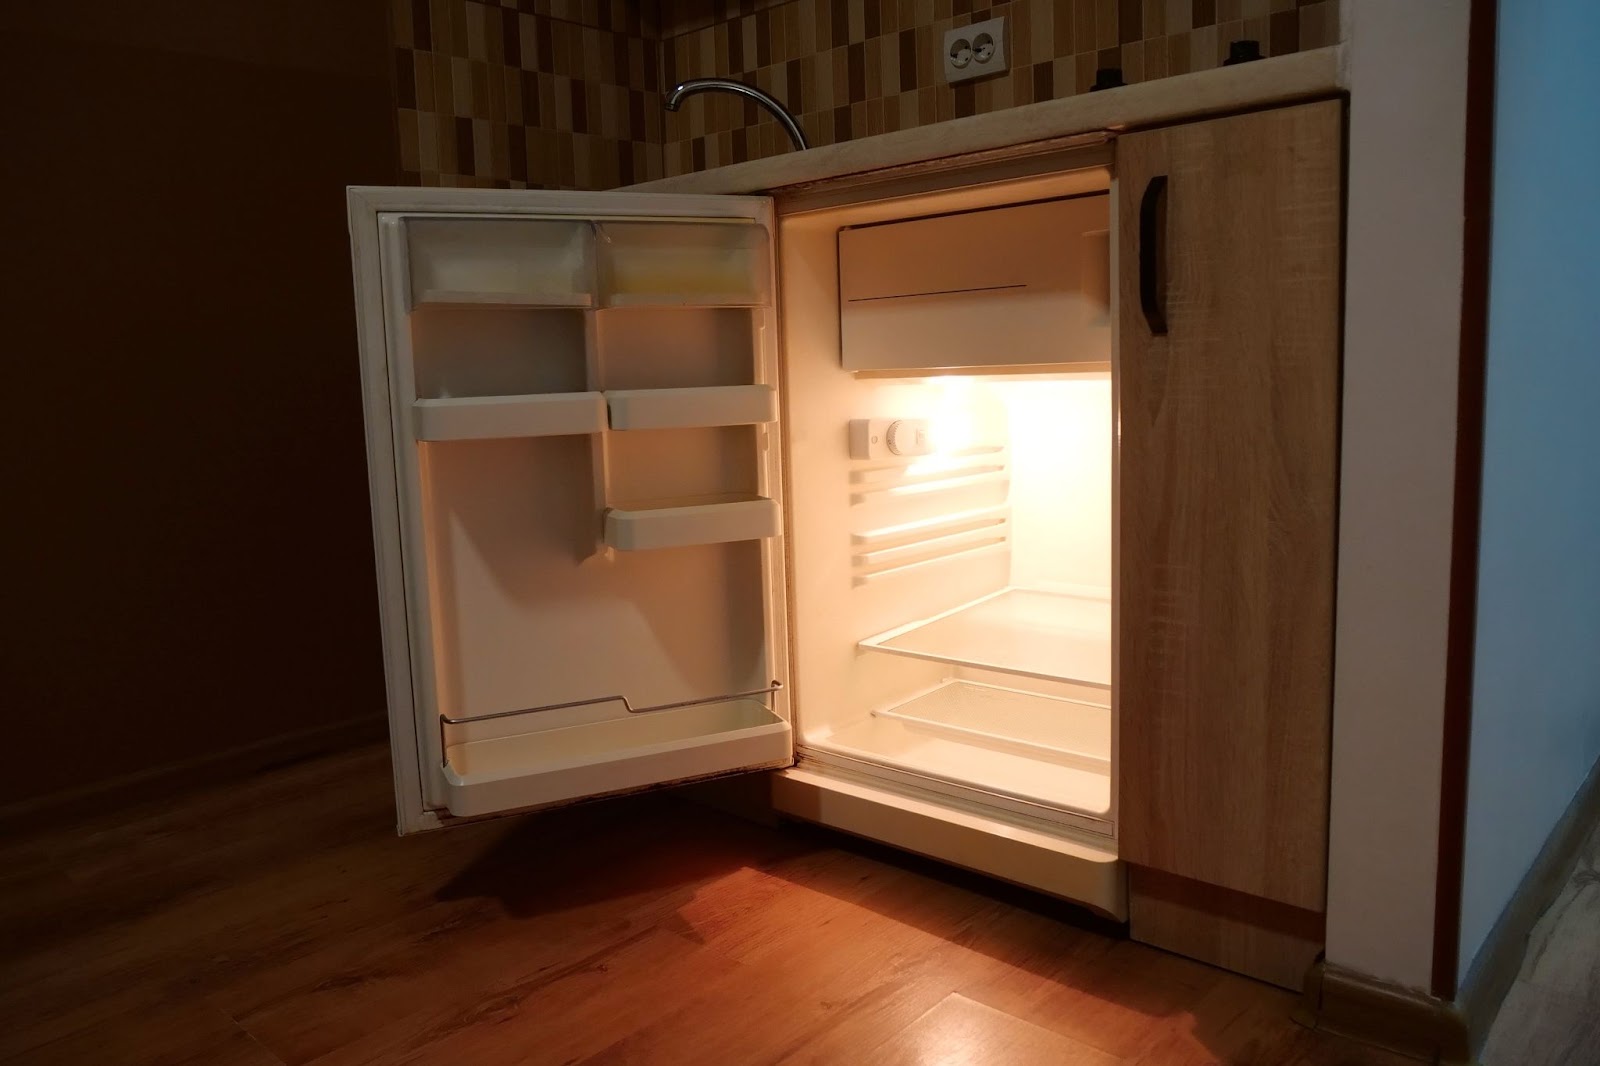
A mini fridge is a convenient appliance that can keep drinks and snacks chilled in small spaces like dorm rooms, offices, or RVs. However, when a mini fridge stops cooling properly, it loses its usefulness.
Fortunately, many common mini fridge cooling issues can be resolved with some basic troubleshooting and DIY repair techniques. This comprehensive guide will walk through 5 easy fixes to try when your mini fridge is not cooling.
Clean the Condenser Coils
One of the most common reasons a mini fridge may stop cooling is because of dirty condenser coils. The condenser coils are responsible for releasing heat from the refrigerant fluid to the outside air. When condenser coils get clogged with dust, pet hair, and other debris, the heat transfer process becomes inefficient.
Dig Deeper: How To Clean Refrigerator Coils In 5 Easy Steps & Why To Do It
Supplies Needed:
- A soft brush or vacuum cleaner
Steps to Clean Condenser Coils:
- Unplug the mini fridge – This ensures safety while working on the appliance.
- Move the fridge away from the wall – Condenser coils are usually located on the back or bottom, so you need access.
- Brush or vacuum the coils – Use a soft brush attachment or vacuum crevice tool to dislodge debris. Be gentle on the thin fins.
- Check airflow beneath the fridge – Make sure there is adequate ventilation under and around the unit.
- Plug the fridge back in & monitor the temperature – It may take several hours for the interior to cool again after cleaning the condenser coils.
Thoroughly cleaning dust and debris from condenser coils once every 3-6 months helps maintain proper heat dissipation and ensures your mini fridge runs efficiently.
Inspect the Door Seal
If condenser coils look clean, the next thing to check is the door seal. A faulty door seal allows warm air from the room to seep into the fridge, raising the interior temperature.
To Test the Door Seal:
- Close the door on a piece of paper or a dollar bill
- Gently pull on the paper/bill – It should have some resistance.
- Try different spots around the door – Do this a few times to check the whole gasket.
If the paper/bill slides out easily, the seal may be:
- Cracked
- Torn
- Brittle
- Warped
To Fix a Faulty Door Seal:
- Clean the gasket – Use warm water and mild detergent, rinse thoroughly.
- Consider replacement – If cleaning does not restore flexibility, purchase a new gasket designed specifically for your model. Watch for perfect alignment with the refrigerator cabinet.
Proper door seal compression is vital for keeping interior temperatures low. Take time to periodically inspect for leaks and maintain good condition. Replace door gaskets displaying significant wear, cracks, or brittleness.
Check the Internal Temperature
While door seals and condenser coils are common culprits behind cooling failure, always verify actual interior temperatures too.
To Check Internal Temps:
- Let the fridge run for several hours after cleaning the condenser coils and fixing the door seals.
- Place an appliance thermometer in the center of the fridge compartment.
- Ideal range is 34°-40°F / 1°- 4°C.
- If the temperature reads above 40°F /4°C after running, there may be an electrical or mechanical defect.
Common Electrical Defects Behind Non-Cooling:
- Faulty thermostat
- Failed control board
- Bad overload protector
Common Mechanical Defects Behind Non-Cooling:
- Refrigerant leak
- Compressor failure
- Condenser fan motor failure
For electrical or mechanical breakdowns, professional service may be needed. However, first ruling out simple airflow obstructions and leaks will save unnecessary repairs.
Replace a Faulty Thermostat
If the mini fridge struggles to maintain cold temperatures but the compressor still hums along, suspect a bad thermostat. This small component regulates operation based on interior air temperature.
A faulty thermostat may cause issues like:
- Not registering correct temps
- Turning off too early
- Failing to signal compressor when cooling is needed
To Replace a Faulty Thermostat:
Supplies Needed:
- Replacement thermostat made specifically for your model
- Small Phillips head screwdriver
- Needlenose pliers
Steps for Replacing Thermostat:
- Unplug the refrigerator to prevent electric shock.
- Locate existing thermostat – Usually inside the main compartment attached to the inner wall.
- Remove screws from the thermostat housing cover.
- Label wires with painter’s tape for easy reassembly.
- Disconnect wire leads – be gentle with connectors.
- Carefully remove the thermostat from bracket clips or wall mounts.
- Install replacement thermostat being careful to align parts correctly.
- Reconnect wire leads per the labeled diagram. Verify connectors snap tightly.
- Secure the thermostat in the mounting clip or bracket.
- Replace the cover and retaining screws.
- Plug in the mini-fridge and confirm proper temperature regulation.
Be extremely careful when handling electrical connections. If you feel unsure about any repair steps, contact a qualified appliance service company to replace the thermostat. A small investment for a professional repair prevents costly damage from improper rewiring.
Check Start Relay & Overload Protector
If the mini fridge compressor fails to turn on, inadequate cooling may be caused by a faulty start relay or broken overload protector. These electrical components work together to manage safe compressor operation.
Start Relay Function
The start relay helps motors start properly by temporarily boosting voltage during ignition. This miniature electrical switch routes higher voltage to the compressor during start-up, preventing overload.
Start Relay Failure Signs:
- The compressor makes humming noise but doesn’t turn on
- Interior temperatures gradually rise
- The light works but the compressor is silent
Overload Protector Function
While the start relay helps initially power up, the overload protector serves as a circuit breaker to guard the compressor. This prevents permanent damage from overheating due to electrical voltage spikes or mechanical friction.
Overload Protector Failure Signs:
- Compressor rapidly clicking on and off
- Fridge cooling inconsistently
- The compressor very hot to the touch
To Test and Replace Bad Relay or Protector:
- Unplug the refrigerator
- Locate electrical housing on the compressor body
- Open plastic cover
- Check wires and terminals for melt marks indicating short circuit
- Use a multimeter to check continuity on start relay and protector
- Replace faulty part ensuring tight terminal connections
- Reattach cover
- Plug in fridge to verify compressor function
Using a multimeter to analyze protector or relay electrical continuity requires skill. Contact an appliance repair specialist if you lack experience with diagnostic testing. Replacing these parts independently risks miswiring and further refrigerator damage. Schedule service by a qualified technician when advanced electrical knowledge is needed.
Replace Condenser Fan Motor
While less common than coil clogs or seal leaks, failed condenser fan motors also lead to warm mini fridges. This tiny component maintains critical air circulation to remove heat.
Condenser Fan Motor Functions:
- Pulls air across hot condenser coils
- Forces hot air from coils out back of fridge
With poor air movement, refrigerant has trouble dissipating heat and interior temperatures rise.
Signs of Condenser Fan Failure:
- Compressor runs constantly
- Exterior fridge back is hot
- Interior air temperatures too warm
DIY Replacement Tips
Replacing a burned-out condenser fan motor is intermediate-difficulty DIY project. Follow these tips for self-repair success:
- Match replacement motor voltage to existing unit specs
- Detach fan blades from old motor to reuse on new part
- Diagram and label wire connections before disconnecting
- Secure wires tightly on new motor using proper size screwdriver
When to Call for Service
Condenser fan issues combined with other major repair needs may overwhelm DIY abilities. Seek professional diagnosis in these cases:
- Compressor not running at all
- Pervasive burning rubber smells
- Visible black scorch marks around motor
- Sparking observed behind refrigerator
Scheduling a one-time appliance repair saves money over continual mini fridge replacement when multiple issues creep up.
Conclusion
When a mini fridge fails to keep contents cold, basic troubleshooting techniques help pinpoint the problem area. Common issues like dirty condenser coils, faulty door gaskets, thermostat failure, start relay problems, or condenser fan motor burnout cause the majority of cooling failures.
Implementing easy DIY fixes detailed in this guide may restore proper functionality. However, if temperatures remain too warm despite your best efforts, seek professional service to diagnose and repair built-in mechanical or electrical defects requiring advanced technical expertise. Annual mini fridge maintenance helps maximize appliance longevity and minimize costly breakdowns.