
Kitchens in modern homes are getting smaller, yet we still desire the same functionality. Finding ways to maximize every inch of available space has become essential. One excellent solution is installing a compact dishwasher under the sink.
This guide will walk you through the entire process of measuring, selecting, preparing, installing, and maintaining your under-sink dishwasher.
Benefits of Installing a Compact Dishwasher Under the Sink
Installing a compact dishwasher under your sink offers several notable benefits:
Space Optimization
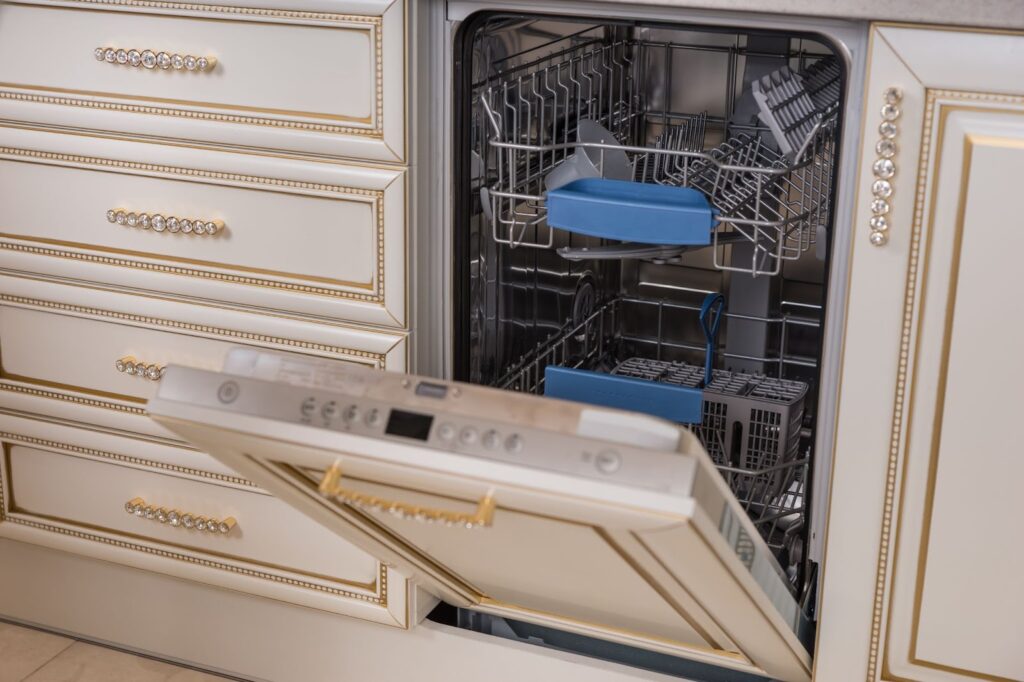
The space under your kitchen sink is already wasted square footage. You might be keeping a few cleaning supplies or trash cans stored under there. However, you can put this previously unusable place to work with a compact dishwasher tucked up out of sight.
This frees up room on your countertop and floor space. Even in a moderate or large-sized kitchen, avoiding counter clutter can make the room feel cleaner and more spacious. An under-sink compact dishwasher is an excellent option for tiny homes, apartments, RVs, and other small living spaces.
Convenience and Efficiency
Having your dishwasher close to the sink for easy loading and unloading cuts down on messes across your kitchen. You won’t have dirty dishes cluttering up your limited countertops.
The process becomes much more streamlined when you can quickly scrape and load dishes. Plus, unloading clean dishes right into your cabinets or drawers helps optimize your workspace.
Aesthetically Pleasing
An under-sink dishwasher keeps your appliance hidden away rather than crowding your precious countertops. By tucking away this necessary kitchen gear, you present a clean and minimal look in your cooking space.
Your guests may not even realize you have a dishwasher until you open up the cupboard! This hidden convenience helps reduce clutter in tiny kitchens.
How to Measure Under Your Sink for Clearance
The first step is confirming you have adequate room under your sink to install this handy appliance. Compact dishwashers come in a few standard widths, usually ranging from 18 to 24 inches. Standard dishwashers need more height, but compact models take up less than 2 feet of vertical space.
Pull out everything stored under your kitchen sink and thoroughly clean the area. Remove doors, pipes, or trash bins to clear the area. Use a measuring tape to measure the following:
- Height from floor to bottom of countertop
- Width between the cabinets and/or walls
- Depth from front to back
Ideally, you’ll have at least 18 inches of height, 18-24 inches in width, and 21-22 inches in depth to accommodate a compact dishwasher. If your plumbing or garbage disposal prohibits fitting one, consider contacting a contractor about adjusting pipes to create the necessary space.
Selecting the Right-Sized Compact Dishwasher
Compact dishwashers generally range from 17 to 24 inches in width. Consider the clearance underneath your sink you measured in the step above and buy accordingly.
You’ll also want to survey the size and quantity of dishes, plates, pots, and pans you regularly wash to choose an appropriately sized appliance. Here are some common compact dishwasher sizes:
- 18-inch dishwashers are best for small families, couples, or singles with 4 place settings
- 24-inch dishwashers work well for families up to 6 members with standard dinnerware
Additionally, look at important features like:
- Noise level – Measured in decibels (dB) from about 44 dB to 60 dB
- Style – Some have hidden controls, different finishes like stainless steel or white, or come with butcher block, silverware tray, etc.
- Cycles & Options – Look for quick wash cycles and heat drying for the best performance
- Energy efficiency
- Warranties on parts
Consider factors like your usage, space constraints, noise preferences, and budget while shopping for the right under counter dishwasher.
Preparing for Installation
Once you’ve selected the correctly sized small dishwasher, it’s time to start prepping for installation day. Pull everything out from under your sink again and clear the area thoroughly.
Gather Necessary Materials:
You won’t necessarily need all these materials for every install job, but these are good to have on hand.
- Safety glasses, work gloves, knee pads
- Tape measure
- Level
- Screwdriver and screw gun
- Cable ties and hooks
- Plumber’s putty
- Adjustable wrench, channel-type pliers
- Utility knife
- Flashlight
- Rags, paper towels, bucket
- Dishwasher safe silicone, caulk gun
Turn Off Water Supply & Power
Before getting started, turn off the hot and cold water lines under your sink as well as shutting off power to the outlet nearby. Disconnect and move aside pipes or cords in your way instead of working around them.
Better access allows you to maneuver the dishwasher into place easier. Just be sure to restore plumbing and electrical connections eventually. Cover the sink drain temporarily so you don’t drop small parts.
Remove Kickplate and Doors
Take off the kickplate if your cabinets have one installed along the bottom. Also, remove any cabinet doors in your way and detach shelving or slide-out trays as needed to make a clear path.
You can replace cabinetry later after verifying that your dishwasher fits in the desired spot if needed.
Step-by-Step Installation Guide
Once fully prepped, you’re ready to install your new under-sink dishwasher. The process involves positioning, securing, and connecting up drain, water, and electrical lines. Follow these step-by-step instructions for a smooth installation:
Slide Dishwasher Into Place
With all cabinet doors removed or fully opened, carefully slide your compact dishwasher into place under the sink. Don’t force it if it doesn’t slide smoothly. You may need to reposition pipes or widen the opening.
Use a helper or nudge with your feet to fully insert if needed. Ensure no pipes, wires, or debris is trapped behind the appliance.
Level & Secure Dishwasher
Use your level tool to double check the dishwasher sits evenly front to back and side to side on the cabinet floor. If the floor is uneven, adjust the leveling feet on the appliance as needed.
Drill pilot holes and install provided screws through pre-drilled holes along the underside of the countertop. Secure tightly into place. Do not solely rely on water/drain lines and electrical cords to hold the unit in place.
Connect Drain Hose
Locate the dishwasher drain port, usually on the backside, and attach the provided hose, securing the metal clamp. Use the included 90-degree elbow fitting so the hose can feed up to the sink drain port.
Remove sink P-trap and install dishwasher Y-connector if you don’t have a dishwasher air gap already. Replace pipes tightly.
Connect Water Supply
Connect the dishwasher hot water inlet hose to your hot water line under the sink. The cold water hose acts as a backup in case hot water runs out. Wrap all water connections with the plumber’s tape and tightly hand tighten.
Turn the sink faucet on briefly to purge air from the lines. Check carefully for leaks before moving on.
Run Electrical and Check Connections
Plug the electrical cord into a nearby outlet if possible or hardwire directly. Use cord covers, conduits, and wire clips to prevent tangles or debris from clogging the fan or heating element.
Turn the circuit breaker and water valves back on. Verify proper drainage flow and check for leaks during a test cycle. Dry out any water buildup inside the tub.
Additional Tips
Beyond the major installation steps, here are some other great tips for protecting your investment:
- Consider installing a whole house water softener if you live in a hard water area. This protects against scale and mineral buildup harming your unit.
- Run vinegar rinse monthly to naturally break up any soap scum and grease.
- Wipe away food bits, suds, and moisture buildup regularly.
- Clean or replace dishwasher filters every 2-3 months.
- Refill rinse aid, and detergent dispensers regularly.
- Confirm nothing is blocking spray arm rotation.
Conclusion & Next Steps
That wraps up the entire process for installing your very own space-saving compact dishwasher! By tucking this appliance neatly under your sink, you can enjoy the latest innovations without taking up your precious kitchen space.
After completing installation, give your dishwasher a test run to confirm all parts work properly. Verify the correct amount of soap dispensed, water temperature reached, full drainage, drying activated, etc.
Be sure to run it empty once first. Then celebrate your newly maximized kitchen space by cooking up your family’s favorite meal and letting your under-sink dishwasher handle cleanup!