
Starting a DIY kitchen island project is an exciting way to mix creativity with practicality. A kitchen island is a central part of many homes. It’s where families come together, meals are prepared, and lots of memories are made. What makes the DIY approach special is how you can make the island fit exactly what you need, matching your style and how your kitchen is laid out.
Whether you want more room to work on or a big island with appliances built in, building it yourself can be a fun and rewarding experience. This guide will help you through the steps of planning, building, and enjoying a kitchen island that’s not just useful, but also a showcase of your own handiwork.
1. Planning Your Kitchen Island
Adding a kitchen island is a great way to make your kitchen more useful and look better. Let’s go through the main things to think about to make sure your kitchen island turns out just right.
Determining Size and Location
First, you must figure out how big your island should be and where it should go. It’s important to choose a size that gives you enough room to work but doesn’t make your kitchen feel crowded. Look at your kitchen and think about how you move around in it. You should have enough space to easily open all your cabinets and appliances, even with the new island.
Choosing the Right Materials
Then, decide what your island should be made of. This choice will affect how your island looks and how long it will last. There are many options, like wood for a classic look or stainless steel for a more modern feel. It’s important to pick materials that look good with the rest of your kitchen and are strong enough for everyday use.
Design Considerations and Styles
Lastly, think about what features you want on your island. You might want an extra counter for making food, or you might want more, like a sink, a place for appliances, or a spot to sit and eat. Your island should not only match the style of your kitchen but also fit how you use it. For example, if you like to have friends over for meals, you might want a bigger island. If you’re more about quick snacks, a smaller one might do. These ideas will help you choose a design that makes your kitchen island both nice to look at and handy to use.
2. Gathering Your Tools and Materials
Preparing to build your kitchen island means ensuring you have all the right tools and materials. It’s like setting up for an exciting project!
Essential Tools for the Project
To build a kitchen island, you’ll need a few basic tools. Here’s a list to help you get started:
- Saw: Essential for cutting your materials to the right size.
- Drill: Needed for making holes and driving in screws.
- Screws: These will hold all your pieces together.
- Measuring Tape: To make sure every part fits perfectly.
- Sandpaper: Useful for smoothing out the wood.
- Level: To ensure your island’s top is flat and even.
- Clamps: Great for holding pieces in place while you work.
Before you begin your project, make sure you have all these tools ready. They’ll help make your kitchen island build go smoothly.
Selecting Quality Materials
Choosing the right materials is important for your kitchen island. You want materials that are strong and will last a long time but also look good in your kitchen. For example, wood can make your island feel warm and welcoming, while metal or stone might give a more modern look. Also, think about picking materials that are good for the environment. Many options are both durable and eco-friendly.
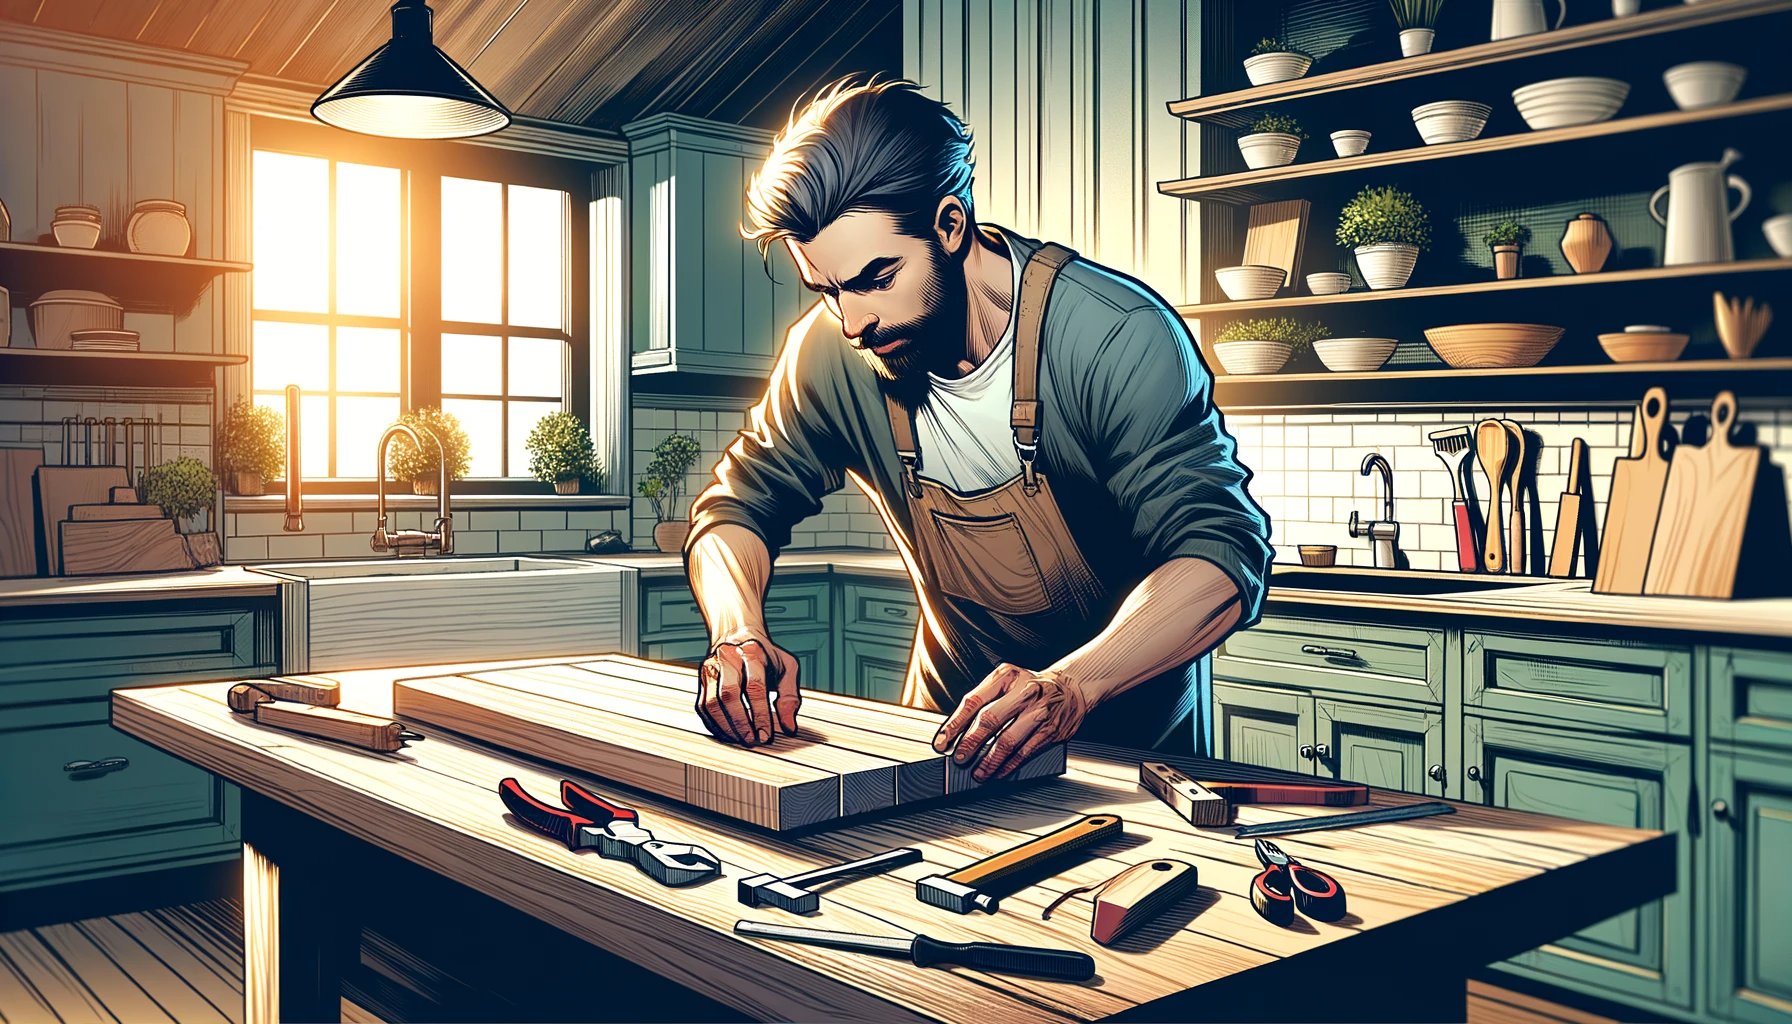
3. Constructing the Base of Your Island
Building the base of your kitchen island is crucial. It supports everything else, so it’s important to get it right.
Building the Frame
The frame is the core of your island. It should be strong and durable. Choose materials that are robust and long-lasting. As you construct the frame, focus on stability and accuracy. Verify all corners form right angles and the structure is balanced. A solid frame means a durable kitchen island.
Adding Shelves and Storage Options
Storage is a key feature of a kitchen island. Consider what you need to store and your preferred storage style. Do you want drawers for utensils, cabinets for pots and pans, or open shelves for displaying items? Design your storage to meet your needs and match your aesthetic. A well-planned island can make your kitchen both stylish and organized.
4. Installing the Countertop
Choosing your countertop, whether it’s elegant granite or warm wood, changes the look of your island. Think about how tough it is, how easy it is to clean, and if it goes well with your kitchen’s design.
Installing it right is important for safety and use. Make sure the countertop lines up well with the base and is securely attached. This verifies it’s safe, works well, and looks good in your kitchen for a long time.
The right paint can also make your island stand out. Choose a color that looks good with the rest of your kitchen. You can also add stylish drawer pulls or decorative trims for extra flair.
Personalize your island with practical features. Built-in electrical outlets can be handy, a wine rack might be perfect for your collection, or special lighting can create a nice atmosphere. These additions make your island more useful and attractive, turning it into a key part of your kitchen.
5. Maintenance and Upkeep
Regular cleaning is important for keeping your kitchen island looking great and lasting long. Use the right cleaners for each surface to avoid damage.
Check your island often for any wear or damage. Fixing small problems early can stop bigger issues in the future. This way, your island stays in good condition, making it a useful and attractive part of your kitchen for a long time.
6. Potential Challenges and Solutions
When undertaking a DIY kitchen island project, you may encounter various challenges. It’s important to recognize these potential issues and know how to address them effectively. Below are some common challenges and their solutions, as well as advice on when to seek professional help.
Troubleshooting Common Issues
- Structural Stability: If your island wobbles or seems unstable, double-check all connections and supports. Tighten any loose screws and make sure everything is properly aligned.
- Hardware Problems: Drawer slides or hinges might not work smoothly. Lubricating them or adjusting their alignment can often fix these issues.
- Surface Damage: Scratches or dents on the countertop or frame can happen. Depending on the material, you can fill them or sand them down.
- Resources: Online forums and DIY guides are great for finding solutions. They offer a wealth of tips from people who have faced similar challenges.
Seeking Professional Help When Needed
- Complex Electrical Work: If you’re adding outlets or lighting, and you’re not confident in your electrical skills, it’s safer to hire a professional.
- Major Structural Issues: If there are significant problems with the frame or base that you can’t fix, getting expert help can save time and ensure safety.
- Specialized Installations: For tasks like installing a stone countertop, professionals have the right tools and expertise to do the job correctly.
Remember, it’s okay to ask for help. Tackling some problems on your own is great, but for more complex issues, professionals can provide the necessary skills and experience.
Conclusion: Enjoying Your New Kitchen Island
Finishing your kitchen island is a big deal. It’s not just about having more space or a new look in your kitchen; it’s about the pride of making something special yourself. Enjoy all the good things it brings to your kitchen life. Whether helping you cook, giving you more room to store things, or just looking great, your island is a sign of your hard work and creativity. So, take a moment to appreciate your new kitchen feature and how it improves your kitchen.