Quick answer
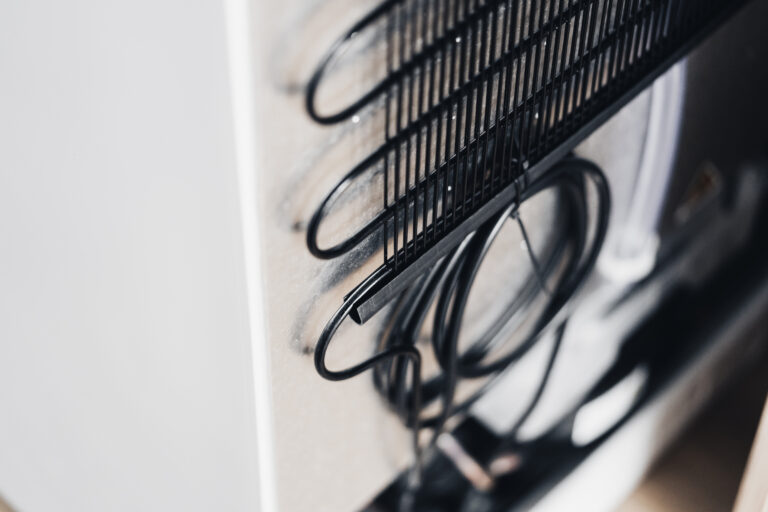
Whirlpool defrost heater WPW10495967 is the 120V heater wrapped around the freezer evaporator, and failure is one possible cause when thick even frost covers the evaporator cover and the fresh food section warms while the freezer stays cold. Unplug the fridge, disconnect the two thick black plugs, and test the heater on ohms: OL means replace it. The swap takes 60 to 90 minutes and the part costs $40 to $90.
A warm refrigerator beside a cold freezer can signal frost blocking the flow of cold air. Whirlpool defrost heater WPW10495967 is one possible cause, but the heater needs testing before replacement because other defrost faults can produce the same pattern. The checks and replacement steps below explain how to confirm the fault, match the part to the model, and restore airflow.
Quick Facts
| Detail | At a Glance |
| Difficulty | Moderate to Hard |
| Time | 60 to 90 minutes plus thaw time |
| Tools | 1/4 inch nut driver, flat-blade screwdriver, needle-nose pliers, multimeter, towels |
| Part Cost | $40 to $90 |
| Skill | Intermediate, works around the evaporator and copper tubing |
What Are the Symptoms of a Failed Defrost Heater on a Whirlpool Fridge?
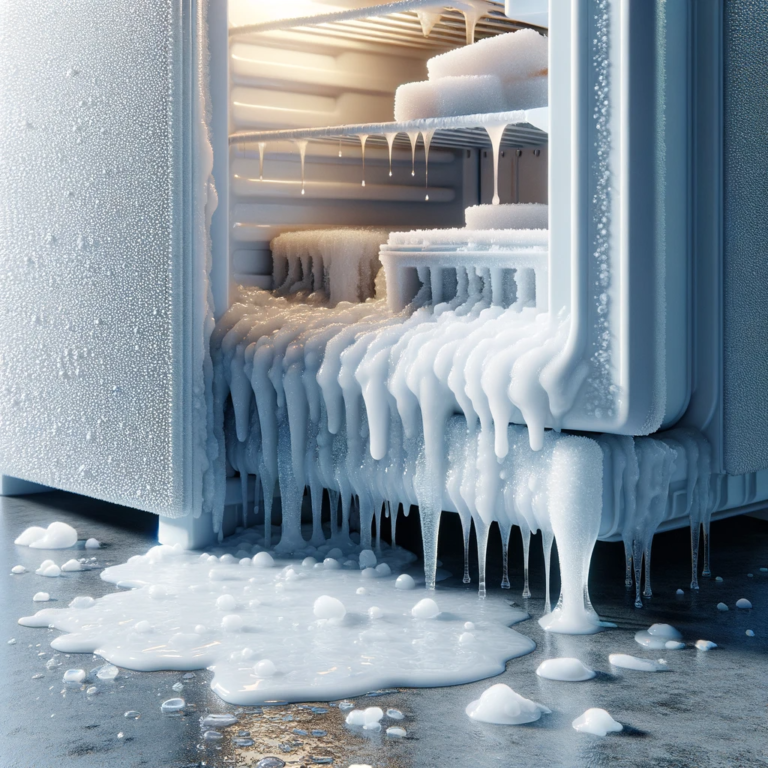
A failed defrost heater lets frost build across the cold coil; that frost cuts airflow, so a cold freezer can sit beside a warm fresh food section.
Keep these points in mind.
- Thick even frost on the evaporator cover
- Fresh food section warming while the freezer stays cold
- Snowpack on the back panel
- Airflow falling week by week
- Fridge recovers for days after a manual thaw
A symptom points toward a system, but several parts in that system may cause it; the useful question is which observation separates those parts. Visible damage gives stronger evidence than a guess from age alone. An electrical fault needs a reading made at the right points.
How Do You Test the Defrost Heater With a Multimeter for Continuity?
Follow these steps to check this part of the fault.
Check the Specified Test Conditions
- Disconnect power.
- Reach the two thick black plugs behind the lower rear panel.
- Disconnect.
- Set the meter to ohms.
- Read across the heater.
- Expect roughly 20 to 40 ohms.
- Treat OL as open.
- Test the defrost thermostat for continuity when cold at the same time.
Resistance is measured in ohms with the part disconnected from power; a kilohm is 1,000 ohms. Continuity means there is an electrical path through the tested part. OL usually means that path is open or beyond the meter range.
What would make this part a poor choice? A sound test result means you need to consider the other causes before ordering it.
Is WPW10495967 the Right Defrost Heater for Your Model?
Confirm the part against the full model number before ordering; a family name or visual match alone does not prove compatibility.
The following details help narrow the decision.
| Condition or Detail | Meaning or Next Consideration |
| 120V heater wrapped around the evaporator | This describes the covered layout; confirm it on the full model. |
| two plugs | thick black wires |
| longer wire on the left | The connection and wire arrangement must match the covered assembly. |
| green ground wire | The connection and wire arrangement must match the covered assembly. |
| two bottom clips | The mount must match so the part seats securely. |
| model-number lookup | The full model number must list this exact part. |
Which Whirlpool Refrigerator Models Use Defrost Heater WPW10495967?
Confirm the part against the full model number before ordering; a family name or visual match alone does not prove compatibility.
Keep these points in mind.
- Whirlpool-built bottom-freezer and French door families with the rear-panel evaporator layout
- The full model identifier on the appliance label
- Confirm by full model number since heater lengths differ by evaporator size
A model family describes a group of appliances, not one confirmed parts list; different versions can use a different length, mount, or connector. The full model identifier distinguishes those versions. Shared branding can also hide different internal designs.
Do You Need to Unplug the Fridge Before Replacing the Defrost Heater?
Yes, disconnect power before opening the assembly or testing resistance; restore it only for a separate powered check when that test is required.
Keep these points in mind.
- Unplug or trip the breaker
- Let frost thaw with the door open
- Keep towels under the evaporator
- Avoid bending the soldered aluminum
The Off button is a control setting, not a way to remove electrical power from every internal part; a resistance test belongs on a disconnected circuit. Water and nearby powered parts make careless access especially risky. A live reading is a separate task with different hazards.
How Do You Replace Whirlpool Defrost Heater WPW10495967?
Follow these steps to complete the covered procedure for Whirlpool defrost heater WPW10495967.
Empty the Freezer and Remove the Rear Panels
- Disconnect power.
- Open the freezer and remove the shelves from the top down.
- Pull each drawer forward and lift it off its rails.
- Pry off the top plastic cover with a flat screwdriver while holding it.
- Remove the upper left 1/4 inch screw.
- Lift out the upper rear panel.
- Remove the four lower panel screws, then pull that panel out.
Disconnect the Heater Plugs and Move the Drip Pan and Tubing
- Press the locks on the two thick black plugs and disconnect them.
- Pull the drip pan partway out with pliers.
- Move the copper tube gently without bending its soldered aluminum joint.
Remove the Heat Shield and Old Heater
- Disconnect the green ground wire from the heat shield.
- Work the shield out of its rear clip.
- Bend the two lower heater clips outward.
- Slide the old heater out from behind the coil.
Install the New Heater and Reconnect the Ground
- Place the longer wire on the left and slide the new heater into place from left to right.
- Reconnect the two heater plugs.
- Hook the lower clips over the aluminum tube and seat the heater.
- Refit the heat shield and reconnect its green ground wire.
- Move the copper tube back into place.
Reinstall the Panels, Shelves, and Power
- Refit the lower panel with its four screws.
- Set the upper panel grooves over the lower panel edge and press it into its clips.
- Fit the upper left screw.
- Clip the plastic cover in on the right, then the left.
- Refit shelves and drawers from the bottom upward.
- Close the door and restore power.
- Allow the fridge to cool and watch for new frost.
Should You Replace the Heater, the Defrost Thermostat, or the Control Board?
Choose the repair that matches the confirmed fault; a cheaper part will not help if it belongs to a different part of the system.
Keep these points in mind.
- Heater $40 to $90 when it reads open
- Thermostat $15 to $35 when it stays open while cold
- Adaptive defrost board $90 to $180 when heater and thermostat both pass but defrost never runs
FAQ
How Long Does the Replacement Take?
Allow 60 to 90 minutes for the repair, plus thaw time. Heavy ice can make access take longer.
How Long Before the Frost Clears After the New Heater Goes In?
Existing frost needs time to thaw before reassembly. A working heater prevents new buildup during later defrost cycles rather than clearing a frozen panel at once.
Can a Defrost Heater Fail Intermittently?
Yes, an intermittent connection can make a fault appear and disappear. A normal reading at one moment does not explain every recurring frost problem.
Ending the Frost Buildup
You have a clearer path when the symptoms, model, and test results agree; focus on the failed part and keep the nearby wiring, mounts, and seals in view. A sound diagnosis helps the repair solve the original problem.
Check the full model number, then choose the compatible defrost heater or thermostat so the freezer stops icing over.