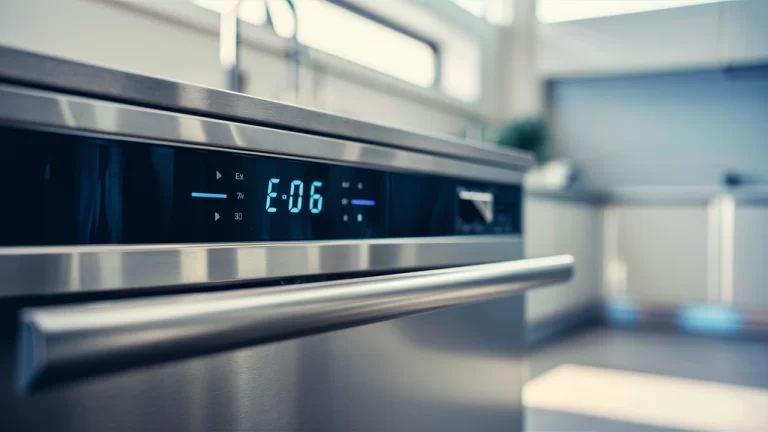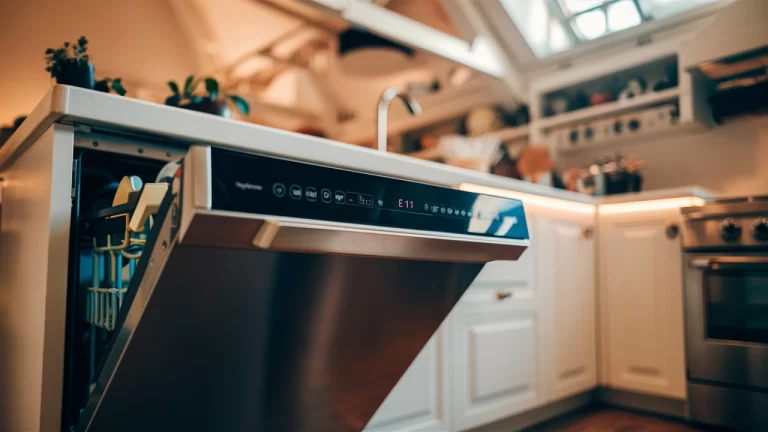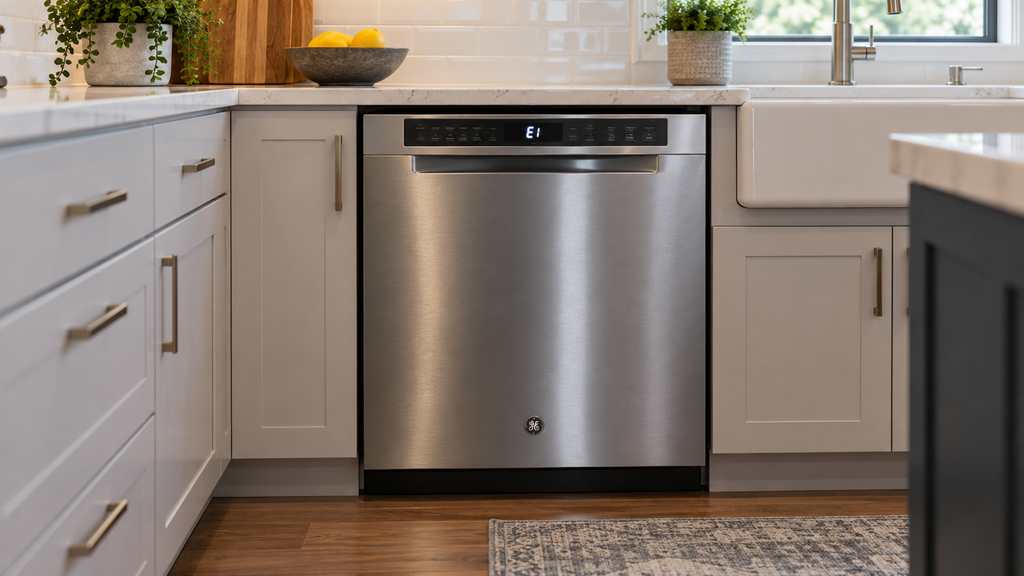
Start with the main clue. A GE dishwasher code names the step that failed, not the part that failed, so every code maps to two or three parts and one test that separates them. This guide explains GE dishwasher error codes with observations first, model-specific checks second, and a part decision only after a repeatable result. That order keeps a free correction from turning into an unnecessary part order and gives a homeowner a clear point to stop when the work moves beyond safe DIY testing.
How GE Codes Are Displayed
These checks help narrow GE dishwasher error codes without buying the first part that seems possible.
- F codes on the display.
- C5 and H2O text codes.
- FTD fill time delay.
- 888 display test.
- Blinking lights on models without a display.
- Beeping patterns.
Repeat any surprising result once. Confirm the meter setting, disconnect the required wire, and use clean probe contact before treating the result as final.
Code Table
| Code | What it means | What it does NOT prove | Parts implicated | Test first |
| F52 | Drain fault | The pump is not proved bad | Filter, hose, pump | Check for blockage |
| F33 | Sensor fault | The sensor itself is not proved bad | Sensor and harness | Inspect the connector |
| F99 | Control fault | The board is not proved bad before wiring checks | Control and harness | Power cycle and inspect wiring |
| C5 | Fill problem | The inlet valve is not proved bad | Supply, float, valve | Check water supply |
| F144 | Door fault | The latch is not proved bad | Latch, switch, alignment | Check door closure |
| F16 | Float or water-level fault | An overfill part is not proved bad | Float, switch, inlet valve | Move and test the float |
| F128 | Heating fault | The element is not proved bad | Element, thermostat, control | Check continuity |
| H2O | No water detected | The valve is not proved bad | Supply, screens, valve | Open taps and inspect screens |
| FTD | Fill time delay | A single failed part is not proved | Supply, valve, float, flow path | Check flow before parts |
Use the table as a starting point, not as proof. More than one fault can create the same symptom, so the next section narrows the result with an inspection or meter reading before any part is ordered.
GE Dishwasher H20 Code and FTD: The Fill Codes
These checks help narrow GE dishwasher error codes without buying the first part that seems possible.
- Water supply, inlet valve, float, flow meter.
- Why both codes are supply-side until proven otherwise.
- Link DW3.
Repeat any surprising result once. Confirm the meter setting, disconnect the required wire, and use clean probe contact before treating the result as final.
The Drain and Heating Codes
These checks help narrow GE dishwasher error codes without buying the first part that seems possible.
- F52 and standing water, link DW1 and DW2.
- F128 heating and drying, link DW4.
- What each does not prove.
Repeat any surprising result once. Confirm the meter setting, disconnect the required wire, and use clean probe contact before treating the result as final.
Verify Your Model First
The model tag on a dishwasher is on the edge of the door or the side of the tub opening, visible only when the door is open. The same part name (drain pump, float switch, inlet valve, heating element) has several part numbers by model because voltages, connectors and mounting styles change between models.
A matching photo is not enough. Compare the connector, mounting points, electrical rating, and any revision suffix with the model-specific listing.
Safety
- Power off at the breaker before any part test.
- Shut the water supply.
- Drain standing water.
- The heating element stays hot.
- Keep hands off the control board contacts.
Tools
- Multimeter
- Torx screwdriver
- 1/4 inch nut driver
- Flashlight
- Towels
How to Clear GE Dishwasher Error Codes and Confirm the Fault Is Real
Clear the Code
- Press Start or Cancel as the model manual directs.
- Turn the dishwasher breaker off for one minute.
- Restore power.
- Note whether the code returns before a cycle starts or during a specific cycle step.
Enter GE Dishwasher Diagnostic Mode
- Find the diagnostic key sequence on the model’s tech sheet.
- Use that exact sequence rather than a sequence from another model.
- Write down stored codes in the order shown.
- Exit diagnostics as the tech sheet directs.
Code confirmed by the test? Find the exact part for your model number.
Run the First Test from the Table
- Find the displayed code in the table.
- Perform the check in the Test First column.
- Use the model service information for the full component test.
- Order a part only after that part fails its own test.
What the Result Means and Which Part to Order
These checks help narrow GE dishwasher error codes without buying the first part that seems possible.
- Fill codes = supply, valve or float.
- Drain codes = filter, hose or pump.
- Sensor codes = sensor or harness.
- Control codes = board only after everything else passes.
Repeat any surprising result once. Confirm the meter setting, disconnect the required wire, and use clean probe contact before treating the result as final.
When to Stop and Call a Professional
- Stop when live-voltage testing is required and safe meter work is unfamiliar.
- Stop when wiring, terminals, or insulation show heat damage.
- Stop when the procedure or connector layout does not match the model documentation.
- Use professional service for sealed-system refrigerant work, repeated breaker trips, or a repair that requires unsafe lifting.
- Shut off the water and call for service when a valve, hose, or cabinet leak cannot be contained.
FAQ
What does FTD mean?
Start with the free observation named in the table, then follow the tests in order. The first clear failed result identifies the next repair decision.
What is the most common GE dishwasher problem?
Start with the free observation named in the table, then follow the tests in order. The first clear failed result identifies the next repair decision.
How do I clear an error code?
Start with the free observation named in the table, then follow the tests in order. The first clear failed result identifies the next repair decision.
What do the symbols mean?
Start with the free observation named in the table, then follow the tests in order. The first clear failed result identifies the next repair decision.
Conclusion
An error code is a starting point for diagnosis, not automatic proof that the named part has failed. The first test should confirm whether the fault is a blockage, water-supply problem, heater issue, sensor problem, or electrical failure.
When the code and tests confirm a failed drain pump, homeowners can shop drain pump parts for your model and compare the housing, connectors, and mounting points. A code that returns after the related system passes its checks should be evaluated through the model’s service information.
Keep a photo of the displayed code and the full model tag with the service notes. That record makes a returning fault easier to compare and gives a technician a clearer starting point.