Has your GE dishwasher been flashing error code F33 and refusing to run? Don’t call the repairman just yet. This common error is easy to diagnose and fix yourself. The F33 code indicates a problem with the door switch – a safety device that prevents the dishwasher from running with the door open. With a few simple tools and safe disconnection of power, you can inspect the door latch, wiring, and control board to identify the source of the problem. With proper precautions, repairing the issue is a straightforward DIY job that will save you the hassle and expense of a service appointment. Follow along as we break down troubleshooting and resolving error F33 step-by-step.
Understanding the F33 Error Code
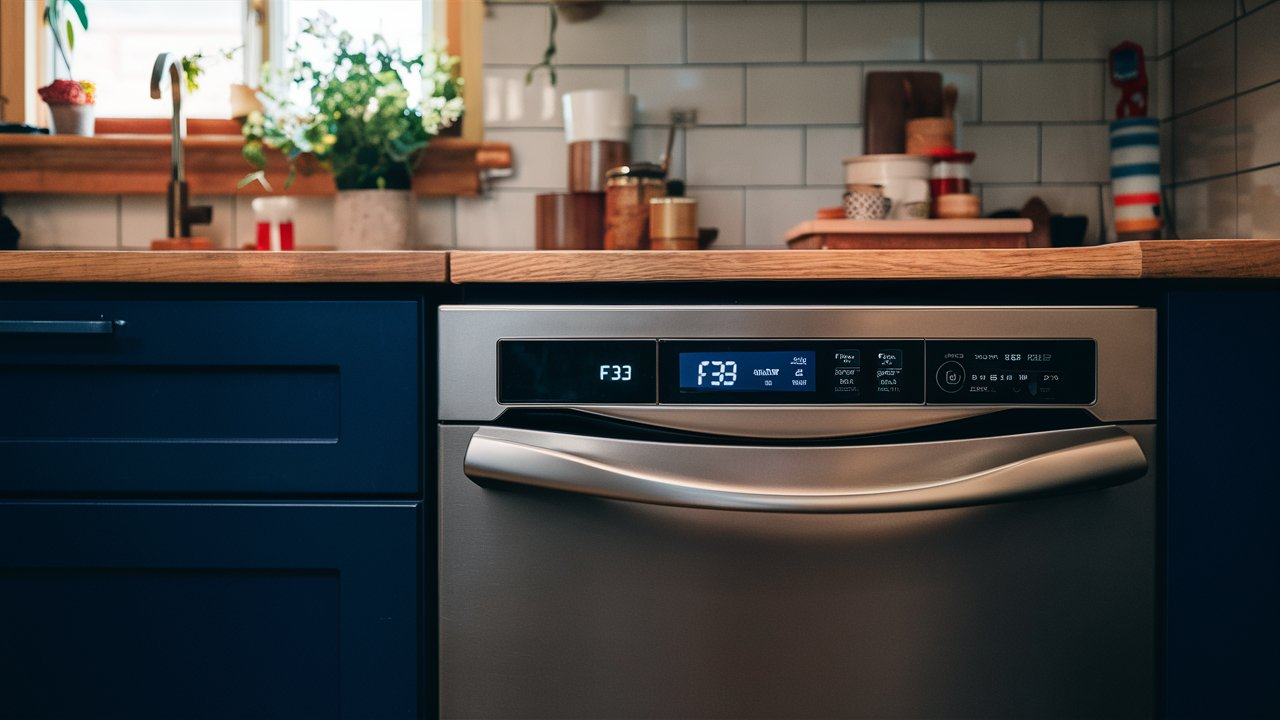
Have you noticed your GE dishwasher flashing an F33 error code? Don’t worry – this error is fairly common and easy to resolve yourself at home. Here’s a breakdown of what the F33 code means and how to get your dishwasher running again.
What Does F33 Mean?
The F33 display indicates that your dishwasher has detected a problem with the door switch or associated wiring. This is a safety device that stops the dishwasher from running if the door is open.
Specifically, when you close the dishwasher door, it pushes in a plastic tab that acts as a simple on/off switch. This tab connects to wiring that runs to the dishwasher’s control board. When the door is closed and the tab is pushed in, it signals to the control board that it is safe to start the wash cycle.
If the door switch tab gets stuck, the wiring is damaged, or the control board stops receiving the “door closed” signal, you’ll get the F33 error code. The dishwasher thinks the door is still open and won’t start washing.
What To Check
There are a few parts of the door switch system to check when troubleshooting an F33 error:
- The plastic door switch tab – Make sure it slides in and out freely when opening and closing the door. Look for cracks or damage.
- The wiring harness – Inspect the wires running from the door switch to the control panel. Make sure they are intact with no nicks or exposed copper.
- The control board – The F33 code may indicate a problem with the control board itself, preventing it from reading the door switch signal.
Staying Safe During Repairs
Fixing a dishwasher yourself can save money and time. But it’s important to work carefully, avoiding injury or further appliance damage. Follow these tips for safe F33 troubleshooting and repairs.
Power Down Completely
Before any work, unplug the dishwasher from the electrical outlet. Not just turning it off – completely remove power. This protects you from shock and prevents short circuits during testing.
Wait at least 30 seconds after unplugging before beginning repairs. This gives time for any residual energy to dissipate. Check for voltage with a multimeter before handling any parts.
Give It Time To Cool
Dishwasher motors and heating elements get extremely hot during normal operation. Avoid burns by waiting several hours after a wash cycle for the appliance to cool down. Running some cold water inside can speed up cooling.
Turn Off Water
Locate the shutoff valve supplying water to the dishwasher and turn it clockwise to shut off. This prevents messy leaks if you disconnect the wrong hose by accident.
Set Up A Safe Workspace
Clear clutter and spill hazards from the area. Ensure excellent lighting – use a headlamp if needed. Working on a slippery wet surface or in poor visibility greatly raises your chance of mistakes and injury.
Take your time and don’t rush. Dishwasher components can be delicate. Work slowly and carefully.
Protect Your Hands
Sharp brackets or hot parts inside the dishwasher can scrape and burn bare hands. Wear protective work gloves during repairs. Insulated rubber gloves are ideal for electrical safety.
Also avoid working with wet hands, which drastically reduces your body’s resistance if you touch live voltage.
Reference Materials
Have your dishwasher user manual nearby for model-specific instructions. Jot down wire colors and locations or snap photos before disconnecting anything, to aid reassembly.
By following basic electrical and appliance safety guidelines, you can troubleshoot that pesky F33 code quickly while keeping yourself in one piece!
Fixing the F33 Error Step-by-Step
Resolving the F33 error yourself can save a nice chunk of change compared to calling an appliance repair technician. Follow these detailed troubleshooting steps to get your GE dishwasher draining and washing again.
1. Disconnect Power to the Dishwasher
The first rule of appliance repair is to always unplug and isolate the unit from electrical power.
- Locate the dishwasher’s power cord and unplug it completely from the wall outlet.
- Secure the plug so no one can accidentally plug it back in while you’re working. You can tape or tie it to the side of the dishwasher.
- For extra safety, shut off power at the circuit breaker too.
- Wait at least 30 seconds after disconnecting power before beginning work, to allow residual energy in capacitors to dissipate.
2. Inspect the Door Latch Thoroughly
The door latch mechanism is the most common source of an F33 error. When closed, the door pushes in a small plastic tab that acts as an electrical switch.
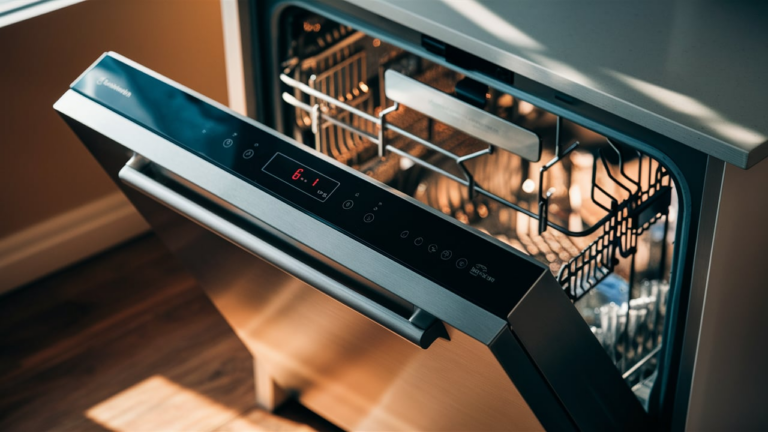
- Fully open the dishwasher door so you can access the latch assembly along the bottom edge.
- Look for any cracks, chips or damage on the plastic tab.
- Press the tab manually and verify it clicks in and out. Does it stick or fail to spring back smoothly?
- Ensure the tab moves freely in its bracket without obstruction.
- Examine any pivots, springs and brackets for breakage or excessive wear.
Any physical damage or mechanical issues with the door latch can prevent proper electrical contact, triggering the F33 code.
3. Check Door Alignment and Operation
For the door switch to work correctly, the dishwasher door has to close completely flush against the tub.
- Verify the door seal is intact around the entire perimeter.
- Dented or warped door seals will allow the door to misalign.
- Check the door hinges as well – sagging or bent hinges can cause alignment issues.
- Try closing the door firmly at different points along the seal to make sure it latches consistently.
- If the latch doesn’t “catch” at any spot, the door switch can’t activate properly.
4. Inspect the Door Switch Wiring
Faulty wiring between the door latch and control board is another potential culprit for F33 errors.
- Follow the wiring harness visually, looking for any loose, disconnected or corroded terminals.
- Check for damaged insulation like cracks or burn marks that may indicate shorts.
- Wiggle sections of wiring while watching for intermittent continuity.
- Faults along the wiring prevent the “door closed” signal from reaching the control board.
5. Locate and Access the Control Board
The main control board receives the door switch input and controls the dishwasher’s wash cycles.
- On most GE models, the control board is tucked away at the top rear of the dishwasher tub.
- Consult your owner’s manual or online diagram for the exact location in your model.
- You’ll need to remove the outer door panel and mounting screws to access the control board.
- Work slowly and take pictures, labeling screw holes before removing any components.
Faulty control boards can misinterpret a valid door switch signal and throw an F33 code. Visual inspection can reveal damaged components or burnt circuit traces on a failing control board.
6. Disconnect and Test the Door Switch Wiring
With the control board exposed, you can directly test the door switch circuit.
- Locate the door switch wiring connector, typically labeled J5 or J711.
- Carefully release the locking tab and separate the connector from the control board.
- Use a digital multimeter set to continuity or ohms mode.
- Refer to the wiring diagram and touch the meter probes between specific pins on the connector and control board.
- The meter should beep or show very low resistance if the circuit path is intact.
- No continuity means a break in the wiring or internal failure in the switch or control board.
7. Replace Any Faulty Parts
Once diagnosed, remedy any issues to resolve the F33 error for good:
- If the door latch assembly is damaged, install a new latch bracket with the plastic switch tab.
- For wiring issues, repair or replace damaged wire sections as needed.
- If the control board tests faulty, replace it with an identical new or refurbished board.
- Always reconnect all connectors properly and reinstall any removed components before restoring power.
8. Consult the Wiring Diagram
Every dishwasher model has a unique wiring layout between the door switch, control board, and other components.
- Obtain the correct wiring diagram for your specific model, either in its service manual or online.
- This shows the pinout and circuit paths to check for continuity.
- Without the diagram, you may miss key connection points during testing.
9. Check Voltage Safely
Once the dishwasher is unplugged, it’s safe to check for voltage to confirm power is isolated.
- Set your multimeter to AC voltage mode, usually marked with a V symbol.
- Probe the outlet wires or junction box with the dishwasher unplugged. You should read 0 volts.
- If voltage is still present, the circuit is still live. Double check the breaker and connections.
Never start probing wires or components with the dishwasher still powered on. Working on a live circuit is extremely dangerous.
10. Rely on Manufacturer Info
Your owner’s manual and the manufacturer’s website have valuable model-specific repair tips.
- The manual provides step-by-step instructions for access and testing components.
- Exploded parts diagrams help you locate and identify specific parts.
- Online troubleshooting guides may point out quirks with that model’s door switch.
- Utilize these free resources to assist your DIY repair.
Also Read: Resolve the C5 Error Code on Your GE Dishwasher: A Guide to Diagnosis and Repair
Related guides
- Clear the E11 Error Code on Your Bosch Dishwasher
- Troubleshooting the i30 Error Code on Your Electrolux Dishwasher
Wrapping Up Your DIY F33 Repair
After all that troubleshooting and repair work, it’s satisfying to have your dishwasher running quietly and washing sparkling clean loads again. Here are a few final tips to complete your F33 fix:
- Verify the repair was successful – Run a quick test cycle and confirm the F33 code no longer appears before reinstalling any panels.
- Take notes for next time – Jot down what specifically fixed the problem, in case it recurs later. Details like replaced part numbers come in handy.
- Replace any removed parts – Screw panels, mounts and guards back into place that you removed for access during testing.
- Tidy up your workspace – Discard any old parts or debris from the repair process and put tools away properly.
- Be proud of your work! – You just saved yourself the cost and hassle of a service call by safely and successfully troubleshooting and fixing that pesky door error yourself. Nice job!
An F33 code doesn’t mean your dishwasher’s done for good. With some DIY troubleshooting techniques, electrical safety knowledge, and the service manual for your model, you can often resolve the issue on your own in an hour or two.
Once you know which part failed, find the matching dishwasher control board parts by model number so the replacement fits the first time.