
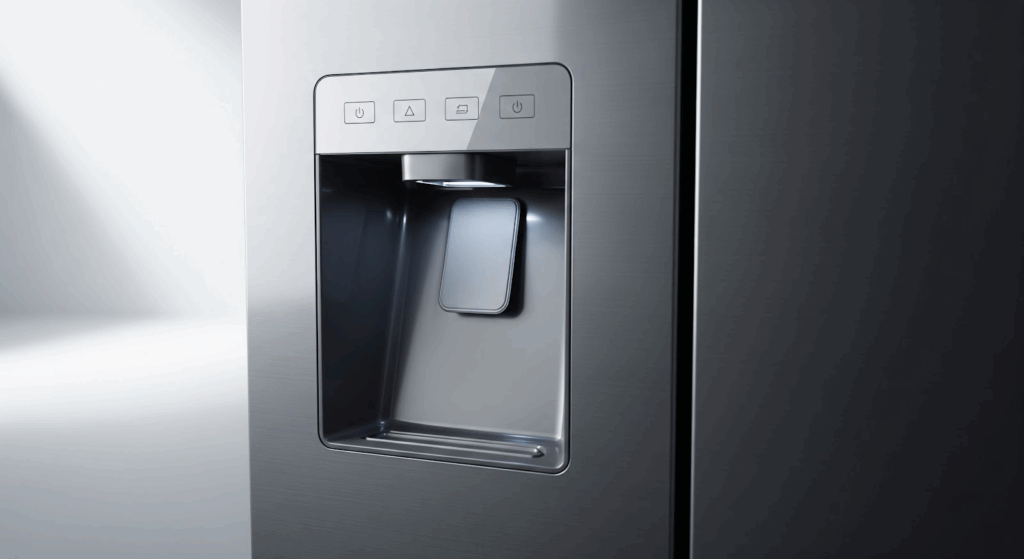
The ice and water dispenser pads are the rubber buttons located inside the dispenser area of your refrigerator. When pressed, these pads activate internal switches that allow ice or water to be released. Over time, they can wear out or become damaged from regular use.
Common signs that the dispenser pads need to be replaced include:
- The dispenser does not respond when pressed
- No ice comes out
- Water does not dispense
- Water leaks from the dispenser
Replacing the pads is a simple and affordable way to restore the dispenser’s function. Many homeowners can complete this repair using basic tools and a little time.
This guide applies to refrigerators from these brands:
- Whirlpool
- Maytag
- KitchenAid
- Amana
- JennAir
Why Dispenser Pads Fail Over Time
Like other high-contact parts of a refrigerator, dispenser pads can become worn due to repeated use. Several common factors lead to failure:
- Regular pressing and pressure applied over time
- Exposure to moisture, heat, and cold from the refrigerator
- Hard water deposits or mineral buildup
- Cracking or stiffening of the rubber material
- Dirt or debris causing poor contact with internal switches
Tools and Parts You’ll Need
Before beginning the repair, gather these items:
- Putty knife
- 1/4 inch nut driver
- Flat head screwdriver
- Dispenser pad kit (part number WPW10368730, which includes both pads)
Safety Steps Before Starting
Take these safety precautions before working on the refrigerator:
- Unplug the appliance or turn off the power at the circuit breaker
- Shut off the water supply to the refrigerator
Once the refrigerator is disconnected from power and water, and your tools are ready, you can start the repair.
How to Replace Ice and Water Dispenser Pads on a Refrigerator
Follow these steps to remove the old pads and install new ones so your dispenser works properly again.
Remove the Control Panel and Drip Tray
- Insert a flat-head screwdriver into the seam beneath the control panel above the dispenser area
- Release the plastic clips along the bottom edge of the panel
- Tilt the panel forward and unplug the wiring connectors
- Set the control panel aside in a safe place
- Insert a putty knife along the edge of the drip tray below the dispenser
- Gently pry the tray loose and remove it completely
Remove the Inner Tray and Dispenser Assembly
- Locate the two 1/4-inch screws under the drip tray
- Use a nut driver to remove the screws
- Slide the inner tray forward and remove it from the dispenser
- Locate the next two 1/4-inch screws securing the dispenser assembly
- Remove these screws with a nut driver
- Pull the dispenser assembly forward until the plastic side clips release
Open the Dispenser and Remove Old Pads
- Insert a putty knife into the seams along each side of the dispenser assembly
- Pry inward to release the side retaining clips
- Lift and remove the top cover of the dispenser assembly
- Press inward and slide each old rubber pad upward to release it from the retaining clips
- Remove any adhesive tape holding the wire harness in place
- Detach both pads completely and set them aside
Install New Pads
- Route the wire harness through the correct slot for the new pads
- Align the new pad with the three clips and one guide pin
- Press the pad down firmly until all clips snap into place
- Repeat the process for the second pad
Reassemble the Dispenser
- Route the wire harness neatly along the top section of the dispenser
- Reattach the side retaining clips
- Install the top cover back onto the dispenser assembly
- Slide the dispenser assembly back into position in the refrigerator
- Replace the two screws to secure the assembly
- Reinstall the inner tray and fasten it with the screws
- Snap the drip tray back into place below the dispenser
Reinstall the Control Panel and Test
- Reconnect the wiring connectors to the control panel
- Press the control panel back into place until it clicks in
- Remove any protective film from the new pads
- Plug the refrigerator back in and turn the water supply on
- Test the dispenser to make sure the ice and water work correctly
- Check for any signs of leaks or loose parts
Also Read: How To Replace Refrigerator Ice and Water Dispenser Pads
How to Maintain Your Refrigerator Dispenser
Keeping your dispenser clean and well-maintained can help reduce wear on the pads and avoid the need for early replacement. Here are some tips:
- Wipe down the dispenser area regularly using a soft cloth
- Avoid pressing the pads with sharp or hard objects
- Check for cracks or signs of sticking when pressing the pads
- Clean away water stains or mineral deposits with vinegar or a gentle cleaner
- Test both pads monthly to make sure they still respond properly
Final Thoughts
If your dispenser has stopped working or is leaking, new pads may be all it needs to get back to normal. With the right tools and a bit of time, this repair is something most people can handle without calling for service. Keeping the dispenser area clean and checking the pads once in a while can also help them last longer. A little upkeep goes a long way in keeping your fridge running smoothly.