
If your trash compactor isn’t doing its job and leaves behind a messy pile instead of a neat, compacted bundle, don’t worry. Before you call a repair technician, there are a few simple checks you can do yourself. With a little time and care, you might get your compactor running smoothly again without a service bill.
Let’s go over some safety basics and troubleshooting tips to help you out.
Common Reasons a Trash Compactor Leaves a Mess
If your compactor is not compressing properly or leaves trash behind, several issues might be responsible. Identifying the cause helps you decide what kind of fix you need:
- Loose or misaligned drawer: If the drawer does not close tightly, the compactor ram cannot press evenly.
- Dirty ram plate: Sticky food residue or debris buildup can prevent full compression.
- Worn-out drive belt: Over time, belts can stretch or crack, reducing the compactor’s power.
- Faulty limit switch: When the switch fails, the compactor might stop too early.
- Obstructed track or rollers: Small pieces of trash can block the drawer from moving smoothly.
- Compacted air pockets: Air trapped in loosely packed trash can reduce compaction efficiency.
- Incorrect bag placement: If the bag slips or folds, the garbage can overflow or leak.
Safety First
Working with any appliance means putting safety at the top of your list. Follow these steps to protect yourself while diagnosing or repairing your trash compactor:
- Unplug before working: Always disconnect the power source or switch off the circuit breaker before starting any maintenance or repairs to prevent electric shock.
- Let it cool: If your compactor was recently used, allow it to cool down before handling any components.
- Avoid live testing: Do not test live voltage with a multimeter unless you are confident in how to do so safely.
- Take your time: Work slowly and carefully. Rushing increases the risk of mistakes or injury.
- Keep it bright and tidy: Work in a well-lit and organized space. Keep children and pets away from the area.
- Stay dry: Never work on electrical parts with wet hands or in damp conditions.
- Check the manual: Review the user manual for any model-specific safety or installation instructions.
- Handle parts gently: Use a light touch. Forcing components can cause damage or injury.
- Protect your hands: Wear insulated work gloves to guard against sharp edges and debris.
- Be cautious with wiring: Avoid touching exposed wires. Use insulated tools or gloves when necessary.
- Label connections: Take photos or label wires and terminals before disconnecting them to make reassembly easier.
How to Troubleshoot a Messy Trash Compactor
Here are the steps to help you identify and fix the issues causing your trash compactor to leave a mess.
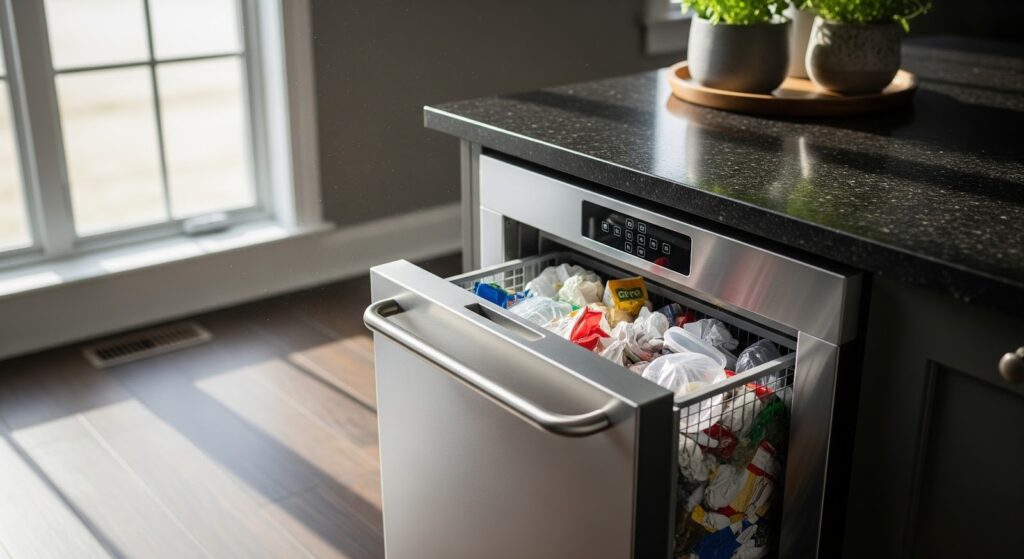
Step 1. Check the Bag
- Disconnect the compactor from the power supply.
- Locate the trash bag opening and the attachment point within the compactor chute or frame.
- Unfold the bag completely and remove any twists or tangles.
- Press the bag opening firmly over the attachment point for a tight seal.
- Pull the bag up and over the edges of the compaction chamber to allow for expansion.
- Avoid overstuffing or bunching the bag to prevent spills.
- Check that the bag retaining clips or hooks hold the bag securely in place.
- Use the correct bag size and type according to the manufacturer’s instructions.
Step 2. Check the Bag Retainer
- Locate the retainer spring, clip, or hooks that hold the trash bag.
- Inspect the retainer for cracks, rust, or distortion.
- Replace the retainer if it appears weak or damaged.
- Tug the bag gently to confirm it is held firmly in place.
Step 3. Inspect the Compactor Interior
- Look inside for any buildup of debris or residue.
- Check that all interior surfaces are smooth and free from sharp edges or protrusions.
- Clean the compaction chamber, chute, and other interior areas thoroughly.
Step 4. Examine the Compactor Door
- Close and test the door to confirm it seals properly after each use.
- Inspect the door gaskets and hinges for wear, damage, or misalignment.
- Replace any damaged or worn parts.
- Confirm that the door latch engages correctly and holds the door closed during operation.
Step 5. Inspect the Compaction Mechanism
- Open the compactor and inspect the ram, platen, and compaction chamber for debris or damage.
- Remove any obstructions and replace damaged parts.
- Check that the compaction mechanism operates smoothly and retracts fully after each cycle.
- Verify that the ram makes full contact with the trash during compaction.
Step 6. Test the Compactor
- Reassemble the compactor and plug it back in.
- Run a short cycle to confirm proper operation.
- Watch for leaks, spills, or unusual noises.
- If problems continue, refer to the manufacturer’s manual or contact a qualified technician.
To Recap
A working trash compactor makes daily cleanup a lot simpler, but when it stops compressing properly, it’s usually something small you can fix yourself. Once you check the bag placement, door seal, and compaction parts, you’ll likely spot the problem right away. A quick clean or an easy part replacement often brings it back to full power.
Taking the time to troubleshoot saves money and keeps your kitchen running smoothly. If you’ve tried these steps and it’s still acting up, a technician can take it from there. But chances are, a little attention and care are all it needs to get back to compacting like new.