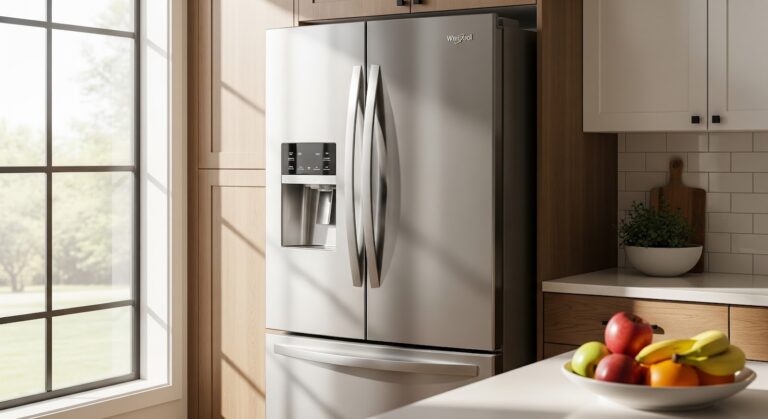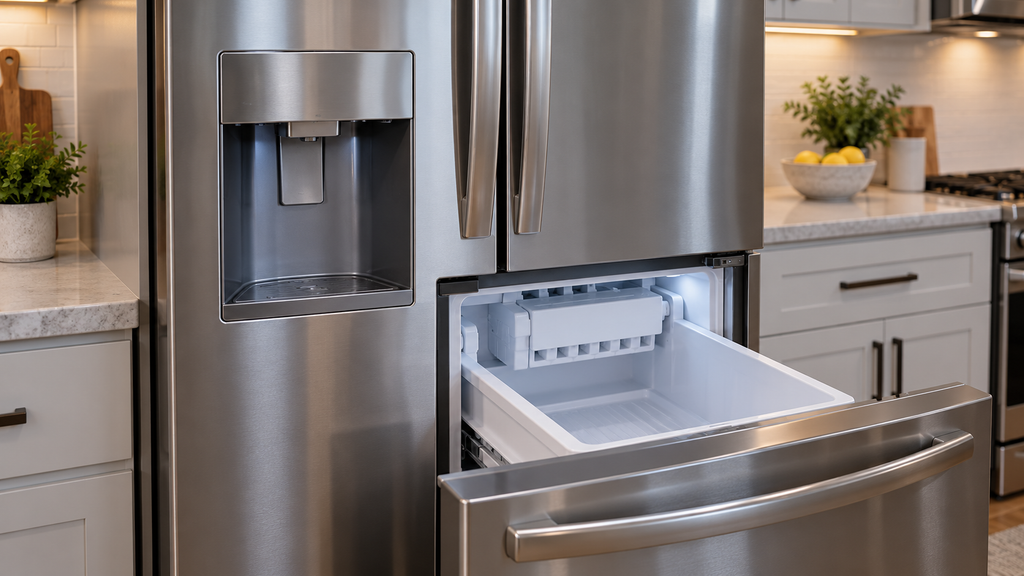
When a Whirlpool fridge is not making ice, an ice-level sensor problem may be the cause, but an empty bin alone does not identify a failed board. The useful first question is whether the refrigerator correctly recognizes the bin state. A matching diagnostic result can narrow the next check without turning a symptom into a parts order.
What This Symptom or Part Can and Cannot Prove
- An empty bin establishes that ice production is missing, not why it stopped.
- A bin-state reading can show whether that particular input responds.
- A normal sensor result does not verify every other ice-making function.
Keep the complaint specific. “No new ice” and “ice present but not delivered” describe different events. A short written account of what the refrigerator does helps avoid selecting a sensor merely because its name appears in a search result.
Verify Your Model First
Find the Refrigerator model tag before ordering. Record the full model number, including its suffix, because parts with the same name can use different connectors, dimensions, ratings or mounting points across models.
Look for the identification label inside the fresh-food compartment, then use the location shown in the owner manual if it is not visible. The ice-bin sensor diagnostic described here applies to a particular control layout. Other Whirlpool refrigerators can have different buttons and service modes.
The full appliance model number must come from the identification label on the appliance, rather than the front badge or an old order receipt. A clear photo makes a useful record when the refrigerator is difficult to reach. The serial number can help identify a production change, but it does not replace the model number.
Safety Before Testing
- Disconnect electrical power before exposing or handling wiring.
- Use diagnostics only with the control panel intact.
- Keep hands clear of moving ice-making parts.
- Keep the work area dry.
- Do not attempt an energized connector measurement without electrical training.
- Restore covers before normal operation.
Causes to Check Before Buying a Part
| Cause | Evidence | Safe check | What the result means |
| Bin-state input problem | Reported state does not follow bin position | Use the matching intact-panel diagnostic | Further sensor-circuit work is justified |
| Different ice-making fault | Bin-state input responds normally | Record the result without opening wiring | The optics result does not explain the whole symptom |
| Wrong diagnostic instructions | Controls differ from the documented layout | Compare the manual and model | Do not improvise a button sequence |
Once the test identifies the failed part, confirm the exact replacement with the full model number. Use that category only when the diagnosis identifies a failed ice level control board; a different finding needs its own matching part.
Safe Testing and Repair Order
Rule Out Access, Power, Airflow, Water-Flow or Obstruction Causes as Applicable
Separate the symptom before entering service mode. Note whether ice already exists in the bin. Record whether the complaint began after the bin was handled. These observations are a description of the problem, rather than a substitute for the diagnostic test. Where the control layout does not match, the model manual must decide the next action.
Check the Ice-Bin State on the Covered Control System
- Close both doors.
- Hold the two left buttons.
- Wait for the countdown and flashing 01.
- Use the fifth button to select test 15.
- Wait for the test result.
- Read 01 as bin full or missing.
- Read 02 as bin not full.
- Open the left door and remove the bin.
- Check whether 02 changes to 01.
- For an existing 01, check the ON slide and flapper.
- A correct 01/02 response indicates working sensing.
- An unchanged 01 requires optics or interface diagnosis.
- Hold the two left buttons to exit.
- Disconnect power before accessing a failed sensor circuit.
Further ice-level sensor circuit diagnosis may require disassembly and connector measurements. Have a qualified technician perform that electrical stage. Replacing an exposed board before the supply circuit has been evaluated can leave the original problem unresolved.
Interpret the Result
A changing reading supports the bin input working during that check. An unchanged reading identifies a circuit to investigate, rather than a confirmed shopping choice. The part-category link below becomes relevant only when the technician has separated a failed optics board from a control or supply problem.
Test result confirmed the failure? Find the exact ice level control board for this model number. This purchase step applies only after the stated evidence is present.
How to Identify the Correct Replacement for This Model
An ice-level board must match the actual refrigerator control system. Confirm whether the service diagram identifies a receiver or an emitter at the failed location. Do not treat the two positions as interchangeable simply because both belong to the optics system.
Match the full model to the manufacturer’s parts diagram before selecting a replacement part. A part name identifies the component type, while the diagram and compatible service number establish which version belongs in this appliance. A similar-looking photo can help with orientation, but it cannot confirm fit by itself.
Keep these records together:
- The full model number and suffix.
- The diagram position and current replacement part number.
- The observation or test result that led to the repair.
- A photo of the original part and its connections, where safely accessible.
Do not place an order while an unresolved model difference changes the repair method. Ask the supplier to check a superseded number against the actual appliance. The correct order should describe both the compatible part and the evidence for replacing it.
When to Stop and Call a Professional
- The panel does not match the documented controls.
- The next check requires power with a connector exposed.
- A wire or connector appears damaged.
- A normal bin response leaves the no-ice complaint unexplained.
Give the technician the bin-state observations rather than a proposed part number. Include the initial display and its response to bin removal. An accurate record may prevent repeating the same interface check and leaves the electrical diagnosis to someone equipped to complete it.
FAQ
What should be checked first when a Whirlpool fridge is not making ice?
Verify the full model and describe whether the refrigerator fails to make ice or fails to dispense existing ice. These are different complaints, so the same replacement cannot be assumed.
How can a bad sensor be distinguished from an empty bin?
The empty bin is the symptom. The matching service check evaluates the bin input. A wrong response calls for circuit diagnosis; it does not isolate a board by itself.
What safe result confirms the replacement part?
The intact-panel check can narrow the fault. Final board confirmation may require electrical work by a technician. A purchase is justified after that work identifies the failed board.
Where is the model number, and why does the suffix matter?
Read the interior identification label or the manual’s label-location diagram. The suffix identifies a particular version whose controls or replacement parts may differ from a similar model.
When should troubleshooting stop?
Stop at exposed electrical testing or when the controls do not match. Also stop buying parts when the bin input responds normally but ice production remains absent.
After the diagnosis is settled, find the correct ice level control board for your model. Keep the model record with the order so the repair starts with a verified match.
In Summary
A useful sensor check ends with a clear observation. Let that observation determine the next diagnosis, then match the confirmed part to the full model. A careful record is more helpful than replacing several ice-making parts without evidence.
Once you know which part failed, find the matching refrigerator control board parts by model number so the replacement fits the first time.