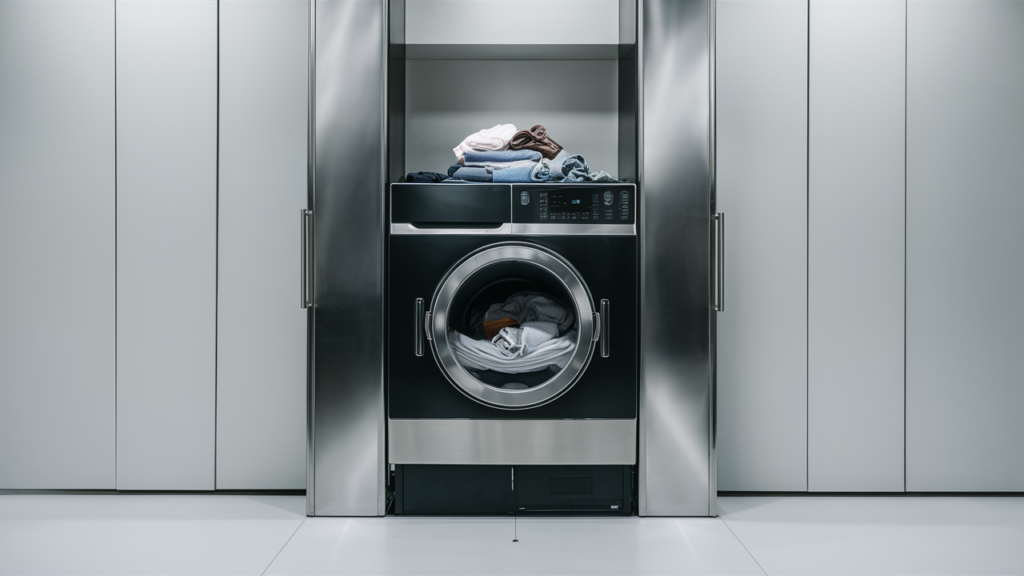
An uneven or wobbly whirlpool dryer can lead to noisy operation, poor performance, and even damage to your flooring. If your Whirlpool dryer “walks” across the floor or vibrates excessively, it’s likely due to a worn-out or damaged leveling foot. Replacing the leveling foot (part number 49621) is a straightforward repair you can perform with basic tools and minimal time. Here’s how to get it done!
Why Leveling Feet Are Essential
Leveling feet are small but critical components of your dryer. They provide stability, reduce vibrations, and keep the appliance balanced during operation. Without proper leveling, your dryer may not function as intended.
Common Issues with Uneven Dryers
An uneven dryer can cause annoying vibrations and can lead to other problems as well. Here are a few issues you might encounter:
- Increased Noise Levels: The dryer may rattle or bang during operation, disrupting your household.
- Poor Performance: An unstable dryer may not tumble clothes properly, leading to uneven drying.
- Damage to Floors or Walls: The dryer’s movement can scratch floors, damage tiles, or bump into walls, causing long-term damage.
- Addressing an uneven dryer promptly prevents these problems and keeps your appliance working efficiently.
Confirm Part Compatibility
The leveling foot 49621 must match your specific dryer model. Look for a sticker or metal plate with the model number in one of these common locations:
- Inside the dryer door or on the door frame.
- On the back of the dryer, near the top or bottom.
- On the side of the cabinet.
- On the control panel or console.
Once you locate the model number, verify compatibility with the replacement leveling foot.
Gather Your Tools and Materials
For this repair, you’ll need:
- Screwdriver
- Wrench
- Adjustable pliers
- Level
- Replacement leveling foot 49621 (compatible with your dryer model).
Prioritize Safety
Safety is essential when performing any appliance repair. Follow these precautions:
- Disconnect Power: Unplug the dryer or switch off the circuit breaker to eliminate the risk of electric shock.
- Allow Cooling Time: If the dryer was recently in use, let it cool down fully.
- Work in a Safe Environment: Use a well-lit, clutter-free workspace. Keep children and pets away from the area.
- Protect Yourself: Wear insulated gloves to shield your hands from sharp parts, and consider safety glasses or a dust mask for added protection.
- Stay Dry: Avoid working with wet hands or in damp conditions to reduce the risk of accidents.
How to Replace Whirlpool Dryer Leveling Feet
Preparation
- Turn the dryer off and unplug it from the power source.
- Carefully tilt the dryer backward to access the two front leveling feet mounted underneath the base.
- Lean the dryer back just enough to access and remove the feet without tipping it over or causing damage.
Remove Old Feet
- Use a large pair of adjustable locking pliers to grip one of the existing leveling feet.
- Turn the foot counterclockwise to loosen and unscrew it from the threaded base until fully detached.
- Repeat the process to remove the second leveling foot and set it aside.
Install New Feet
- Take a new leveling foot and align it with the empty threaded hole where the old foot was removed.
- Screw the new foot clockwise into the base by hand until firmly threaded as far as possible.
- Use the adjustable pliers to tighten the foot further and adjust it to the desired height.
- Install the second new foot in the same manner, aligning it to match the height of the first.
Final Adjustments
- Gently tilt the dryer back upright so it rests on the new front leveling feet.
- Check the dryer for stability and level on all four feet.
- Make any final minor height adjustments to the leveling feet as necessary.
Optional Rear Feet Replacement
- If replacing the rear feet is required, repeat the same process to install additional leveling feet.
Test
- Restore power by plugging the dryer back in.
- Run a small cycle to confirm the dryer is stable and does not move excessively.
Maintenance Tips to Prevent Future Issues
After replacing the leveling foot, follow these maintenance tips to keep your dryer in optimal condition:
- Check Leveling Regularly: Periodically inspect the dryer’s stability and adjust the feet as needed to keep it balanced.
- Clean the Floor Area: Remove debris or dust from beneath the dryer to prevent uneven surfaces that might destabilize it.
- Inspect for Wear and Tear: During routine maintenance, look for signs of damage on the leveling feet and replace them as necessary.
Taking these steps helps extend the lifespan of your dryer and keeps it running smoothly.
It’s surprising how such a tiny part can have such a big impact. The leveling feet on your Whirlpool dryer might seem minor, but they keep your machine stable, quiet, and running smoothly. If your dryer has been shaking, rattling, or moving, don’t wait for it to cause more trouble. Replace those old leveling feet with new ones, and enjoy the steady, quiet performance of a balanced machine.
