
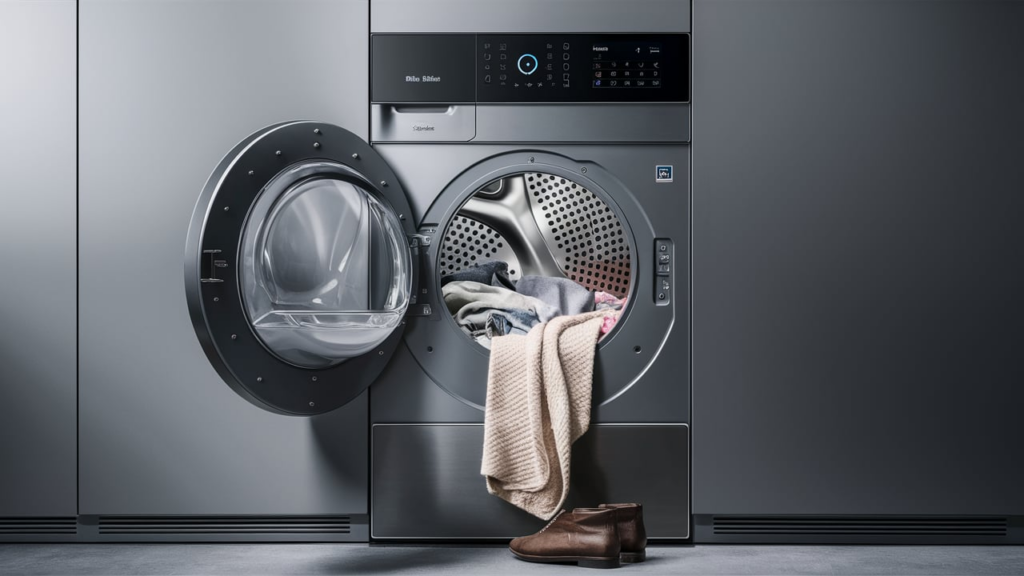
The drum felt seal forms a tight seal around the outer edge of a dryer drum, keeping hot air from escaping during drying cycles. Over time, regular use can cause the seal to wear out, crack, or become damaged.
When this happens, hot air leaks from the drum, leading to longer drying times and higher energy use. Replacing the seal can restore your dryer’s efficiency and performance.
Common Signs Your Dryer Drum Felt Seal Needs Replacement
Recognizing the signs of a worn or damaged felt seal can help you determine when a replacement is necessary:
- Clothes take longer to dry than usual.
- Excessive heat buildup in the laundry area during operation.
- Visible damage, wear, or fraying on the seal around the drum.
- Hot air leaks or drafts from the dryer drum while in use.
- Higher-than-normal energy bills due to inefficiency.
- Unusual noises like scraping or squeaking during drum rotation.
- Clothes come out hotter than expected after a cycle.
- Lint or debris collects excessively around the seal area.
- The drum struggles to rotate smoothly or shows resistance.
Tools and Materials Needed
- New dryer drum felt seal WP314820 (verify compatibility with your dryer model)
- Phillips-head screwdriver
- 5/16-inch nut driver
- Ratchet with extension and 3/8-inch socket
- Flathead screwdriver
- High-temperature adhesive
How to Replace the Drum Felt Seal on a Whirlpool Dryer
A damaged felt seal can be replaced with a few tools and careful steps. Here’s how:
Preparation
- Disconnect the dryer from its power source for safety.
Front Panel Removal
- Use a Phillips head screwdriver to remove the screws securing the front panel.
- Lift the front panel slightly to release the clips from the cabinet top.
- Swing the panel outward and rest it on its side.
Bulkhead Removal
- Use a 5/16-inch nut driver to remove the four screws holding the bulkhead.
- Unclip the wiring harness holder and move it aside.
- Lift the bulkhead off the dryer and set it aside.
Top Panel Removal
- Use a ratchet with an extension and a 3/8-inch socket to remove the screws on each side of the top panel.
- Lift the top panel and place a towel across the front edge.
- Lean the panel against the wall behind the dryer.
Drum and Drive Belt Removal
- Reach inside the dryer and pull the idler pulley to the side.
- Slip the drive belt off the idler pulley and motor pulley.
- Remove the belt from the dryer.
- Lift the drum belt and guide the drum out of the cabinet.
- Set the drum aside to access the back felt seal.
Felt Seal Replacement
- Use a flathead screwdriver to pry up the tabs securing the old felt seal.
- Release all tabs and pull the felt seal completely out.
- Discard the old seal.
- Align the new felt seal about 1.5 inches into the opening.
- Press down on the tabs with a flathead screwdriver to secure the new seal.
- Push firmly around the entire seal and lock it in place on each tab.
- Apply a small bead of high-temperature adhesive to the end of the new felt seal.
- Allow the adhesive to cure for 24 hours before proceeding.
Drum and Drive Belt Reinstallation
- After the adhesive has cured, fold the end of the felt seal over itself and crease it.
- Carefully guide the drum back into position, making sure the felt seal is evenly placed.
- Press the seal into the correct position from inside the drum if needed.
- Loop the drive belt around the idler pulley and motor pulley into the correct grooves.
- Align the belt with the wear mark on the drum with the smooth side facing the drum.
Reassembly
- Hold the felt seal in position and align the bulkhead with the cabinet.
- Move the drum as needed to position it on the glides.
- Use the 5/16-inch nut driver to secure the bulkhead screws.
- Lower the top panel back into place.
- Reinstall the screws on both sides.
- Reclip the wiring harness into place.
- Swing the front panel into position and fit the tabs into the cabinet cutouts.
- Reinstall the screws using a Phillips head screwdriver.
Final Step
- Plug the dryer back in.
- Turn it on and run a test cycle to verify proper operation and confirm there is no escaping heat.
A worn seal can lead to overheating or even damage your clothes, so replacing it now can prevent future problems. With a bit of time and the right tools, you’ll get your dryer back in top shape. And there’s something satisfying about tackling a repair and seeing it pay off right away.