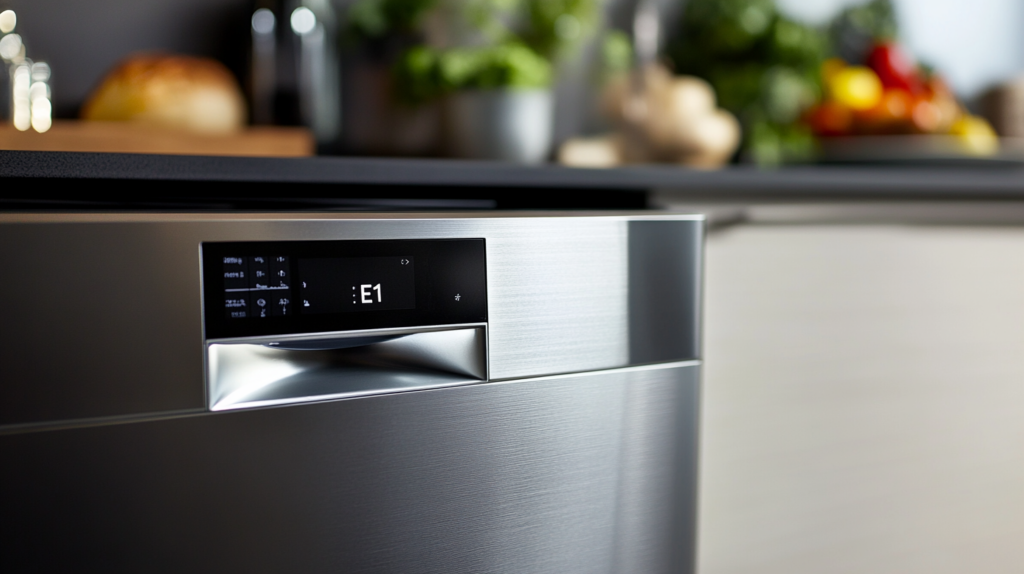
Understanding the E1 Error Code on Your Dishwasher
When your dishwasher displays an E1 error code, it’s usually an indication that the control module has identified an issue with the heating circuit. This might stem from a malfunctioning heating element, NTC sensor, high-limit thermostat, circulation pump, control module, or wiring.
Tools You’ll Need
- T-20 Torx screwdriver
- Flathead screwdriver
- Pliers
- Towels
Safety Precautions
Safety should be your top priority when working on any appliance. Here are some guidelines to help you stay safe:
- Disconnect Power: Before starting, turn off and unplug your appliance, or switch off the relevant circuit breaker. This helps eliminate any risk of electric shock.
- Allow Cooling Time: If the appliance has been used recently, allow it to cool down before beginning any repairs.
- Work Carefully: Avoid rushing through repairs. Taking your time reduces the risk of accidental injury or damage to the appliance.
- Ensure Proper Lighting: A well-lit workspace allows you to clearly see and access all parts of the appliance.
- Keep the Area Clear: Remove clutter from your workspace, and ensure children and pets are kept away from the work area.
- Avoid Moisture: Ensure both your hands and the work area are dry. Never work on internal parts with wet hands.
- Consult the Manual: Your user manual may contain model-specific installation or safety guidelines—review these before you start.
- Handle Parts Carefully: Use a gentle approach when handling or removing parts to avoid damaging the appliance or injuring yourself.
- Wear Protective Gloves: Insulated gloves help protect your hands from sharp edges and debris.
- Take Precautions with Wires: Avoid touching exposed wires or terminals. When necessary, use insulated tools or gloves to prevent electric shock.
- Document Wiring Connections: Before disconnecting wires or other connections, take photos or notes to make reassembly easier.
- Don’t Test Live Voltage Unprepared: Avoid testing live voltage if you’re unfamiliar with how to prevent short-circuits.
- Turn Off Water Supply: Shut off the water supply at the outlet and have towels ready to catch any remaining water in the system when removing parts.
By following these guidelines, you can safely troubleshoot or repair your dishwasher’s E1 error and restore it to working order.
How to Fix E1 Error Code on Your Dishwasher
Step 1. Access the Control Module
- Unplug the dishwasher from the power outlet.
- Remove the T-20 Torx screws from the inner door to detach the fascia panel.
- Take a photo of the wiring connections for future reference.
- Disconnect the wiring connections.
- Use a flathead screwdriver to release the metal and plastic tabs holding the control module in place.
- Slide the control module out from the console.
Step 2. Check Amperage (Live Voltage Test)
Warning: This step requires live voltage. Proceed with caution.
- Plug the dishwasher back in and turn it on.
- Set a multimeter to Amps (AC) mode.
- Measure the current on the black wire; it should read approximately 11 Amps.
- If the reading is around 1.5 Amps, the heater is faulty and will need replacement.
- Measure the current on the red heater wire at the control module; it should read around 9.5 Amps.
- Measure the voltage at the control module’s wire connection.
- If the voltage is around 0 VAC, replace the control module (heater relay).
- If the voltage reads around 120 VAC, continue to the next step.
Step 3. Access the Heater
- Unplug the dishwasher from the power source.
- Carefully remove the dishwasher from the cabinet and lay it on its back. Have a towel ready to catch any residual water from the sump and hoses.
- Remove the door springs from the base and disconnect the door cables.
- Detach the terminal block connectors from the base.
- Disconnect the hose from the water valve (you may remove the valve for easier access if needed).
- Detach the J-box ground wire and pull out the wires from the J-box.
- Remove the inlet hose from the sump.
- Carefully pull the base away from the tank and sump.
- Remove the two T-20 Torx screws that secure the heater assembly to the sump.
- Take a photo of the wiring connections to the heater, flow switch, NTC, and high-limit thermostat for reassembly reference.
- Disconnect the wires from the heater, flow switch, NTC, and high-limit thermostat.
- Remove the clips and gently pull the heater assembly out from the sump and pump.
Step 4. Test the Heater
- Set the multimeter to resistance mode (Ω).
- Measure the resistance at the heater terminals.
- If the resistance is infinite (∞), the heater has an open circuit and requires replacement.
- If the resistance reads around 0Ω, the heater is short and also requires replacement.
- If the resistance is around 11Ω, proceed to test additional components:
- Measure the resistance of the high-limit thermostat, flow switch, and circulation pump. Replace any component with an infinite resistance (∞). Verify that the high-limit thermostat reads around 0.3Ω and the flow switch around 0.4Ω.
- Confirm the circulation pump is functioning correctly.
Step 5. Inspect Wire Harnesses
- Examine the wire harnesses for any signs of damage, such as frays, tears, or burn spots.
- Replace any damaged wiring as needed.
Step 6. Replace Control Module (If Necessary)
- If all tests are successful and components appear functional, replace the control module as a final step.
Also read Troubleshooting a Clogged Dishwasher: Is the Bottom Drain the Culprit?
Conclusion
To tackle the E1 error code on your dishwasher, follow the steps above to fix any heating issues. Prioritize safety as you work through the repair, and take your time with each step for smooth reassembly. With these actions, you’ll have your dishwasher back to running smoothly, ready for everyday use.
