
A GE refrigerator that suddenly stops cooling may have a failed compressor inverter control board. This part helps the compressor run by converting standard electricity into the power the compressor needs. You can replace this board yourself and avoid calling a technician by following the right steps.
Below is a clear guide to help you replace the inverter board and get your refrigerator working again.
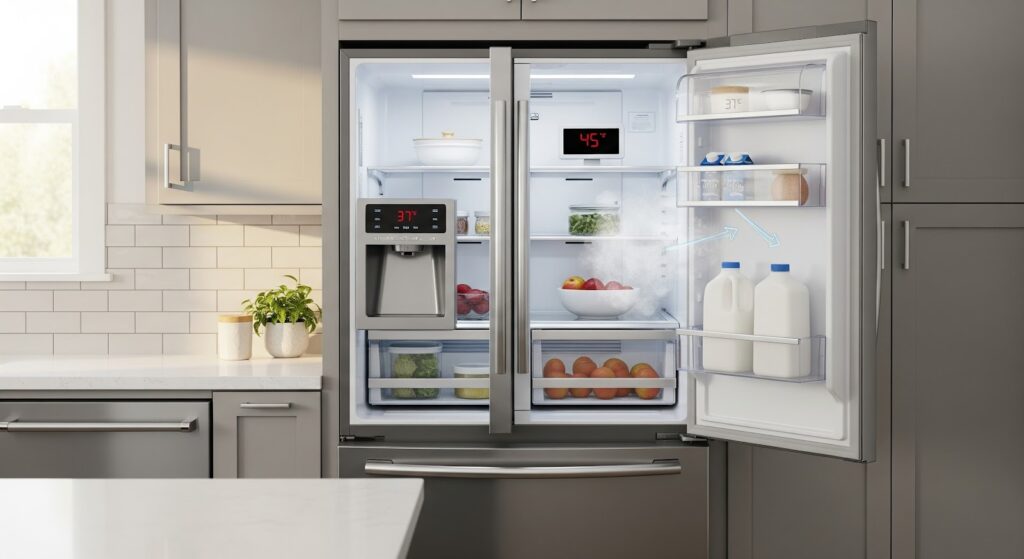
What the Compressor Inverter Control Board Does
The compressor in your GE refrigerator pumps refrigerant through the system to remove heat from inside the unit. To operate, the compressor needs a specific type of power that is different from the regular electricity in your home.
The inverter control board takes 120-volt AC power and converts it into variable 230-volt power. This allows the compressor to run at different speeds depending on how much cooling is needed. The board is located near the compressor at the back of the refrigerator, inside the lower compartment.
Signs the Inverter Control Board Needs Replacing
When your refrigerator stops cooling but the condenser fan still runs, the compressor might not be getting power. The inverter board is often the reason for this issue.
Here are signs the board may be bad:
- The compressor is not running
- The inside of the fridge feels warm, even though the fan is running
- The control panel shows no error, but the fridge is not cooling
What You’ll Need
Get these tools and parts before starting:
- Quarter-inch nut driver
- Small flat-blade screwdriver
- Large flat-blade screwdriver
- Replacement inverter control board (GE WR87X29409)
Safety Tips Before You Begin
Working on appliances involves some risk. Follow these safety practices to protect yourself and the appliance:
- Always unplug the fridge or turn off the circuit breaker before starting
- Avoid touching refrigerant lines or compressor fittings
- Let the fridge cool down completely if it has been recently used
- Keep your workspace dry and free from clutter
- Wear insulated gloves to protect your hands from sharp edges
- Do not work with wet hands
- Make sure you have enough light to see clearly
- Keep children and pets away from the area
- Use proper tools to avoid slips or accidents
- Check the refrigerator manual for specific instructions
- Avoid touching exposed wires or terminals with your bare hands
- Use safety glasses or a dust mask when working in dusty areas
How to Replace the Compressor Inverter Control Board on a GE Refrigerator
Follow these steps to safely remove the old control board and install a new one on your GE refrigerator.
Power Down and Access the Control Board
- Unplug the refrigerator or turn off the circuit breaker.
- Use a 1/4-inch nut driver to remove the screws securing the back access panel.
- Remove the panel and set it aside.
- Vacuum the condenser coils while exposed.
Remove the Old Inverter Control Board
- Locate the inverter control board mounted on the compressor.
- Remove the two screws holding the ground wires.
- Remove the screw at the bottom of the inverter board.
- Lift the control board off the compressor.
- Take note of each connector and wire before disconnecting.
- Use a flat-blade screwdriver to pry off the large plug from the compressor terminals.
- Disconnect the smaller plugs by pressing their side tabs and pulling them apart.
- Release the wire harness from the retaining clip.
- If a refrigerant line blocks the board, remove the two compressor hold-down clips.
- Carefully lift the compressor with a screwdriver to make space.
- Angle out the old board without touching the refrigerant lines.
Install the New Control Board
- Lift the compressor slightly if needed to fit the new board.
- Plug the large connector into the compressor terminals in an upright position.
- Align the new board on the compressor bracket with the locking tabs and screw holes.
- Secure the board with the mounting screw.
- Reconnect each wire harness plug until they click into place.
- Reinstall the two compressor hold-down clips.
- Return the wire harness to its retaining clip.
- Check all connections to confirm they are locked in.
Reassemble and Test the Refrigerator
- Position the rear access panel and insert the tabs into their slots.
- Reinstall all 1/4-inch screws to secure the panel.
- Plug in the refrigerator or switch the breaker back on.
- Allow time for the fridge to cool down before placing food back inside.
Also Read: 11 Ways to Increase the Efficiency of Your Refrigerator
Looking Ahead
Getting your GE refrigerator cooling again might seem like a big job, but replacing the inverter control board is one repair many people can do on their own. With the right tools and a careful approach, you can bring your fridge back to working order without spending extra on a service call. Just take your time, follow each step closely, and stay safe while working around the compressor.
Once everything is back in place, give the refrigerator some time to chill and check that the cooling function has returned. A steady hum from the compressor and cooler temperatures inside mean the job is done right.