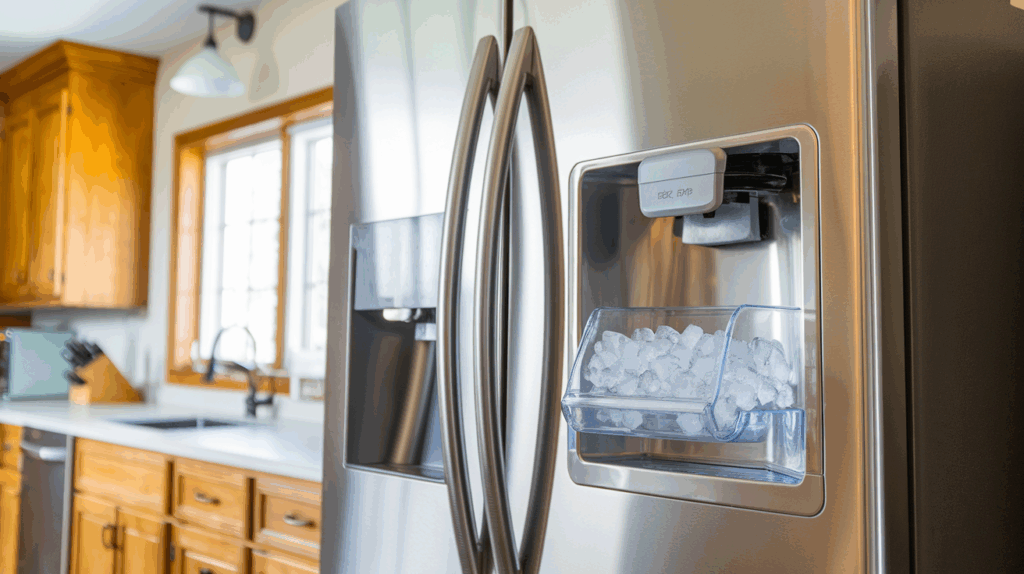
If your Whirlpool, KitchenAid, or Maytag refrigerator isn’t producing ice properly, the issue might be with the ice maker’s shut-off arm. This lever, typically made of plastic or metal, controls ice production by stopping it when the storage bin is full. A broken or missing shut-off arm can disrupt ice production, but replacing it is a straightforward task.
Common Signs of a Faulty Shut-Off Arm
Identifying a broken or malfunctioning shut-off arm can help determine whether replacement is necessary. Look out for these signs:
- Ice production has stopped entirely despite a functional water supply.
- The shut-off arm appears bent, cracked, or disconnected from the ice maker.
- Excessive ice production, with no automatic stop when the bin is full.
- Ice cubes are being dispensed in uneven amounts or with irregular sizes.
- Audible clicking or grinding noises when the arm is engaged.
Tools and Materials Needed
- Flathead screwdriver
- Replacement ice maker shut-off arm kit (WP627792)
Protective gloves for safety
Safety Tips Before Starting
Safety is important when working on appliances. Follow these tips to reduce risks:
- Disconnect Power: Unplug the refrigerator or turn off its circuit breaker to avoid electric shock.
- Allow Cooling Time: Let the appliance cool completely before starting if it has been in use.
- Organize Your Workspace: Keep the area well-lit, uncluttered, and free of distractions. Keep children and pets away.
- Wear Protective Gear: Use insulated gloves to protect your hands from sharp components and safety glasses if working with dust or debris.
- Avoid Wet Conditions: Never work with wet hands or in a damp environment.
- Handle Parts with Care: Avoid using excessive force when removing or installing parts to prevent damage.
- Consult the Manual: Refer to the refrigerator’s user manual for any specific safety or installation instructions.
Read more: Replacing Your Top-Freezer Refrigerator’s Condenser Fan Motor
How to Replace an Ice Maker Shut-Off Arm
Here are the steps to replace the ice maker shut-off arm in your freezer effectively and safely.
Access the Ice Maker Assembly
- Open the freezer door fully.
- Slide out the ice storage bucket from beneath the ice maker.
- Lift the ice maker shut-off arm to turn off the ice maker.
- With the bucket removed and the arm lifted, access the shut-off arm for replacement.
Remove the Old Ice Maker Arm
- Insert a flathead screwdriver between the front of the arm and the ice maker housing.
- Carefully pry the front of the arm to loosen it.
- Twist and pull the arm to fully detach it from the ice maker head.
- Wiggle the arm gently if it does not detach easily.
- Slide the straight back end of the arm out of its metal bracket at the back of the assembly.
- Inspect the ice maker socket and arm housing for cracks or damage. Replace the entire ice maker if necessary.
Install the New Shut-Off Arm
- Slide the straight back portion of the new arm into the metal bracket at the back of the ice maker.
- Insert the curved front portion of the arm into the socket opening on the ice maker housing.
- Push the arm until it snaps securely into place.
- Test the arm by pivoting it up and down to confirm smooth movement through its full range.
- Adjust or reinstall the arm if it does not move freely.
- Position the arm downward to activate the ice maker.
Final Steps
- Replace the ice bucket under the ice maker.
- Close the freezer door and check that it seals properly.
- Plug in the refrigerator power cord or turn the circuit breaker back on.
- Wait 24 hours for the ice maker to begin producing ice.
- Verify that the refrigerator is cooling and the ice maker is functioning properly.
Maintenance Tips for Your Ice Maker
To keep your ice maker running smoothly after the replacement, follow these maintenance tips:
- Regularly clean the ice bin and ice maker components to prevent buildup and odors.
- Inspect the shut-off arm periodically for signs of wear or misalignment.
- Avoid overloading the freezer, as this can interfere with the shut-off arm’s movement.
- Use a water filter to minimize mineral deposits in the ice maker.
- Check water supply lines for leaks or blockages to maintain consistent performance.
- Defrost the freezer as needed to prevent ice accumulation on moving parts.
Closing Thoughts
Fixing your ice maker shut-off arm isn’t a major project, but it makes a big difference in keeping your freezer running smoothly. Take care of the basics, and you’ll have reliable ice production without the hassle of bigger repairs.
