
If your LG or Kenmore refrigerator has stopped making ice, the problem might be with the ice maker assembly. This component is responsible for producing and dispensing ice within your fridge.
Location and Function
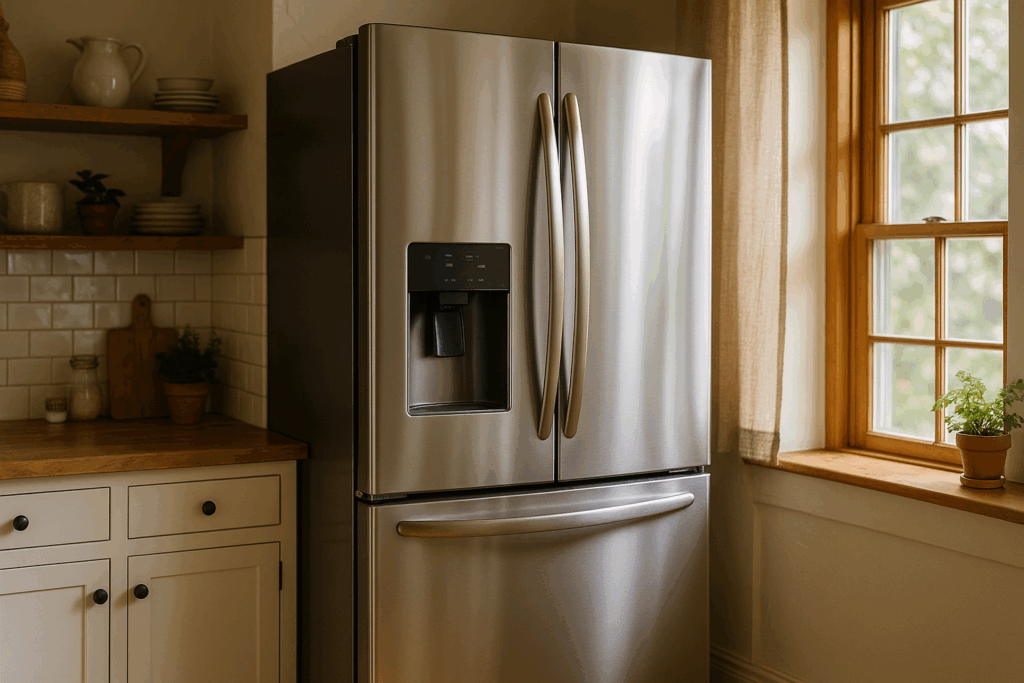
The ice maker assembly is typically located in the left French door inside a closed compartment. It includes key components such as a motor, ice mold, and control module. Its operation involves filling the ice mold with water, freezing it, and ejecting the ice cubes into the bin.
This replacement process is straightforward and can usually be completed within an hour.
Signs You Need to Replace the Ice Maker Assembly
Here are some common indicators that your ice maker may need replacement:
- No ice cubes being produced
- The ice maker is not cycling or making unusual clicking sounds
- Water leaking or pooling near the ice maker
- Ice cubes getting stuck or frozen in the assembly
- Visible damage or wear on the ice maker parts
Tools and Materials Needed
To replace the ice maker assembly, you will need the following:
- Phillips-head screwdriver
- Flat blade screwdriver
- Replacement ice maker assembly AEQ73110210 (check compatibility with your fridge model)
Safety Guidelines
Before starting any appliance repair, prioritize safety. Follow these tips for a safe and efficient replacement:
- Disconnect power: Always unplug the appliance or switch off the circuit breaker before starting to avoid electric shock.
- Turn off water supply: Shut off the water at the outlet to prevent leaks. Keep towels handy to absorb any residual water.
- Allow cooling time: If the fridge has been recently used, wait for it to cool before starting work.
- Maintain focus and avoid rushing: Take your time to prevent mistakes or accidents.
- Work in good lighting: Use a well-lit area to clearly see the appliance parts.
- Clear the workspace: Remove clutter, and keep the area free of distractions such as children or pets.
- Keep hands and area dry: Avoid working with wet hands and keep the area dry to prevent slipping or electrical hazards.
- Follow the manual: Refer to the user manual for specific safety or installation instructions.
- Handle parts carefully: Avoid using excessive force to prevent damage or injury.
- Use protective gear: Wear insulated gloves to protect against sharp edges and debris, and consider safety glasses or a dust mask if working with dust or chemicals.
Read more: How to Install an Ice Maker in a Top-Freezer Refrigerator
How to Replace an Ice Maker Assembly
Follow these steps to safely and efficiently replace the ice maker assembly in your refrigerator.
Preparing the Refrigerator
- Unplug the refrigerator from the power supply.
- Disconnect the refrigerator from the water supply.
Removing the Ice Bin
- Open the left refrigerator door where the ice maker is located.
- Push up on the lever to open the front ice compartment door.
- Lift the ice bin straight out and remove it.
- Set the ice bin aside.
Detaching the Ice Maker Assembly
- Remove the three Phillips screws holding the front cover panel of the ice maker compartment.
- Loosen the top panel screw, but do not remove it.
- Slowly pull off the cover panel.
- Detach the wire harness plug connector.
- Remove the single screw and ground wire at the top right.
- Unwrap the wiring.
- Gently pry off the temperature sensor and unplug the wire harness.
- Remove the two Phillips screws located at the bottom corners.
Removing the Old Ice Maker
- Lift the front of the old ice maker and rotate it outward.
- Slide it off the mounting hooks at the back.
- Flip the old ice maker over and remove the small screw on the back to fully detach it from the cover panel.
Installing the New Ice Maker
- Slide the new ice maker onto the mounting hooks.
- Rotate it inward to secure it in place.
- Reattach the small screw on the backside to secure the new ice maker to the cover panel.
Reassembling the Ice Maker Assembly
- Route the wire harness of the new ice maker through the top of the cover panel before reattaching it.
- Plug the connector into the new ice maker, making sure it clicks into place.
- Reinstall the temperature sensor and reconnect it to the main wire harness.
- Wrap and tape down all loose wiring securely.
- Align the cover panel and press it back into position.
- Replace the three Phillips screws.
- Reconnect the wire harness plug removed earlier.
Reinstalling the Ice Bin
- Slide the ice bin back into the compartment, inserting the top first.
- Press the bottom in to lock it in place.
Restoring Power and Water Supply
- Plug the refrigerator back into the power outlet.
- Reconnect the water supply.
Starting the New Ice Maker
- Turn the power switch on the new ice maker to the ON position to initiate the ice-making process.
- Close the ice compartment door and the refrigerator door.
Waiting for Ice Production
- Allow several hours for the ice maker to produce ice.
Common Issues After Replacement and Troubleshooting
Even after replacing the ice maker, some problems might arise. Here’s how to troubleshoot common issues:
- Ice cubes too small or misshapen: Check the water inlet valve for blockages or low water pressure.
- No ice being produced: Confirm that the water supply line is properly connected and not kinked.
- Ice maker not cycling: Inspect the control module and verify it is functioning correctly.
- Excessive noise from the ice maker: Look for jammed ice cubes or loose components in the assembly.
- Water leakage: Check for a loose connection or damaged water line.
Read more: Why is my ice maker only making crushed ice and not cubed?
Summing Up
With this guide, you’ve learned the basics of replacing an ice maker assembly and handling common problems after the replacement.
Here’s something surprising: many ice maker issues come from everyday wear or simple missteps, not major mechanical failures. With a little time and patience, you can take care of it yourself.