
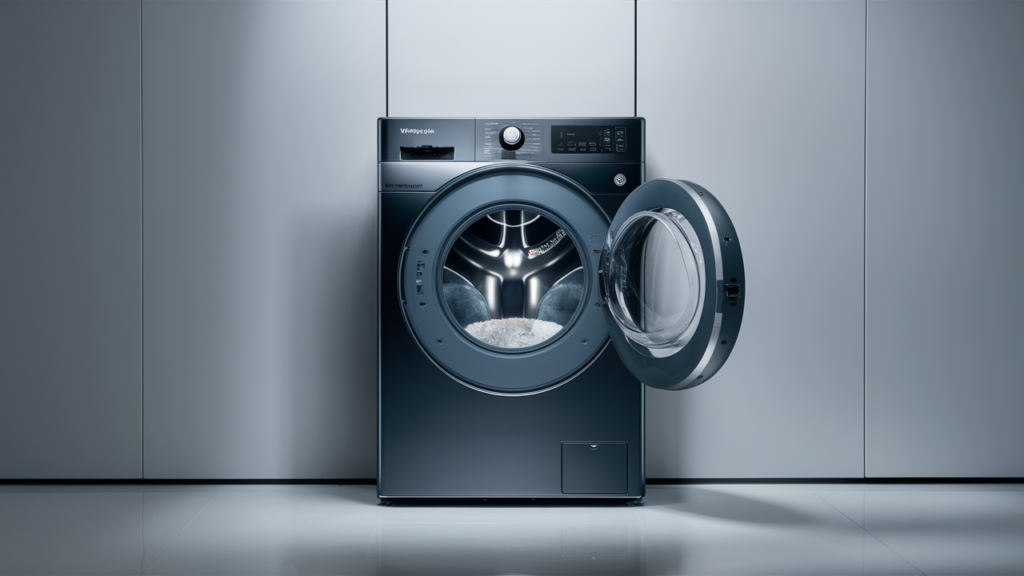
If your Whirlpool front load washer has no power or display, it can disrupt your routine. Before calling for professional help, consider these steps to troubleshoot and potentially fix the issue yourself.
Safety First
Working with appliances requires care. Follow these precautions to ensure your safety:
- Power Down: Unplug the washer or turn off the circuit breaker to avoid electrical shock.
- Gloves: Use insulated gloves to protect your hands from sharp edges and debris.
- Stay Dry: Ensure your hands and the work area are dry to prevent accidents.
- Work in Good Lighting: A well-lit area helps you clearly see and access parts.
- Organize Your Space: Keep the area clear of clutter, and ensure children and pets are kept away.
- Allow Cooling Time: Let recently used appliances cool down before working on them.
- Be Gentle: Handle parts with care to avoid damage.
- Document Connections: Take photos or notes of wiring before disconnecting anything to simplify reassembly.
- Protect Your Eyes: Use safety glasses when working with dust, chemicals, or large debris.
Tools and Materials You’ll Need
To troubleshoot effectively, gather these items:
- 1/4-inch nut driver
- Flathead screwdriver
- Multimeter
How to Troubleshoot and Test Washer Components
1. Preparation and Safety
- Unplug the washer to ensure safety before starting any work.
- Gather a 1/4-inch screwdriver and a multimeter.
2. Remove the Top Panel
- Use the 1/4-inch screwdriver to remove the screws located at the back of the washer’s top panel.
- Slide the panel backward, lift it off, and set it aside.
3. Test the Noise Filter
- Live Voltage Warning: Plug the washer back in carefully for testing. Ensure you are comfortable working with live voltage.
- Set your multimeter to measure volts AC (V~ symbol).
- Locate the noise filter at the back of the washer.
- Insert the multimeter probes into the terminals connected to the white and black wires. Check for 120 volts AC.
- Insert the probes into the terminals of the two pink wires on the noise filter. Verify 120 volts AC.
- Result:
- If 120 volts AC is not detected in either test, replace the noise filter.
- If the readings are correct, proceed to the next section.
4. Test the Main Control
- Keep the multimeter set to volts AC.
- Check the pink wires from the noise filter to ensure 120 volts AC is reaching the main control.
- Switch the multimeter to measure volts DC (V with a dotted line).
- Locate the UI7 connection (identified by five blue wires aligned together with no gaps).
- Place one probe on pin 7 and the other on pin 3.
- Verify a reading of 7 volts DC.
- Result:
- If no voltage is detected, replace the main control.
- If 7 volts DC is present, proceed to the next section.
5. Test the User Interface Control
- Keep the multimeter set to volts DC.
- Locate the C2 connection on the user interface control, which includes multiple blue wires.
- Place one probe on the blue wire at pin 5 and the other on the blue wire at pin 2.
- Verify a reading of 7 volts DC.
- Result:
- If 7 volts DC is present, replace the user interface control.
Preventive Maintenance Tips
To avoid facing a dead washer in the future, regular maintenance is essential. Follow these tips to keep your appliance in optimal condition:
- Inspect Power Connections Regularly: Check the plug, cord, and outlet for wear or damage.
- Clean the Washer’s Components: Regularly clean the lint filter, door seal, and detergent drawer to prevent blockages or build-up that can affect performance.
- Avoid Overloading: Distribute laundry evenly and avoid exceeding the washer’s capacity to reduce strain on components.
- Keep the Control Panel Dry: Prevent water or detergent spills on the control panel to protect electronic components.
- Perform Routine Checks: Periodically inspect for frayed wires, loose connections, or worn parts, and address issues promptly.
If your Whirlpool front load washer is giving you the silent treatment, tackling the issue with a bit of troubleshooting might just save the day—and your wallet. With safety as your first priority and a few essential tools in hand, you’re equipped to investigate potential culprits like the noise filter, main control, or user interface.
If the fixes here don’t work, it might be time to call in a professional—but at least you’ll know you’ve ruled out the basics.