
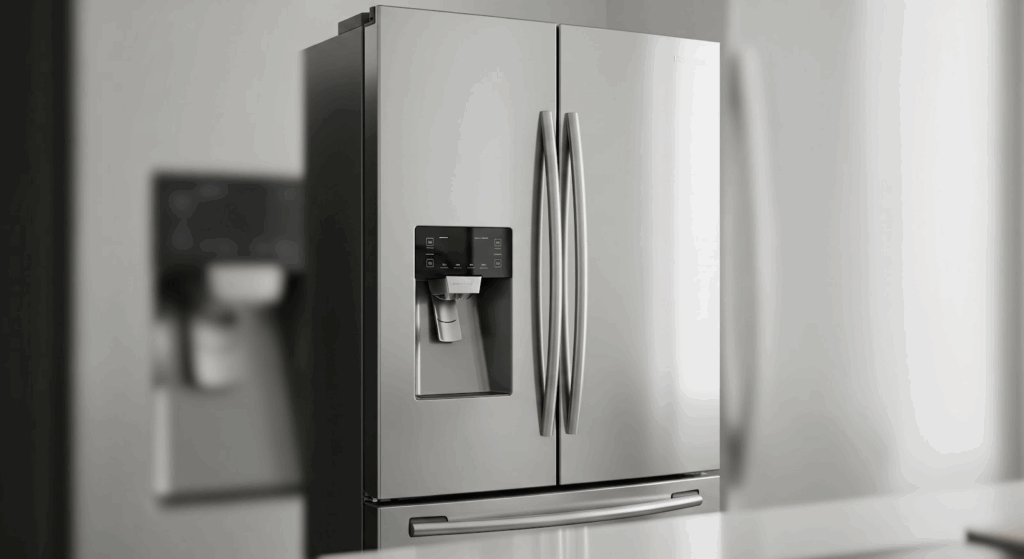
If your refrigerator stops making ice or dispensing water, the problem might not be with the dispenser itself. Instead, the issue could be with the water inlet valve, located at the back of your refrigerator near the bottom. This valve controls the flow of water into the refrigerator, supplying the ice maker and water dispenser. When the valve becomes faulty, it can block water from reaching these components and cause them to stop working.
Replacing the water inlet valve may sound complicated, but it is a task that many homeowners can complete with basic tools. This guide will help you understand what the inlet valve does, why it may fail, and how to replace it step by step.
What Causes a Water Inlet Valve to Fail?
The most common reason a refrigerator water inlet valve fails is a defective solenoid. A solenoid is a small electromagnetic part inside the valve that opens and closes to control water flow. When the solenoid no longer works, it can prevent water from passing through the valve, cutting off the supply to both the ice maker and the water dispenser.
In some cases, especially with older refrigerators, the plastic parts of the valve may wear out or crack. This can lead to water leaks, often from the back of the refrigerator. While this type of damage is not as common as a solenoid issue, it is still something to watch for.
Signs Your Water Inlet Valve Needs Replacement
Recognizing the symptoms of a faulty valve can help you fix the issue before it leads to bigger problems. Common signs include:
- Ice maker not producing ice, even when switched on and connected to water
- Water dispenser not working despite the fridge being plugged in and the door closed
- Humming or buzzing noise from the valve area when trying to use the dispenser
- Puddles of water under or behind the refrigerator
- Low or irregular water flow from the dispenser
- Visible cracks or mineral buildup around the valve or water line connections
Safety Precautions to Keep in Mind
Working with a refrigerator involves both electrical and plumbing components, so it is important to prepare your workspace and avoid common mistakes:
- Unplug the refrigerator from the wall outlet before starting any work
- Shut off the water supply line connected to the refrigerator
- Wait a few minutes after unplugging to allow any electrical charge to fade
- Wipe up any moisture around the base to reduce slipping risks
- Avoid using sharp tools that could damage nearby hoses or wires
- Double-check that the replacement valve matches the model number of your fridge
How to Replace a Refrigerator Water Inlet Valve
Here are the steps to replace your refrigerator’s water inlet valve. Follow them carefully to complete the repair safely and correctly.
Disconnect the Power and Access the Valve
- Unplug the refrigerator from the power outlet.
- Move the refrigerator away from the wall to access the back panel.
- Remove the rear access panel by unscrewing it carefully and setting it aside.
Disconnect the Water Supply and Valve
- Locate the copper water line connected to the valve.
- Use a wrench to loosen the connection and disconnect the copper tube.
- Point the copper tube over a towel or bowl to catch any leaking water.
- Remove the screws that secure the water inlet valve to the refrigerator frame.
- Pull the valve out from its position inside the fridge.
Disconnect Wiring and Water Lines
- Disconnect each wire harness from the valve. Take notes or a photo if needed to remember their positions.
- Loosen and disconnect the three water lines from the valve. Use a wrench for the compression fitting.
- Place a towel under the area to absorb any water that spills out.
Separate and Compare Valve Parts
- Identify the two parts of the valve and pry them apart using a flathead screwdriver.
- Compare the old valve to the new one and take note of any design differences.
Prepare the Water Lines for Installation
- If your new valve has push-to-lock fittings, inspect the ends of each hose.
- Use a razor blade to trim the hose ends cleanly if there are rough edges or signs of damage.
- Make sure the hose ends are flat and straight.
Install the New Valve
- Insert each hose straight into its corresponding port on the push-to-lock fittings.
- Pull gently on each hose to confirm it is locked in place.
- If your valve uses compression fittings, tighten each nut by hand or with a wrench.
- Pass the smaller valve component between the two translucent hoses.
Reconnect Wiring and Mount the Valve
- Reconnect all wire harnesses to their proper terminals on the new valve.
- Slide the valve assembly back into place inside the refrigerator.
- Reinstall the screws to secure both valve components to the fridge frame.
Reconnect the Water Line and Test
- Reconnect the copper water supply line and tighten it with a wrench.
- Turn the water supply back on slowly.
- Run two to three gallons of water through the dispenser to flush the new valve.
- Check all connections for any signs of leaks.
- If you find a leak, disconnect and inspect the hose ends before trying again.
Complete the Repair
- Reinstall the rear access panel and secure it with screws.
- Plug the refrigerator back into the wall outlet.
- Slide the refrigerator back into its original position.
The Bottom Line
This type of fix doesn’t need to feel overwhelming. If you follow each step, take your time, and keep your work area tidy, you’ll likely finish without much trouble. Getting it right can help your fridge stay in good shape and prevent future problems with water flow or leaks. It’s a simple and useful task that can keep your kitchen running without extra hassle.