
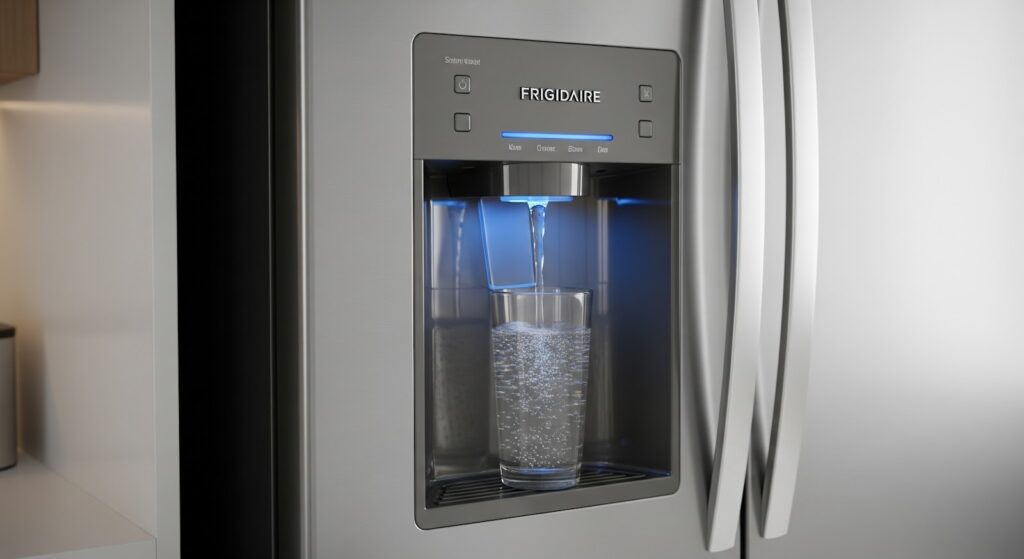
If your Frigidaire refrigerator is not dispensing water or making ice, the water valve might be the issue. The water valve controls the flow of water into the ice maker and water dispenser. If it becomes clogged, damaged, or stops working properly, these features may stop functioning. Replacing the valve can help restore normal performance.
When to Replace the Water Valve
A water valve that is not working can cause several noticeable problems. These signs can affect your refrigerator’s overall performance and may suggest it is time to install a new valve.
Signs the water valve may need to be replaced:
- The water dispenser has low pressure or no flow
- The ice maker is not producing ice
- There are visible leaks near the back of the refrigerator
- Ice output is irregular or incomplete
- Water does not reach the ice maker even though the line is connected
What can cause water valve problems:
- A failed solenoid that no longer opens the valve
- Blocked water lines caused by sediment or minerals
- Inconsistent home water pressure
- Physical damage to the valve or connections
If these symptoms appear and do not go away with basic troubleshooting, replacing the valve may be the most effective solution.
Tools and Materials You Will Need
Make sure you have the right tools and a compatible replacement part before you begin the repair.
- 1/4 inch nut driver
- 3/8 inch wrench
- New water valve made for your specific refrigerator model
Safety Tips Before You Begin
Working with household appliances can expose you to electrical and water-related hazards. Use the following safety tips to help protect yourself and your appliance.
- Disconnect the refrigerator from the power outlet or switch off the circuit breaker before you begin
- Turn off the water supply to prevent any leaks or spills
- Use towels to soak up any water left in the line or valve
- Wait for the refrigerator to cool down if it has been running recently
- Wear insulated work gloves to avoid cuts from sharp edges
- Use safety glasses if you are working in a dusty area or around debris
- Avoid touching electrical wires with your bare hands
- Use non-conductive tools when working near exposed electrical parts
- Keep the workspace dry and well-lit
- Remove any clutter or objects near your work area
- Keep children and pets away while repairs are in progress
- Handle parts carefully to avoid damaging components
It is also helpful to check your refrigerator’s manual. Some models may have specific instructions related to valve replacement or safety information that applies to your unit.
How to Replace the Water Valve in Your Refrigerator
Follow these steps to safely remove the old water valve and install a new one so your refrigerator can get back to normal operation.
Access the Water Valve
- Turn off the refrigerator and unplug it from the power outlet
- Shut off the water supply connected to the refrigerator
- Pull the refrigerator away from the wall
- Remove the 4 screws holding the lower access panel using a 1/4-inch nut driver
- Take off the access panel to expose the machine compartment
- Locate the water valve on the right side inside the compartment
Disconnect the Old Water Valve
- Disconnect the water supply line from the valve
- Remove the 2 screws holding the water valve in place
- Slide the valve out from the refrigerator
- Push in on the ring around each tube and pull the tubes out
- Take note of the tubing positions for reassembly
- Disconnect the electrical connectors from the valve
Install the New Water Valve
- Connect the wiring to the new valve
- Insert the tubing into the correct ports on the valve
- Slide the new valve back into position
- Secure it with the 2 screws
- Reinstall the lower access panel with the 4 screws
- Reconnect the water supply line to the valve
- Turn the water supply back on
- Plug the refrigerator back in and turn it on
What to Do After Replacing the Water Valve
Once the new water valve is installed, a few checks can help confirm everything is working properly.
- Turn the water supply back on and check for leaks
- Plug the refrigerator back in and restore power
- Activate the water dispenser to test the flow strength
- Give the ice maker time to complete its first cycle
- Monitor the area around the valve for several hours to catch any drips
- Check the tubing connections to see if they are tight and secure
If the dispenser and ice maker are working and there are no leaks, the installation is
To Wrap Things Up
If water isn’t coming out of the dispenser or your ice maker isn’t making ice, a new valve might be what’s needed to get things back on track. With the right tools and some careful steps, you can take care of this repair at home. Just remember to work safely, follow the guide closely, and give the appliance time to adjust after the new part is in place. Watching for leaks and checking performance after the fix will help make sure everything is running smoothly again.