
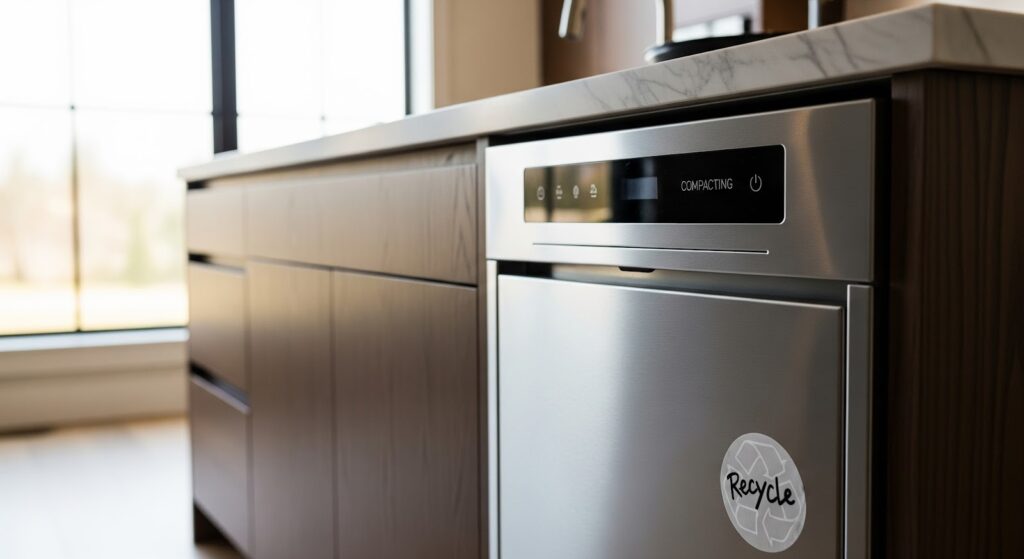
If your trash compactor drawer is sticking or refusing to glide smoothly, you are not alone. Over time, the roller assembly that helps the drawer slide in and out can wear down, making it hard to use your compactor. The good news is that replacing it is a simple DIY fix you can complete at home in just a few steps.
This guide explains how to replace the roller assembly (part number 882688) and get your Whirlpool, KitchenAid, or Maytag trash compactor working like new again.
What the Roller Assembly Does
The roller assembly supports the compactor drawer and allows it to move smoothly along its track. When the rollers wear out or become damaged, the drawer may stick, squeak, or resist movement. That is a clear sign it is time for a replacement.
How to Identify a Worn Roller Assembly
Before buying a new part, it helps to confirm that the roller assembly is truly the problem. Look for the following signs:
- The drawer feels rough or jerky when sliding in or out.
- You hear grinding or squeaking sounds during operation.
- The drawer is uneven or slightly misaligned inside the compactor frame.
- There are visible flat spots, cracks, or chips on the roller wheels.
- The drawer does not close completely or opens by itself.
- Lubricating the tracks does not improve movement.
- The compactor drawer feels heavier than usual when pushing it in.
If one or more of these symptoms appear, replacing the roller assembly is the right solution.
Tools You’ll Need
Before you begin, gather these tools:
- 1/4-inch nut driver
- 5/16-inch wrench
- Flathead screwdriver
- Wood block
- 9/16-inch socket wrench
- Pliers
- Replacement roller assembly (confirm that it is compatible with your compactor model before installing)
Safety First
Working on appliances requires care and attention. Keep these safety tips in mind before you start:
- Unplug the appliance or switch off the circuit breaker to avoid electric shock.
- Let the compactor cool down if it has been used recently.
- Work slowly and carefully to prevent injury or damage.
- Use good lighting so you can see all parts clearly.
- Keep your workspace tidy and free from clutter. Keep children and pets away.
- Avoid moisture and never work with wet hands or in a damp area.
- Read your user manual for any model-specific instructions.
- Handle parts carefully to avoid bending or breaking components.
- Wear insulated gloves to protect your hands from sharp edges and debris.
- Take photos or notes before disconnecting wires or components to make reassembly easier.
How to Replace the Roller Assembly
Follow these steps to replace the roller assembly on a Whirlpool, KitchenAid, or Maytag trash compactor.
Preparation
- Unplug the trash compactor from the power outlet or turn off power at the circuit breaker.
- Press down on the pedal and pull the drawer completely out of the compactor.
- Lift the front of the drawer by the handle until it clears the drawer stops.
- Lift the drawer by the sides and remove it from the compactor.
Removing the Compactor
- Uninstall the trash compactor from the kitchen cabinet.
- Remove the mounting brackets securing the compactor to the countertop or cabinet sides.
- Pull the compactor out from under the counter.
Accessing Internal Components
- Pull out the filter cover and remove the charcoal filter.
- Remove the four screws from the top panel and slide the top cover off.
- Remove two screws from the top, two screws inside the compactor frame, and two screws at the bottom front to detach the front panel.
- Pull the front panel slightly away from the body without disconnecting the electrical wires.
Removing the Old Rollers
- Use a 5/16-inch wrench and flathead screwdriver to free the side frames on both sides and lift them out of the way.
- Lift one side of the compactor and slide a piece of wood underneath for support.
- Unscrew and remove the legs from the compactor.
- Use a socket wrench to remove the nuts holding the rollers in place.
- Remove the old rollers.
Installing the New Rollers
- Place the new rollers with the bottom cap fitting into the cutout.
- Insert the shaft into the side opening.
- Start the nut by hand, then tighten it securely with a wrench.
- Repeat the roller installation on the opposite side.
- Remove the wooden support block from underneath the compactor.
Reassembly
- Reattach and secure the side frames with a screw and nut.
- Reinstall the front panel and secure it with six screws.
- Reinstall the top cover panel and secure it with the four screws.
- Slide the compactor back into the cabinet and secure it with the mounting brackets.
- Reinstall the charcoal filter and replace the filter cover.
- Lift and slide the drawer back into the compactor.
- Close the drawer completely.
- Plug the compactor back in or restore power at the circuit breaker.
- Test the compactor to check that it operates correctly.
Maintenance Tips for a Longer-Lasting Compactor
Once your compactor is running smoothly again, regular care can help the new roller assembly last longer. Try incorporating these maintenance habits:
- Wipe down drawer tracks and rollers regularly to remove dirt and residue.
- Avoid overloading the compactor with heavy or bulky items that strain the drawer.
- Use the correct compactor bags and replace them before they overfill.
- Keep liquids, oils, and sticky substances away from the tracks and rollers.
- Check the rollers every few months for wear or buildup.
- Apply a small amount of non-greasy lubricant to metal tracks if movement becomes stiff.
- Clean the compactor interior at least once every season to prevent odor and debris buildup.
- Inspect mounting bolts and screws to confirm they remain tight.
These simple habits can extend the lifespan of both your roller assembly and the entire compactor.
The Bottom Line
A trash compactor that slides smoothly makes kitchen cleanup easier and faster. Once you replace the roller assembly, you’ll notice how much better your compactor feels every time you use it. Taking the time to do this fixes yourself saves money and gives your appliance a fresh start. Keep up with simple maintenance, and your compactor will stay reliable for years to come. A little care now keeps things running effortlessly later.