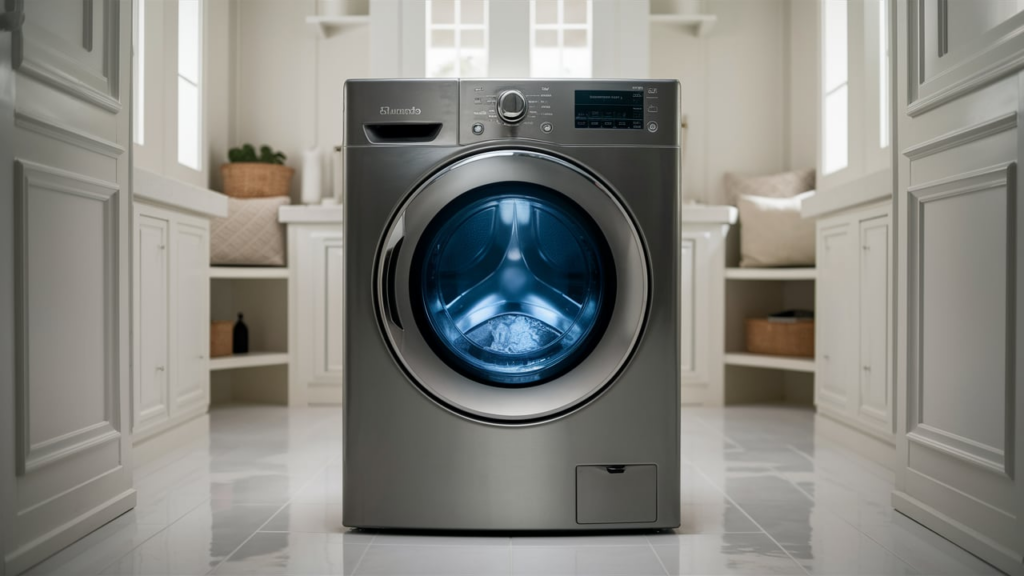
The user interface control panel on a Whirlpool front-loading washer lets you choose wash cycles, adjust settings, and monitor laundry progress. If this panel malfunctions, it can render the machine inoperable. Here’s how to test the panel and replace it if needed, restoring functionality to your washer.
Signs of a Faulty User Interface Control Panel
Recognizing the symptoms of a failing user interface control panel can help determine if replacement is necessary. Common signs include:
- Unresponsive Buttons: If the buttons do not respond when pressed, even after resetting the washer, the control panel may be faulty.
- Error Codes: Certain Whirlpool models display error codes related to the control panel or communication issues. Refer to your manual to identify relevant codes.
- Intermittent Functionality: If the panel works sporadically or some settings cannot be adjusted, this may indicate a failing connection or internal fault.
- Dim or Blank Display: A faded or non-functional display screen can be a sign of damage to the interface panel’s circuitry.
Safety Guidelines
Prioritize safety when working on appliances by following these steps:
- Disconnect Power: Unplug the washer or switch off the circuit breaker to eliminate the risk of electric shock.
- Use Protective Gear: Wear insulated gloves and safety glasses to shield your hands and eyes from sharp edges, debris, or electrical hazards.
- Maintain a Clean Workspace: Keep your area clutter-free, well-lit, and dry. Ensure children and pets are kept at a safe distance.
- Handle with Care: Avoid using excessive force when removing parts to prevent damage.
- Document Connections: Take pictures or notes of wiring before disconnecting anything to simplify reassembly.
- Check Appliance Status: If the washer was recently in use, allow time for heating elements to cool.
- Follow the Manual: Refer to the user manual for appliance-specific instructions.
Tools and Materials Required
- 1/4-inch nut driver
- Flathead screwdriver
- Multimeter
- T25 Torx driver
How to Test and Replace the User Interface Control Panel on a Washer
1. Power Off and Access Internal Components
- Unplug the washer or turn off the breaker to ensure no power is running to the machine.
- Use a 1/4-inch screwdriver to remove the screws at the back of the top panel.
- Slide the top panel back and lift it up.
- Set the top panel aside to access the internal components.
2. Test the User Interface Control Panel
- LIVE VOLTAGE WARNING: For this test, the washer must be powered on. Proceed with caution.
- Plug the washer back in.
- Set your multimeter to measure DC volts (symbolized as “V” with a dotted line).
- Locate connection C2 on the control panel, which has several blue wires.
- Place the multimeter probes on the blue wire at pin 5 and the blue wire at pin 2.
- Check for 7 volts DC.
- If the voltage is correct but the control panel is unresponsive, it has failed and must be replaced.
3. Replace the User Interface Control Panel
- Disconnect the power again by unplugging the washer or turning off the breaker.
- Use a 1/4-inch nut driver to remove the two screws from each corner of the control panel.
- Slide out the detergent drawer to access the screws behind it.
- Use a T25 Torx driver to remove the two screws behind the detergent drawer.
- Use a flathead screwdriver to lift the locking tabs holding the control panel in place.
- Rotate the panel up and out.
- Unplug the wire connection between the control panel and the washer.
- Plug the wire connection into the new control panel.
- Align the new panel correctly on the washer and push it back until it locks into place.
4. Reassemble the Washer
- Secure the control panel using the two 1/4-inch screws and the T25 screws behind the detergent drawer.
- Replace the top panel by positioning it behind the control panel, sliding it forward, and securing it with the previously removed screws.
- Slide the detergent drawer back into place.
- Reconnect the power cord or turn the breaker back on.
5. Test the Washer
- Run a test cycle to ensure the new user interface control panel is functioning properly.
Also Read: How to Deep Clean a Washing Machine
When to Seek Professional Assistance
While testing and replacing the user interface control panel is a manageable task for many, some situations warrant professional help:
- Complex Diagnoses: If the issue is unclear or involves other components (e.g., wiring harnesses or the control board), a technician can provide a more comprehensive diagnosis.
- Persistent Problems: If replacing the panel does not resolve the issue, it may indicate a deeper problem with the washer’s control system.
- Warranty Coverage: Check your washer’s warranty. Repairs or replacements covered under warranty should be handled by an authorized service provider to avoid voiding the coverage.
With the steps outlined above, you’ve not only saved yourself a service call but also gained some hands-on experience with your appliance. Swapping out a faulty control panel might seem technical at first, but breaking it down into simple tasks makes it much more approachable. Plus, testing and replacing it yourself gives you the satisfaction of knowing you can troubleshoot and fix things when needed.
Just remember, if things get too tricky or the issue goes beyond the control panel, it’s totally fine to call in a pro. Sometimes, an expert touch can save time and effort.
