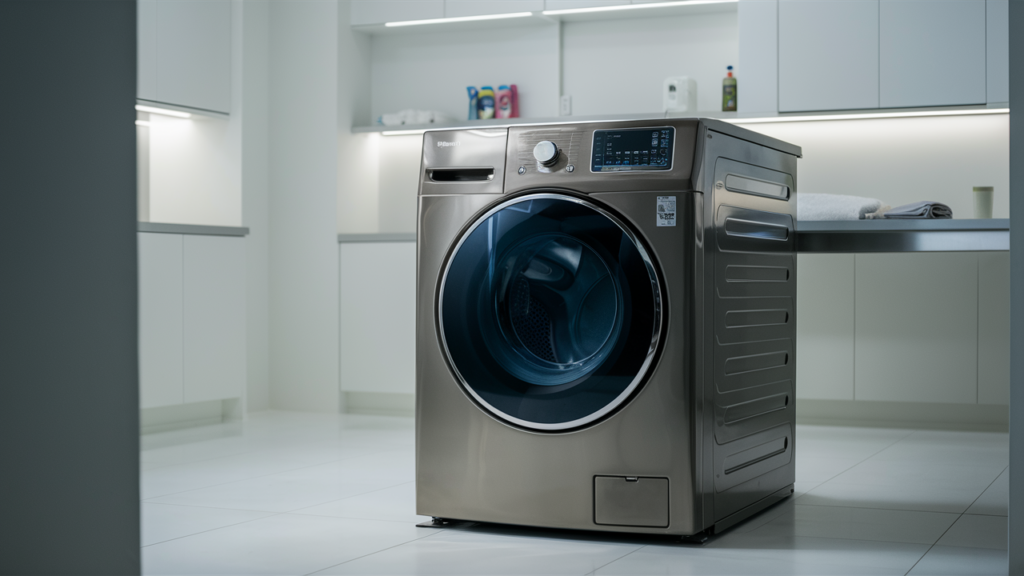
Maintaining your Whirlpool front-load washer involves more than just regular cleaning. Key components, like the noise filter, ensure the appliance operates smoothly by minimizing electrical interference.
If this part becomes damaged, it can disrupt the washer’s performance. Here’s a straightforward guide to testing and replacing the noise filter to keep your washer running efficiently.
Understanding the Role of the Noise Filter
The noise filter in a Whirlpool front-load washer is an essential component designed to reduce electromagnetic interference. This interference can disrupt the appliance’s electronic controls, leading to operational issues or inconsistent performance.
A malfunctioning noise filter may result in error codes, unresponsive controls, or irregular washer behavior. Replacing a damaged filter ensures stable performance and protects the washer’s internal components from electrical anomalies.
Signs Your Noise Filter May Be Failing
Identifying a faulty noise filter early can save you from more extensive repairs. Common symptoms of a failing noise filter include:
- Frequent Error Codes: Unexpected error messages on the control panel could point to electrical interference.
- Unusual Sounds: Buzzing or humming noises during operation might indicate electrical issues.
- Irregular Operation: If your washer starts or stops intermittently without explanation, the noise filter could be the culprit.
- Control Panel Issues: Delays, flickering lights, or unresponsive controls are often linked to a failing filter.
Safety Guidelines
Before starting, prioritize safety. Follow these precautions to avoid accidents:
- Disconnect Power: Turn off and unplug the washer or shut off the circuit breaker to prevent electrical shock.
- Use Proper Gloves: Insulated work gloves protect against sharp edges, pinching hazards, and debris.
- Ensure a Dry Workspace: Avoid working in damp conditions and keep your hands dry when handling internal components.
- Clear Your Area: Maintain an uncluttered, well-lit workspace free from distractions, pets, and children.
- Handle with Care: Be gentle when removing parts to prevent damage.
- Consult the Manual: Check your washer’s manual for specific instructions related to safety and installation.
- Document Connections: Take photos or make notes of wiring connections before disconnecting to ensure correct reassembly.
- Use Protective Gear: Wear safety glasses if working with dust, debris, or chemicals.
- Wait for Cooling: Allow time for any recently used heating elements to cool before beginning work.
Tools and Materials
- 1/4-Inch Nut Driver
- Multimeter
How to Test and Replace a Washer Noise Filter
Access the Noise Filter
- Unplug the washer or turn off the breaker to disconnect power.
- Use a 1/4-inch screwdriver to remove the screws securing the top panel at the back of the washer.
- Slide the top panel backward, lift it off, and set it aside to expose the internal components.
Test the Noise Filter
LIVE VOLTAGE WARNING: Ensure you are comfortable and prepared for live voltage testing.
- Plug the washer back in or turn the breaker on.
- Set your multimeter to Volts AC (indicated by a “V” with a squiggly line).
- Place the multimeter probes on the white and black wires connected to the noise filter and confirm a reading of 120 Volts AC.
- Move the probes to the two pink wires. If you do not get a reading of 120 Volts AC on the pink wires, the noise filter is defective and needs to be replaced.
Replace the Noise Filter
- Unplug the washer again to ensure safety.
- Disconnect all wires attached to the noise filter.
- Use a 1/4-inch screwdriver to remove the screw securing the noise filter.
- Pull the noise filter forward and slide it downward to remove it.
- Align the new noise filter correctly, slide it into place, and secure it with the screw.
- Reconnect the wires to the new noise filter.
Reassemble the Washer
- Position the top panel back on the washer, aligning it behind the user panel.
- Slide the panel forward to secure it in place.
- Use the 1/4-inch screws to fasten the top panel.
Restore Power and Test
- Plug the washer back in or turn the breaker back on.
- Run a test cycle to confirm the washer is functioning properly.
With just a few tools and some careful steps, testing and replacing your Whirlpool washer’s noise filter doesn’t have to be a complicated process. Next time your washer acts up with unusual sounds or error codes, you’ll know exactly where to look. A little maintenance now can save you from bigger headaches down the line—plus, it feels pretty great to troubleshoot like a pro.
