
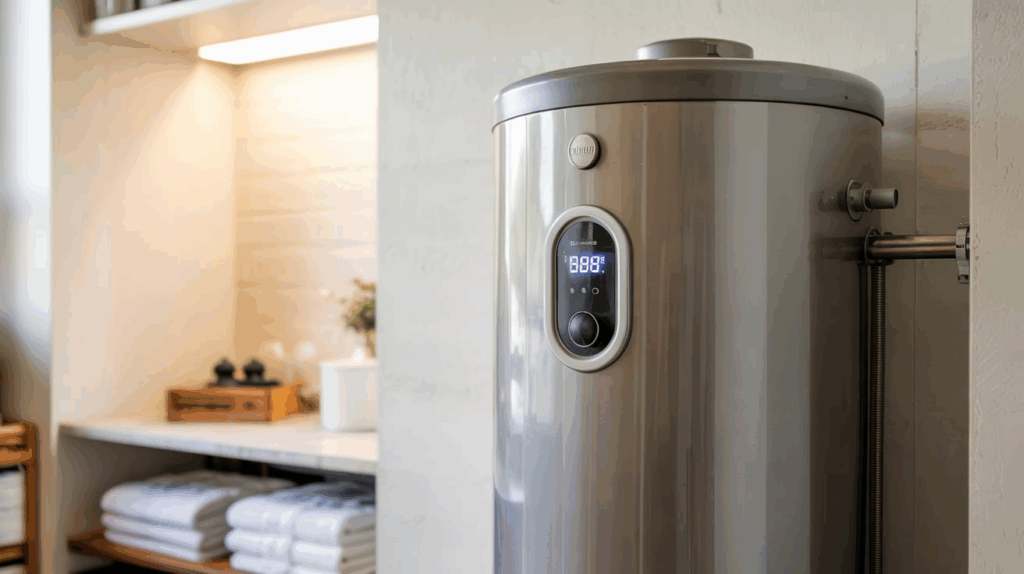
When your gas water heater stops working correctly, a faulty gas valve may be the cause. The gas valve regulates the flow of gas to the burner, allowing the water heater to operate safely and efficiently. If it malfunctions, you may experience issues such as the burner not igniting or the pilot light repeatedly going out, resulting in a lack of hot water.
Common Reasons for Gas Valve Failure
The gas valve is a durable component but can develop issues over time. Here are some common reasons for its failure:
Wear and Tear
Continuous exposure to heat and gas can degrade the internal parts of the valve. This wear can cause ignition problems or frequent pilot light extinguishing.
Thermostat Malfunction
The thermostat, which controls water temperature, is integrated into the gas valve. A faulty thermostat can lead to inconsistent temperatures or prevent the burner from igniting altogether, necessitating replacement.
Blockages or Dirt Buildup
Dirt or debris in the gas line or valve can restrict gas flow, causing ignition problems. Cleaning or replacing the valve can restore functionality.
Issues with the Pilot Light or Thermocouple
Problems with the thermocouple or pilot light assembly might mimic gas valve failure. Always inspect these components before proceeding with valve replacement.
Tools and Materials You’ll Need
- Adjustable wrench
- Pipe wrench
- Screwdriver
- Replacement gas valve (compatible with your water heater)
- Teflon tape or pipe sealant
- A bucket or hose for draining the water tank
Step-by-Step Guide to Replacing the Gas Valve
- Locate the gas shut-off valve and turn it off. Shut off the water supply to the heater and allow the unit to cool down completely.
- Attach a hose to the drain valve at the bottom of the tank and direct the water into a bucket or nearby drain. Open the valve to empty the tank fully.
- Use the adjustable wrench to disconnect the gas line from the water heater. This step is necessary for safety while working on the valve.
- Detach any wires connected to the valve, then use the pipe wrench to unscrew the valve from the water heater. Be prepared for some residual water to escape during this process.
- Apply Teflon tape or pipe sealant to the threads of the replacement valve to create a secure seal.
- Screw the new valve into place and tighten it using the pipe wrench. Reconnect any wires to their corresponding terminals.
- Reattach the gas line to the new valve, making sure all connections are tight. Check for any leaks after turning the gas back on.
- Close the drain valve and refill the water heater by opening the water supply valve. Once the tank is full, relight the pilot light according to the manufacturer’s instructions.
- Turn the gas back on and adjust the thermostat to your desired temperature. Check for proper operation and verify that there are no leaks around the valve.
How to Replace a Water Heater Gas Valve
Below are the steps to safely and effectively replace the gas valve on your water heater.
Turn Off the Gas and Water Supply
- Switch the gas valve to the “off” position to turn off the gas supply.
- Shut off the cold water supply to the tank.
- For electric water heaters, turn off the power supply.
Drain the Tank
- Attach a garden hose to the drain valve on the water heater.
- Direct the hose to a suitable drainage location.
- Open the drain valve and allow the tank to empty, taking care around hot water.
Disconnect the Gas Line
- Use an adjustable wrench to disconnect the gas line from the water heater gas valve.
Remove the Old Gas Valve
- Use a pipe wrench to unscrew and remove the old gas valve.
- Inspect the area around the valve for any signs of corrosion or damage.
Install the New Gas Valve
- Wrap Teflon tape around the threads of the new gas valve or apply pipe sealant.
- Carefully screw the new valve into the water heater.
- Tighten the valve securely with a pipe wrench, making sure it aligns correctly with the gas line.
Reconnect the Gas Line
- Reattach the gas line to the new valve, making the connections secure.
- Check for any gas leaks after reconnecting.
Refill the Tank and Test
- Close the drain valve.
- Turn on the cold water supply to refill the tank.
- Once the tank is full, turn on the gas supply.
- Relight the pilot light following the manufacturer’s instructions.
- Test the water heater to confirm it is working properly.
Maintenance Tips to Prolong Gas Valve Life
Proper maintenance can extend the life of your water heater and its gas valve. Follow these tips:
- Regularly inspect the pilot light and thermocouple for proper operation.
- Clean any dirt or debris from the burner and gas valve components.
- Flush the tank annually to prevent sediment buildup, which can affect performance.
- Test the thermostat periodically to ensure it maintains consistent water temperatures.
- Check the gas line for blockages or leaks and address issues promptly.
Final Thoughts
A working gas valve is essential for getting steady hot water, and it also keeps your water heater running safely. If wear over time, a bad thermostat, or dirt clogging the valve is causing problems, swapping the valve can solve them. Following the replacement steps carefully helps you fix the issue and get your water heater back on track.
Next time your water heater struggles to keep up, you’ll know where to start. Taking on a project like this might just leave you wondering why you hadn’t tried it sooner.