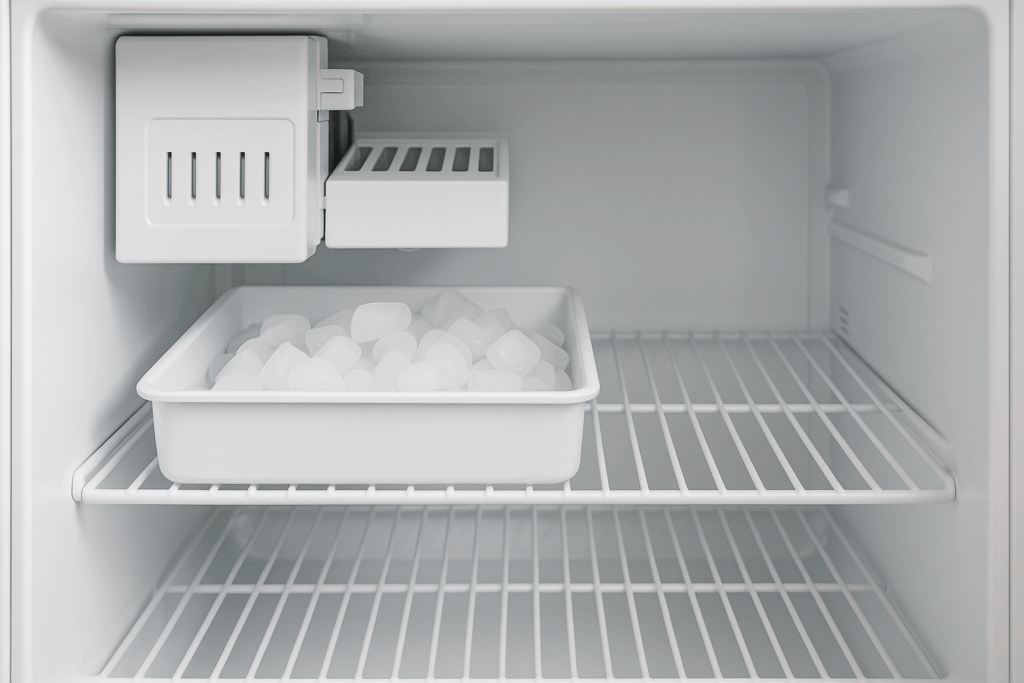
If your GE refrigerator’s ice maker fill cup isn’t working properly or is damaged, replacing it is a simple task you can handle on your own. Follow this step-by-step guide to restore your ice maker’s functionality.
What Does the Ice Maker Fill Cup Do?
The fill cup directs water into the ice maker to form ice cubes. When it becomes damaged or worn out, you may experience leaks or improper ice production. Replacing it can resolve these problems quickly.
Common Issues Linked to a Damaged Fill Cup
A faulty fill cup can lead to a variety of problems. Here are some signs it may need replacement:
- Leaking water around the ice maker
- Ice cubes forming irregularly or not forming at all
- Water spilling or overflowing into the ice bucket
- Visible cracks or deformities in the fill cup
- Noise coming from the ice maker during water filling
Tools and Materials Needed
- Flathead screwdriver
- Replacement ice maker fill cup (compatible with your refrigerator model)
Verify Compatibility
Before starting, confirm that the replacement fill cup works with your refrigerator model.
Locating the model number:
Look for the model number on a sticker or metal plate in one of these areas:
- Inside the refrigerator, on the side wall or ceiling
- On the back of the refrigerator, near the bottom
- On the side or bottom of the refrigerator door
Write down the model number or take a clear photo for reference.
Safety First
Follow these precautions to stay safe while working:
- Unplug the refrigerator or turn off the circuit breaker to eliminate electrical risks.
- Work in a well-lit area for better visibility.
- Clear the workspace of clutter, and keep children and pets away.
- Avoid handling internal components with wet hands or in a damp environment.
- Use insulated tools or gloves when touching wires to avoid electrical shock.
- Handle all parts gently to prevent damage to the appliance or injury to yourself.
Read more: Ice Maker Water Filtration System Maintenance Guide
How to Replace the Ice Maker Fill Cup on a GE Refrigerator
Here are the steps to safely and efficiently replace the ice maker fill cup on your GE refrigerator.
Preparation
- Unplug the refrigerator from the wall outlet or turn off the circuit breaker to disconnect power.
- Open the freezer door to access the freezer compartment.
Removing Components
- Locate the chiller shelf near the top of the freezer compartment.
- Remove the chiller shelf by pressing down on the locking tabs on both sides.
- Lift the front edge of the shelf up and outward to disengage it from the side rails.
- Pull the shelf completely out and set it aside.
- Lift the ice bucket out of the freezer and set it aside.
Removing the Old Fill Cup
- Locate the ice maker and fill the cup at the back of the ice maker near the top of the freezer.
- Reach into the space behind the ice maker and locate the locking tab on the bottom of the fill cup post.
- Press down firmly on the locking tab to disengage it from the post.
- Gently wiggle and lift the old fill cup upward and off the ice maker unit.
- Remove the old fill cup, taking care not to disturb the fill line extending into the freezer wall.
- Dispose of the old fill cup appropriately.
Installing the New Fill Cup
- Align the new fill cup over the ice maker unit.
- Push the new fill cup down firmly until the locking tab engages securely.
Reassembling Components
- Slide the ice bucket back into place by aligning it with the side rails.
- Reinstall the chiller shelf by aligning it with the side rails and locking it back into place.
- Close the freezer door.
- Reconnect power to the refrigerator by plugging it in or turning the circuit breaker back on.
- Allow the refrigerator to cool and check that the ice maker operates correctly.
Read more: How to replace the ice maker fill cup WR29X10109 on a GE refrigerator
What to Remember
If your ice maker is now running smoothly, you’ve already achieved what many would call a professional for. If something still seems off, don’t wait to look into it. Small fixes like this can sometimes highlight other areas that need attention. Either way, you’ve shown you can take on a home repair with confidence. It’s a handy skill that might just make future fixes feel less daunting.
