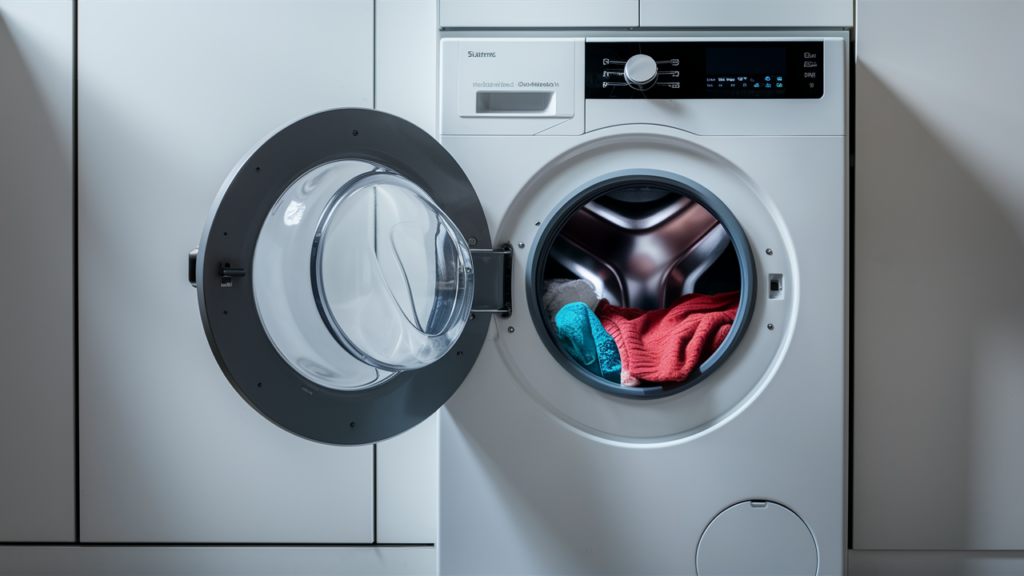
The tub-to-pump hose in your Whirlpool front-load washer moves water from the drum to the drain pump during cycles. A clogged, kinked, or damaged hose can stop the washer from draining properly, leaving water behind in the drum. This guide explains how to test for issues and replace the hose if necessary.
Tools and Materials
- 1/4-inch nut driver
- Flathead screwdriver
- Channel-lock pliers
- T25 Torx driver
Safety First
Always prioritize safety when working on appliances. Follow these guidelines:
- Unplug the washer or switch off the circuit breaker to eliminate the risk of electric shock.
- Use insulated work gloves to protect your hands from sharp edges and debris. Safety glasses are recommended if you’re handling chemicals or dust.
- Ensure your workspace is clutter-free, well-lit, and dry. Keep children and pets away from the area.
- If the washer was recently used, allow time for any heated parts to cool down before starting work.
- Avoid using excessive force when removing or installing parts to prevent damage or injury.
- Take photos or notes of any wiring or terminal connections to ensure accurate reassembly.
- Never touch wires or internal parts with wet hands. Use non-conductive tools or gloves when handling electrical components.
How to Test and Replace the Tub to Pump Hose in a Washer
Preparation and Access
- Unplug the washer to disconnect the power supply.
- Use a 1/4-inch nut driver to remove the screws at the back of the top panel.
- Slide the top panel back, lift it off, and set it aside.
- Drain any water left in the tub using a drain hose or bowl to catch the water.
Detergent Drawer and Interface Panel Removal
- Remove the detergent drawer.
- Use a T25 Torx driver to remove the screws behind the detergent drawer.
- Use a 1/4-inch nut driver to remove the screws at the top corners of the user interface panel.
- Lift the locking tabs on the user interface panel with a flathead screwdriver.
- Disconnect the wires and set the panel aside.
Front Panel Removal
- Open the washer door.
- Use a flathead screwdriver to remove the door boot spring.
- Use a T25 Torx driver to remove the screws securing the door lock.
- Use a 1/4-inch nut driver to remove the screws at the bottom of the front panel.
- Lift the front panel off and set it aside.
Tub to Pump Hose Access and Testing
- Drain any remaining water from the pump housing using a drain hose and a bowl or container to catch it.
- Use channel lock pliers to remove the retaining ring connecting the tub to pump hose to the tub.
- Pull the hose away from the pump housing and tub.
- Check the hose for any blockages, clogs, or damage.
- Clear any blockages if possible.
- If the hose is damaged or cannot be cleaned without causing further damage, replace it.
Tub to Pump Hose Replacement
- Use channel lock pliers to remove the retaining ring holding the hose to the drain pump housing.
- Transfer the retaining rings from the old hose to the new one.
- Secure the new hose to the drain pump housing and the tub using the retaining rings and channel lock pliers.
Reassembly
- Position the front panel back onto the mounting hooks at the top of the washer frame.
- Secure the front panel with the 1/4-inch screws removed earlier at the bottom.
- Reattach the door lock to the front panel using the T25 screws.
- Press the door gasket back onto the front panel lip.
- Install the door seal ring onto the door seal, using a flathead screwdriver if needed to guide it into place.
- Reconnect the wires to the user interface control panel and lock them in place.
- Secure the user interface panel with the 1/4-inch and T25 screws.
- Slide the top panel back into position and reattach it with the 1/4-inch screws at the back.
- Reinsert the detergent drawer.
- Plug the washer back in or turn the breaker back on.
Also Read: Washing Machine Tub Replacement in 10 Easy Steps
Preventing Hose Issues
Preventative care can reduce the likelihood of clogs or damage to the tub-to-pump hose. Consider the following tips:
- Check Pockets Before Washing: Small objects like coins, buttons, or screws can end up in the drain system and block the hose.
- Use a Mesh Bag for Small Items: Delicate or small garments, like socks or lingerie, can become trapped in the drainage system. A mesh laundry bag keeps these items contained.
- Regular Cleaning: Periodically flush the hose and clean the washer’s drain filter to prevent buildup of lint, detergent residue, or debris.
- Inspect for Damage: During routine maintenance, examine the hose for wear and tear, especially if the washer has been moved recently.
With the steps laid out above, you’re all set to tackle your washer’s tub-to-pump hose issue with confidence. Taking the time to properly test, replace, and maintain this essential part of your washer can save you money and extend the life of your appliance. Plus, knowing how to handle these repairs yourself means fewer service calls and more peace of mind.
Remember, a little preventative care goes a long way—regular cleaning, keeping an eye out for blockages, and inspecting for wear can help you avoid future headaches. Now that your washer is back in working order, it’s time to enjoy fresh, clean laundry without the stress of lingering water.
