

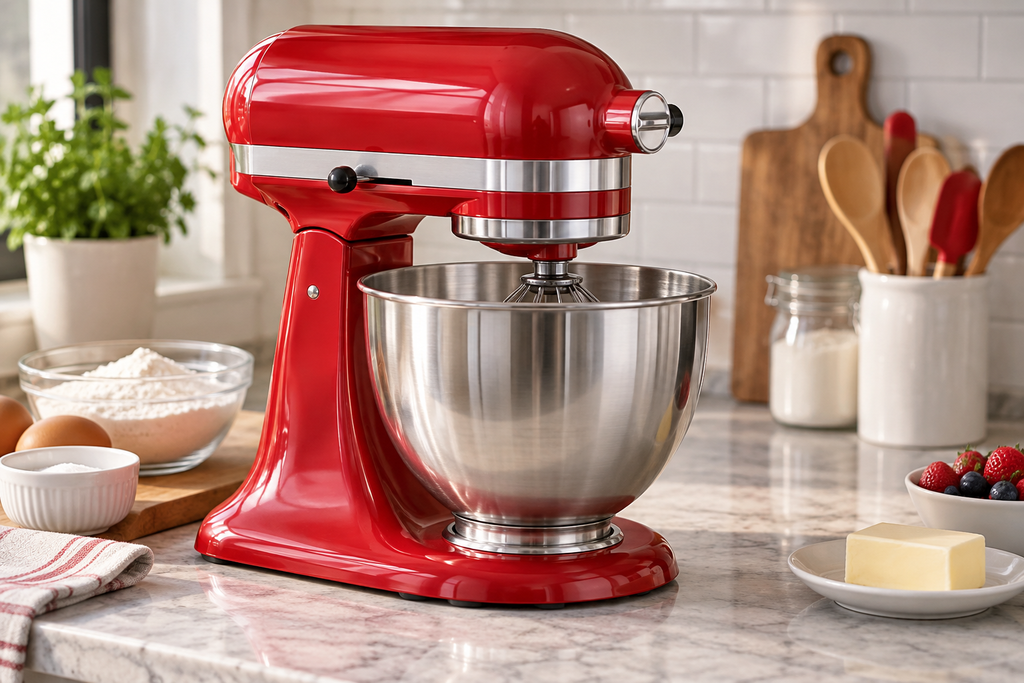
When a stand mixer head bounces while mixing, the beater may be meeting too much resistance or the tilt-head lock may be unable to hold the motor housing steady. A bowl set too high, a loose hinge pin, a worn latch, or dough that is too stiff can all create movement. Small motion with heavy dough may be normal for some models, but repeated lifting or clacking deserves attention.
The safest approach starts with the recipe load and the beater clearance. These checks do not require opening the motor housing. If the head will not lock, the mixer leaks grease, or metal parts grind, stop the machine before damage spreads.
Why a Stand Mixer Head Bounces While Mixing
The head carries the motor and gear train, so every change in load reaches the hinge and lock.
Common causes include:
- The bowl contains more dough than the model can handle.
- The dough is too dry or stiff for the selected speed.
- The flat beater sits too low and strikes the bowl.
- The tilt-head lock is dirty, loose, or worn.
- The hinge pin has moved sideways.
- The beater, bowl, or attachment is the wrong size.
- A bent shaft or damaged planetary creates uneven motion.
Does the head bounce with an empty bowl? That detail separates a load problem from a mechanical one.
Safety First
- Unplug the mixer before touching the beater, bowl, hinge, or adjustment screw.
- Keep hands, hair, jewelry, and loose clothing away from moving parts.
- Do not hold the mixer head down while the motor runs.
- Stop the mixer if the bowl loosens or the beater hits metal.
- Let an overheated mixer cool before another test.
- Arrange service for sparks, smoke, damaged wiring, or a strong electrical odor.
How to Check a Stand Mixer Head That Bounces
Use a light test first, then move to adjustments allowed by the manual.
Check the Bowl and Attachment
- Unplug the mixer and raise the head.
- Remove the attachment and inspect it for bends or cracks.
- Remove the bowl and clean the locking points.
- Reinstall the correct bowl until it locks firmly.
- Install the correct flat beater for the model.
- Lower and lock the head.
- Move the beater by hand to check for contact with the bowl.
Test Beater Clearance
- Place a dime in the bottom of a clean metal bowl if the manual permits this test.
- Install the flat beater and lock the head.
- Run the mixer at the lowest stirring speed.
- Observe how often the beater nudges the dime.
- Unplug the mixer before making any height change.
- Turn the approved adjustment screw in the small amount listed by the manufacturer.
- Repeat the dime test until clearance matches the manual.
Inspect the Hinge and Lock
- Unplug the mixer and remove the bowl and beater.
- Lower the head and engage the lock.
- Lift gently on the front of the head without forcing it.
- Check whether the hinge pin sits evenly on both sides of the pedestal.
- Wipe flour and dried batter from the latch area.
- Tighten an accessible hinge-pin screw only if the manual identifies it.
- Stop if the lock stays loose or the pin moves again.
Match the Speed to the Mixture
Heavy dough creates more force than cake batter or whipped cream. The correct speed depends on the recipe and mixer model. Many mixers call for a low setting during kneading.
Reduce strain with these habits:
- Follow the model limit for flour and total dough weight.
- Add dry ingredients in the order given by the recipe.
- Stop and scrape the bowl while the mixer is off.
- Use the dough hook for yeast dough instead of the flat beater.
- Keep kneading speed within the manual limit.
- Divide a large batch into smaller portions.
- Let very cold butter soften when the recipe allows it.
The mixer should never need hand pressure on the head to finish a batch.
Signs the Lock or Hinge Is Worn
Cleaning and adjustment cannot restore a part that has worn out.
- The lock lever moves but never feels engaged.
- The head lifts during a light batter test.
- The hinge pin slides out after it is centered.
- The head has side-to-side play when unplugged.
- The latch has rounded, cracked, or missing edges.
- A clack comes from the pedestal on every rotation.
- The problem returns right after a correct clearance adjustment.
A worn latch or bent pedestal part should be replaced with a model-matched piece. Continued use can damage the bowl, attachment, or planetary shaft.
When the Problem Is Inside the Mixer
Internal gear trouble may create pulsing force that looks like a head-lock problem. The movement often appears with noise, speed changes, or grease leakage.
Internal warning signs include:
- Grinding from the gearbox.
- A beater that speeds up and slows down.
- A planetary shaft that wobbles.
- Metal dust near the attachment hub.
- Grease leaking from the trim band or shaft.
- A motor that stalls on light mixtures.
Opening the gear housing involves heavy parts, food-safe grease, and careful alignment. Professional service is reasonable when these symptoms appear.
Prevent Future Head Movement
Routine care limits stress on the lock and hinge.
- Lock the bowl and head before starting the motor.
- Begin at the lowest speed to avoid a sudden load.
- Stay within the batch limits in the manual.
- Clean the hinge and latch after messy recipes.
- Check beater clearance after changing bowls or attachments.
- Stop the mixer if a hinge pin begins to move.
- Store the mixer with the head lowered and the motor off.
To Recap
A stand mixer head bounces while mixing because of excess load, poor beater clearance, a loose hinge, or a worn head lock. A correct bowl, light test, and approved adjustment solve many cases. Movement with light batter, grinding, wobble, or grease leakage points to a mechanical repair. Careful loading and early checks help the mixer run smoothly without putting the bowl or drive parts at risk.