
The thermal fuse in a Speed Queen dryer is a safety component designed to prevent overheating. If your dryer isn’t heating, shuts off unexpectedly, or trips the fuse repeatedly, it’s likely time for a replacement. With the right tools, a compatible replacement part, and careful attention, you can handle this repair on your own.
Common Symptoms of a Faulty Thermal Fuse
A faulty thermal fuse can cause several issues, including:
- No Heat: The dryer drum runs, but it doesn’t produce heat.
- Sudden Shut-Off: The dryer powers off unexpectedly during a cycle.
- Frequent Tripping: Replacing the fuse doesn’t resolve the issue, indicating other problems.
- Failure to Start: The dryer doesn’t turn on at all.
- Burning Smell: This could indicate overheating before the fuse blows.
Tools and Materials Needed
- Replacement thermal fuse (compatible with your specific dryer model)
- 1/4-inch nut driver
- 5/16-inch nut driver
Safety First
Before starting, follow these essential safety tips to protect yourself and your appliance:
- Disconnect the dryer from the power source or turn off the circuit breaker. For gas models, shut off the gas supply.
- Allow the dryer to cool completely before working on it.
- Keep your hands and workspace dry to prevent electrical shock.
- Wear insulated gloves to shield your hands from sharp edges or debris.
- Keep your work area well-lit, uncluttered, and free of distractions like children or pets.
- Remove parts gently to avoid damage or injury.
- Take photos or notes of wiring and terminal connections for easier reassembly.
- Consult the user manual for any model-specific instructions or warnings.
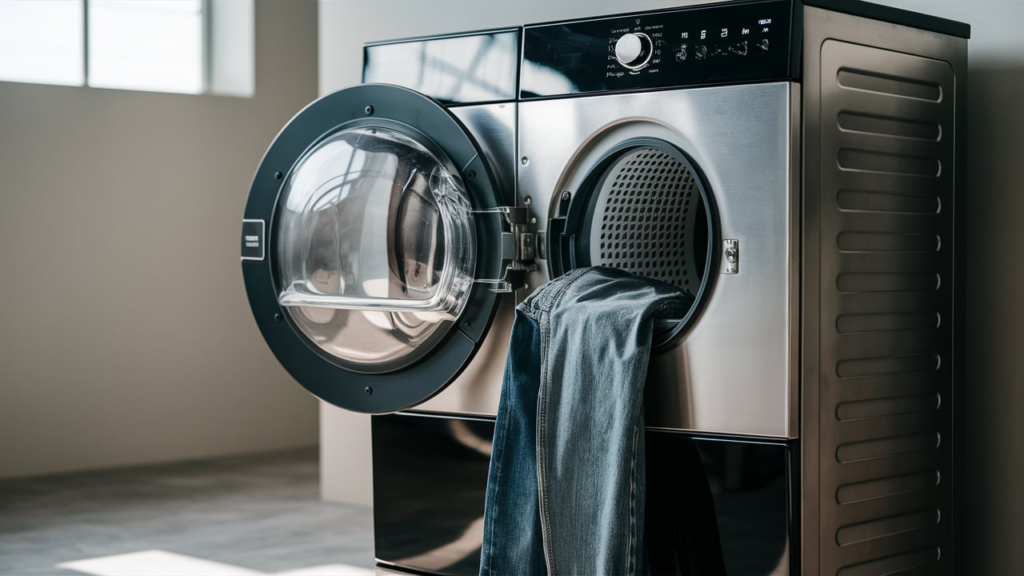
How to Replace the Thermal Fuse in a Speed Queen Dryer
Preparation
- Unplug the dryer from the power outlet. For gas models, shut off the gas supply.
Access the Thermal Fuse
- Use a 5/16-inch nut driver to remove the two screws at the bottom of the front access panel.
- Remove the two screws on the bottom corners holding the upper panel of the dryer front.
- Rotate the bottom panel outward to a 45-degree angle, then pull it down.
- Take a picture of the door switch wiring for reference during reassembly.
- Disconnect the door switch wires and set the panel aside.
- Remove the four screws securing the front bulkhead to the frame.
- Lift the bulkhead slightly to clear any tabs, lower it, and remove it from the dryer.
- Loosen the belt and remove it from the motor.
- Use the belt to pull the drum out, then set the drum aside.
Replace the Thermal Fuse
- Locate the thermal fuse on the left side of the heating element.
- Remove the 1/4-inch screws securing the faulty thermal fuse.
- Attach the new thermal fuse to the heating element using the 1/4-inch screws.
- Reconnect the wires to the new thermal fuse.
Reassemble the Dryer
- Reinstall the drum and belt, placing the drum on the back rollers.
- Reattach the front bulkhead and secure it with the 5/16-inch screws.
- Reconnect the wires to the top front panel.
- Angle the front panel into the top panel and rotate it into position.
- Secure the bottom of the front panel with the 5/16-inch screws.
- Reinstall the bottom front panel and secure it with the remaining 5/16-inch screws.
Final Steps
- For gas models, turn the gas supply back on.
- Plug the dryer into the power outlet or turn the circuit breaker back on.
Repairing is easier than expected. With a few tools and some preparation, you can avoid the cost and wait of a service call.
But if the new fuse keeps blowing or the problem stays, take it seriously. Ongoing issues could point to something bigger, like a blocked vent or a faulty heating element. Ignoring these signs can lead to more expensive fixes or even safety dangers.
So, after swapping the fuse, watch how your dryer works. Smart troubleshooting and early detection make all the difference.