
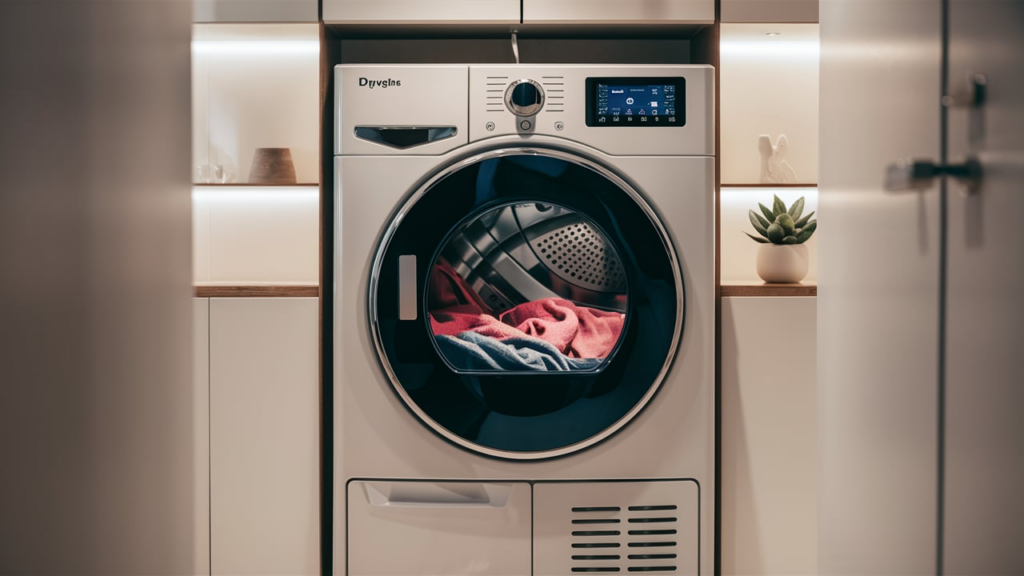
Is your Speed Queen dryer leaving you with damp clothes even when set to regular heat? Don’t toss it out just yet—this common problem can often be resolved with a little troubleshooting and some basic tools. Skip the pricey technician and follow these steps to get your dryer heating properly again.
Why Dryers Heat Improperly
Understanding the reasons behind a dryer producing low heat can help you pinpoint the issue faster. Here are the most common causes:
- Clogged Vents or Lint Traps: Restricted airflow caused by lint buildup reduces heating efficiency. Regular cleaning of the lint filter, vent system, and external exhaust can prevent this issue.
- Faulty Heating Components: Parts like the heating element, cycling thermostat, or thermal fuse can wear out over time, affecting temperature regulation. Testing these components is essential for proper diagnosis.
- Electrical Problems: Electric dryers rely on a steady 240-volt supply to produce adequate heat. If one of the power legs is compromised or the outlet is malfunctioning, the dryer may run but produce low heat.
Tools You’ll Need
- 5/16-inch nut driver
- 1/4-inch nut driver
- Thermometer
- Flathead screwdriver
- Multimeter
Safety First
Before starting any repair work, keep these critical safety tips in mind to protect both yourself and your appliance:
- Unplug the dryer or turn off the circuit breaker to eliminate any risk of electric shock.
- If the dryer was recently running, let it cool completely before starting.
- Take your time to avoid accidents or damaging any parts.
- A well-lit workspace helps you see and access all necessary components.
- Keep children, pets, and clutter away to create a safe work environment.
- Never handle electrical parts with wet hands or work in damp conditions.
- Review the user manual for appliance-specific instructions or part information.
- Avoid forcing components during removal or installation to prevent damage.
- Protect your hands from sharp edges and debris with insulated gloves.
- Use insulated tools when working with electrical parts, and avoid direct contact with exposed wires or terminals.
- Take photos or notes before disconnecting wires to simplify reassembly.
- Avoid testing live voltage unless you’re confident in your ability to prevent short-circuiting or injury.
How to Troubleshoot a Speed Queen Dryer
Test the Fabric Selector Switch
- Unplug the dryer from the power outlet.
- Use a 1/4-inch nut driver to remove the screws securing the console to the top panel.
- Rotate the console forward to access the fabric selector switch.
- Set a multimeter to continuity mode.
- Disconnect the wire from terminal 1 of the fabric selector switch.
- Place the multimeter probes on terminal 1 and terminal L1 to test for continuity.
- If there is continuity, replace the fabric selector switch.
- If there is no continuity, reconnect the wire to terminal 1 and proceed to the next section.
Test the Cycling Thermostat
- Unplug the dryer from the power outlet.
- Place a thermometer in the duct to monitor temperature.
- Use a 5/16-inch nut driver to remove the two screws at the bottom of the front access panel.
- Insert the multimeter probes into the wire connectors on the cycling thermostat (one probe per wire).
- Plug the dryer back in and set the multimeter to AC mode for volts.
- Power on the dryer and test the cycling thermostat for voltage.
- Once the multimeter reads 240 VAC, check the thermometer at the back.
- If the thermometer reads below 145°F, replace the cycling thermostat.
- If the voltage does not change, turn off the dryer, unplug the power cord, and proceed to the next section.
Test the Heating Element
- Use a 5/16-inch nut driver to remove the two screws located at each bottom corner of the upper front panel.
- Take a photo of the door switch wiring for reference.
- Disconnect the door switch wires and set the panel aside.
- Remove the four screws holding the front bulkhead to the dryer frame.
- Lift the bulkhead and set it aside.
- Remove the belt from the motor and use it to pull out the drum carefully.
- Set the multimeter to measure resistance in Ohms (Ω).
- Disconnect one wire from the heating element.
- Place the multimeter probes across the heating element terminals to measure resistance.
- If the resistance is not between 8 and 10 Ohms, replace the heating element.
Maintaining Your Dryer to Prevent Future Issues
To keep your Speed Queen dryer running efficiently and avoid similar problems in the future, consider these maintenance tips:
- A clean lint filter keeps airflow unobstructed and reduces strain on the heating components.
- At least twice a year, disconnect the dryer vent and clean it out. Use a vent brush or vacuum to remove any accumulated lint and debris.
- Test components like the heating element and thermostats periodically with a multimeter to detect signs of wear before they fail.
- Pay attention to drying times and heat levels. Any sudden changes can indicate developing problems that need attention.
Fixing a Speed Queen dryer that’s not heating doesn’t have to be a hassle. With a little patience and the right tools, you can tackle most issues yourself and save money on unnecessary repairs. Whether it’s cleaning out lint buildup, testing key components, or replacing worn parts, these simple steps can get your dryer back to working as it should.
Regular maintenance will keep your dryer working efficiently for years to come. So next time your clothes come out damp, don’t panic. A quick troubleshoot might be all it takes to get things heating up again.